You are browsing camaro5 

|
 07-11-2013, 05:27 AM
|
#7953 |
   Drives: . Join Date: Nov 2012
Location: .
Posts: 1,085
|
Drove it to work today!
|

|
|
07-11-2013, 05:51 AM
|
#7954 | |
|
Goofy old fart,salt racer

Drives: 2010 Camaro 2SSRS: making progress! Join Date: Dec 2012
Location: The High Desert
Posts: 127
|
Quote:
Having said that, it took me a lot longer than the video implied. But that's understandable, since they were trying to provide instructions, not show an accurate time line. However, in the past, I've built and installed a smallblock Chevy motor (350, .030 over into a 68 Nova) in 14 hours. Extrapolating from that, I'd say 6 to 8 hours...if you've removed the "bumper" and wheel wells before, your learning curve wouldn't be quite as steep. Here are the portions that I found most time consuming: 1. Those #10 Torx screws on the heat sink. I could have saved time if I didn't have to make a tool run for the long #10 Torx bit and a wobbly extension. 2. Routing the wiring harness, especially the interior LED and installing the switch in the kick panel. But I mounted 3 switches. However, the prep for the extra 2 wasn't that much more time-consuming. Routing wiring from the trunk to the kick panel took longer than it should since I had to chase down extra wire. Finding the hole in the firewall is a bitch. Getting wires thru it is a double bitch. I ended up turning my back on the area so I could use my right hand to feed the wires thru by feel cuz ya can't see it with yer hand in the way. 3. Troubleshooting. I did like you and tested the system before installing. However, the drivers side connector had a coupla issues...like one of the pins bending and preventing the green wire (for the green section of the LED) from working. Once I found the problem, it took 30 minutes to straighten things out...I almost cut the connectors out and hard-wired the connection, but I finally got things lined up and they all worked...eventually. 4. Finding a decent ground. When I first tested it, I tried using one of the throttle body bolts for ground...but it ain't a good ground. I can't remember what I used for a ground for testing, but for the actual install I used one of the sheet metal parts near where the ground wire falls naturally. I drilled a pilot hole for the self-tapping screw, then sanded the surface down to bare metal, installed the screw and the ground wire. Then I sprayed the whole mess with self-etching primer and since I didn't have any more red rattle cans, I grabbed the Plasti-Dip and covered the whole area with that. Bear in mind that I'm gonna run the car on the salt flats in September...so preventing bare metal that can be attacked by the salt is very important if ya don't want rust to start forming. The rest of the stuff could have been speeded up by eliminating the cleaning/maintenance of parts before re-installing. Good luck with your install,
__________________
 |
|
|
|
|
07-11-2013, 08:59 AM
|
#7955 |
     
Drives: 2013 Ashen Gray M6 ZL1 Join Date: Sep 2012
Location: South Eastern, Mass
Posts: 2,615
|
RaytheRat: Wow! I'm impressed! You're really a car guy. I'm a complete novice on top of being a girl. That being said; I won't be very much help to my husband, just had back surgery and still recovering. But I think together we can get it done. My husband said he has a flexible drill extension, around ten inches, so that may work better than a ratchet/wobbly. Once the headlights are out I'll probably take over that part. I can do that sitting at a table. I'm estimating a 6-8 hour window start to finish. Only real concern is the weather, and no neither of us have ever taken the front clip/nose or rear off the car. Will be doing the rear to blackout the exhaust tips and bottom of mufflers. My Noweeds Exhaust has been shipped so I'd like to get these lites done. Like the idea of spraying over the ground connection with the Plasti-dip. Will do the same! Thanks for all your tips. Hope to start this tomorrow or Saturday. Wish me luck!
|
|
|
|
07-11-2013, 09:01 AM
|
#7956 | |
  |
Quote:
I cant work on car anymore cuz of back injury.
__________________
2015 Corvette Z06.. Lime Rock Park 1:01; Watkins Glen 2:14; Thompson Speedway 1:21
 |
|
|
|
|
07-11-2013, 09:05 AM
|
#7957 |
|
2013 2SS/RS M6

Drives: 2013 2SS/RS M6 Dual Mode Join Date: May 2013
Location: Indiana
Posts: 219
|
Dropped it off at the shop yesterday to get suspension parts installed. Wanted to do it myself, but don't have time before fest. Going to be at the USWForged tent with my new wheels!!!
__________________
 Hurst, Mojave Interior, 20% tint, Dual Mode Exhaust, ZL1 Splitter, ZL1 rockers, Blade spoiler, 3D Carbon rear quarter spats, CAI, Headers, M2W, catch can, apex scoop, LED DRL's, smoke side markers, billet aluminum SS emblems, Street Scene lower grill with scoops, BMR subframe connectors, lowering springs, bushings. Forgeline 20" w Nitto 315/275 |
|
|
|
07-11-2013, 09:12 AM
|
#7958 | |
|
Goofy old fart,salt racer
Drives: 2010 Camaro 2SSRS: making progress! Join Date: Dec 2012
Location: The High Desert
Posts: 127
|
Quote:
 I see it this way: when I was about 2 weeks old, a scale model of a then-current Indy race car was placed in my crib. That was a little while ago...like 65 years. And it's been downhill since then. 'Course I did the same thing with my grandkids. We'll see if they turn out to be gearheads. I see it this way: when I was about 2 weeks old, a scale model of a then-current Indy race car was placed in my crib. That was a little while ago...like 65 years. And it's been downhill since then. 'Course I did the same thing with my grandkids. We'll see if they turn out to be gearheads. The idea of doing the LED swap while sitting at a table sounds like a good idea. Here's a link to the "projects" I've done over the last 20 years or so: http://www.chevyasylum.com/projects.html Since I've been up in the night since about 3 am, I'm gonna exercise my prerogative as a crazy ol' man and take a nap.  Rotsa Ruck and keep us posted,
__________________
|
|
|
|
|
07-11-2013, 08:37 PM
|
#7959 |

|
Recieved and applied Xpel rear Dark Night kit via Phastek
__________________
 2013 SS/RS 1LE VR-Backup System, SOLO Perforsance HF Cats, Muffler Delete, BBK Off-road X-pipe 2002 35th Aniversary SLP SS-Sold |
|
|
|
07-11-2013, 08:39 PM
|
#7960 |
|
|
Lit up lights
__________________
2013 SS/RS 1LE VR-Backup System, SOLO Perforsance HF Cats, Muffler Delete, BBK Off-road X-pipe 2002 35th Aniversary SLP SS-Sold |
|
|
|
07-11-2013, 09:48 PM
|
#7961 |
 
Drives: 2011 Chevy Camaro 2SS/RS Join Date: Jun 2013
Location: Sherwood, OR
Posts: 143
|
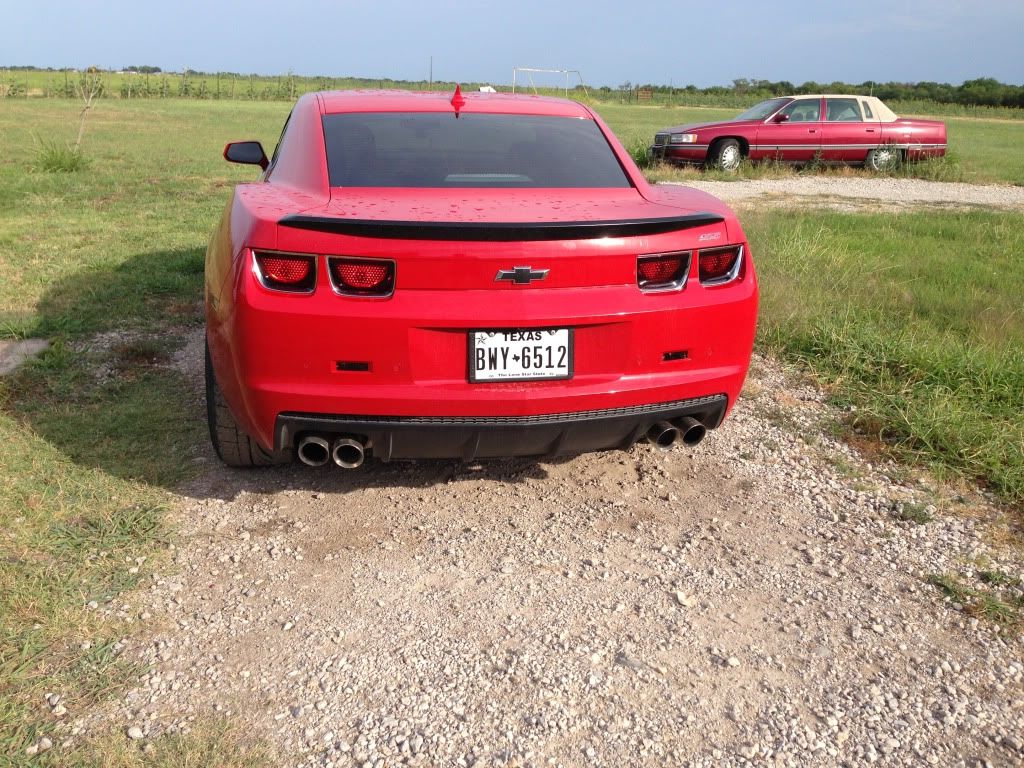
Installed my carbon fiber chevy bowtie on the rear, carbon fiber camaro lettering on sides and door handle protectors.
__________________
 |
|
|
|
07-11-2013, 09:54 PM
|
#7962 | |
|
7 year Cancer Survivor!

Drives: 17 Cruze RS, 07 G6 GT, 99 Astro Join Date: Dec 2007
Location: East Tennessee
Posts: 21,547
|
Quote:
__________________
Cancer's a bitch! Enjoy life while you can! LIVE, LOVE, DRIVE...
The Bird is the word! |
|
|
|
|
07-11-2013, 10:07 PM
|
#7963 | |
|
Drives: 2011 Chevy Camaro 2SS/RS Join Date: Jun 2013
Location: Sherwood, OR
Posts: 143
|
Quote:
__________________
|
|
|
|
|
07-11-2013, 10:11 PM
|
#7964 |
|
Drives: '11 VR 2LT HHr Join Date: May 2011
Location: Gateway to the West
Posts: 2,721
|
Like the accents and the wheels Steelersgeek70 !
Its not what i did to my Camaro today, its what i got to keep nice even in the garage. A red with black striped out door car cover.
__________________
2011 Hhr
Formerly known as Silver85IrocZ !! |
|
|
|
07-11-2013, 10:20 PM
|
#7965 | |
|
Drives: 2011 Chevy Camaro 2SS/RS Join Date: Jun 2013
Location: Sherwood, OR
Posts: 143
|
Quote:
__________________
|
|
|
|
|
07-11-2013, 10:31 PM
|
#7966 |
 
Drives: 2010 SS/RS L99 Join Date: May 2013
Location: Chicago
Posts: 29
|
Gauges
Put my gauges in today. Got them from camaro2lt here on the forum and couldn't be happier.
|
|
|
|
|
|
|
 |
|
|
 Similar Threads
|
||||
| Thread | Thread Starter | Forum | Replies | Last Post |
| GM memo to dealers | Moose | 5th Gen Camaro SS LS LT General Discussions | 41 | 02-04-2010 07:33 PM |
| Major Pedders Event in Houston! Saturday, Jan 30th! Meet DMS | Info@PeddersUSA.com | USA - Texas | 39 | 02-01-2010 12:48 PM |
| Answeres to questions I have stumbled on | dieseldave24v | 5th Gen Camaro SS LS LT General Discussions | 13 | 02-23-2009 06:56 PM |


