You are browsing camaro5 

|
 10-01-2011, 04:10 PM
|
#29 |
|
Hell yeah I'm Guilty.....

|
Nice rainy day after the car came back from body so I took the liberty of doing an "Easy" mod.
The CAI intake. 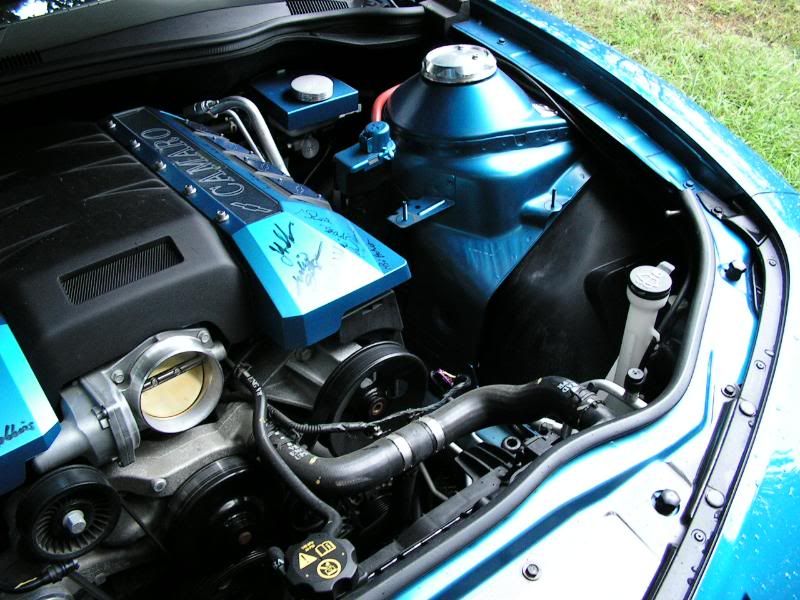 Removal 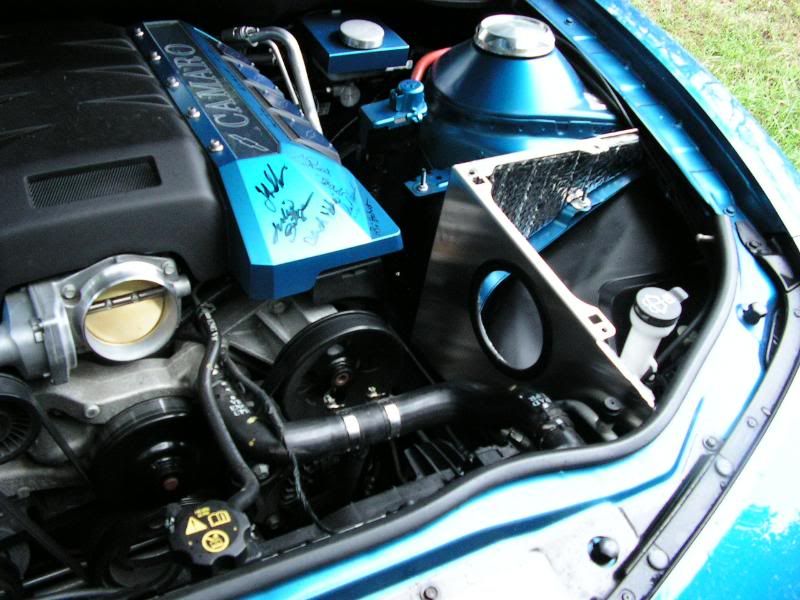 Half Done----10 minutes 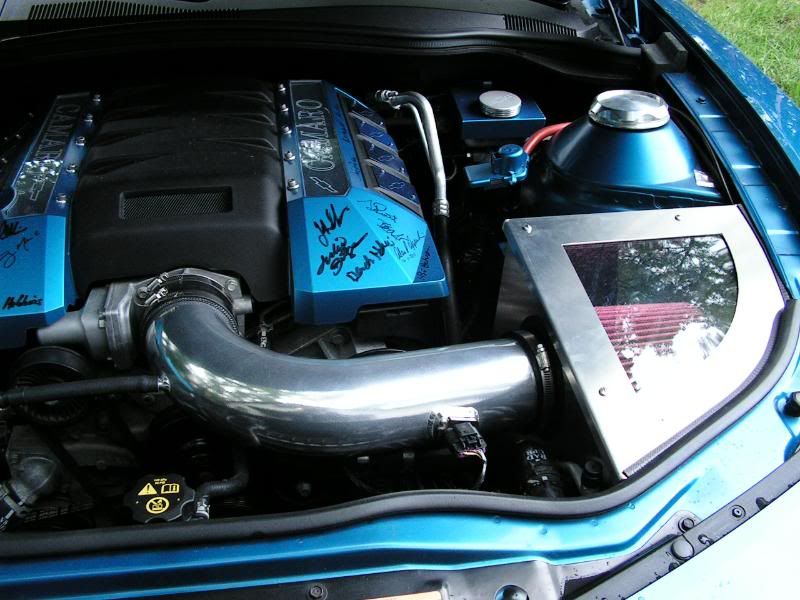 All done--20 minutes tops...with time for Beer. Very happy with the sound (very different on the road), Seat of the pants feel is better as well. I'll be engraving and doing some custom paintwork soon on it so stay tuned!
__________________
 |

|

|
|
10-01-2011, 04:19 PM
|
#30 |
|
knows 2 facts about ducks

Drives: ...and they're both wrong Join Date: Aug 2009
Location: The HMS Invincible
Posts: 25,072
|
Looking good

__________________
 |
|
|
|
|
10-10-2011, 08:54 PM
|
#31 | ||
|
Hell yeah I'm Guilty.....
|
WORK...WORK...WORK..
Been out playin and building so I finally got caught up.
Had a great time at a show in Penn Yan and then ran at the Glen..more on that later. I managed to engrave a piece of plexi for the CAI...My son Brandon designed the Tribal and I plotted it into the computer....sent it into the engrave machine and routered it with a .040 thousands tip. 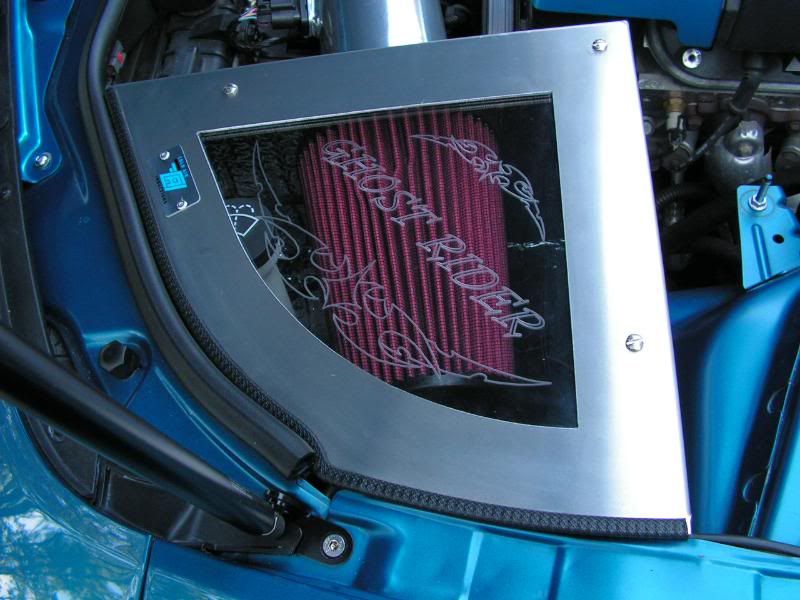 As you can see I also got the revolutions hood kit in. That was a bit more work but well worth it. 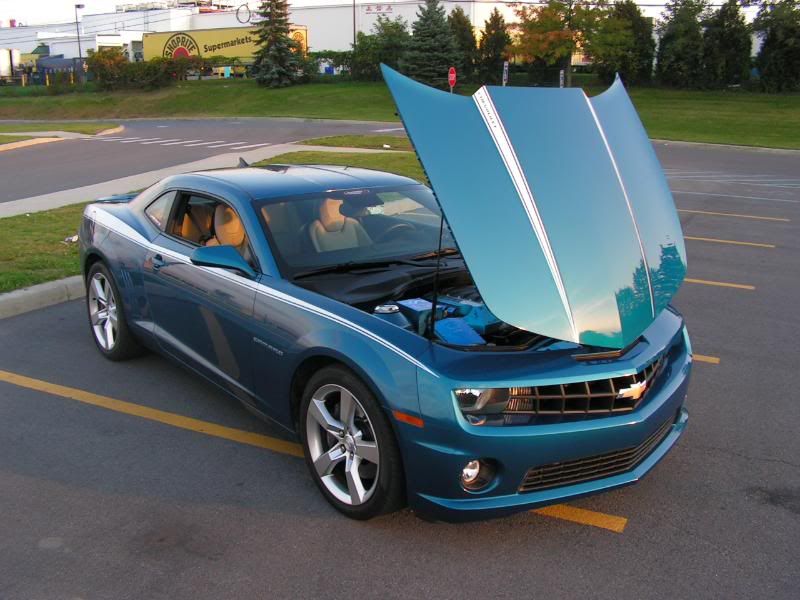 I found a distributor wrench very useful at removing the factory bolts.. 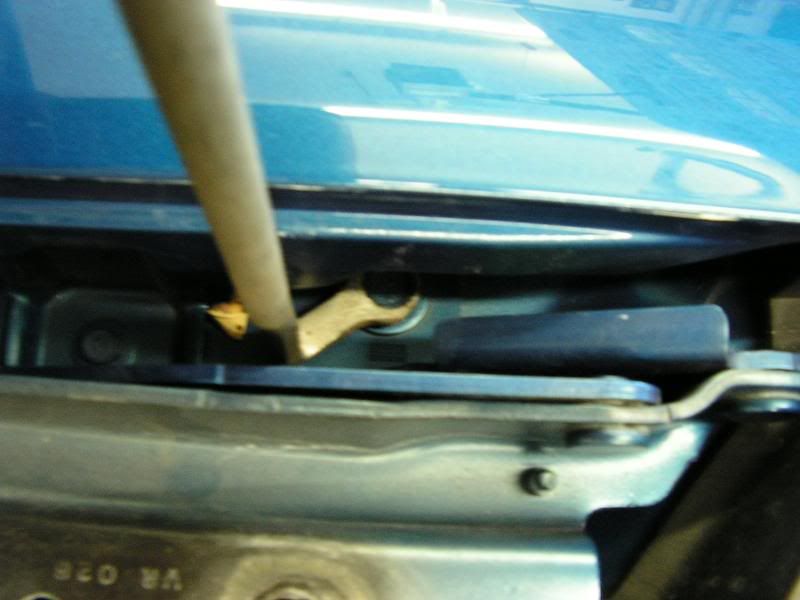  The MAIN hinge was a chore...only because I repainted my radiator header and thus removed the "Adjusters" to do it...when I put them back in they were off height causing the hood to bind on the front nose piece...once adjusted properly it was a NON issue...DO NOT ADJUST OR REMOVE THEM!!!! 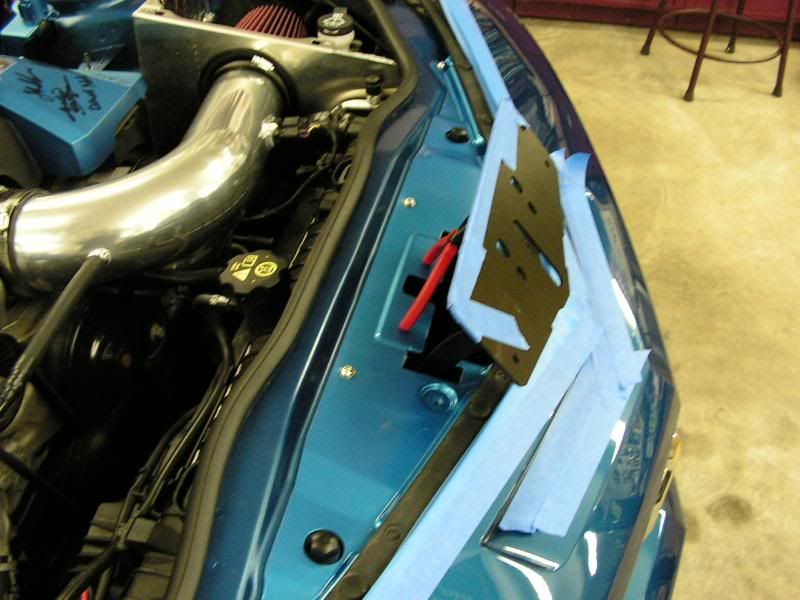 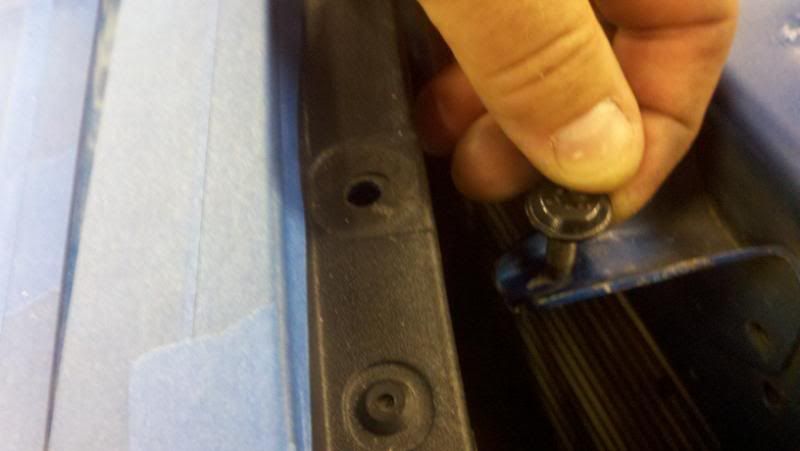 I upgraded to all matching button head screws for everything, it means more work and difficulty because I wanted "Rivnuts" so I had additional drilling and tooling to do. 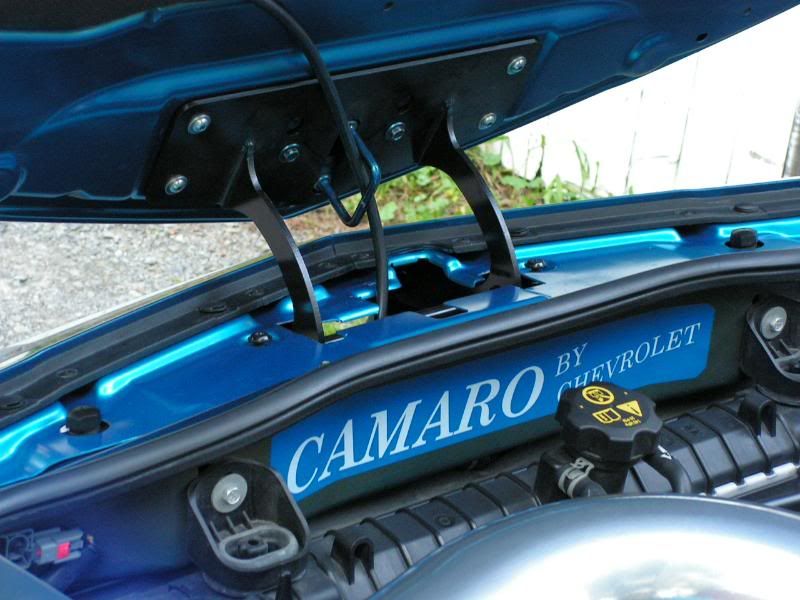 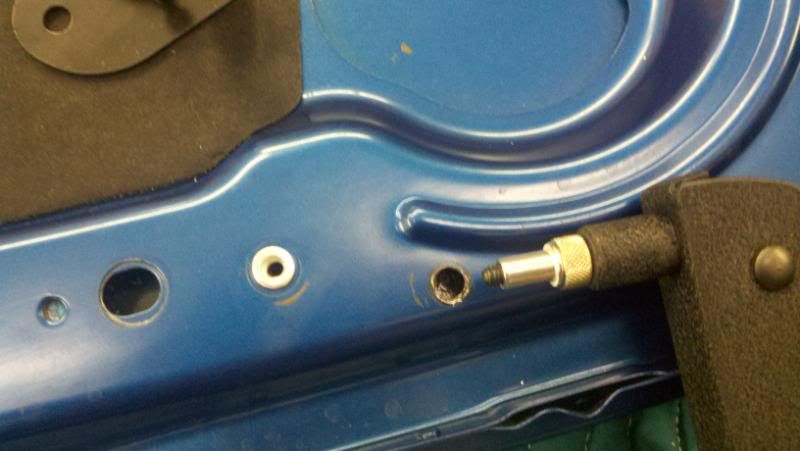 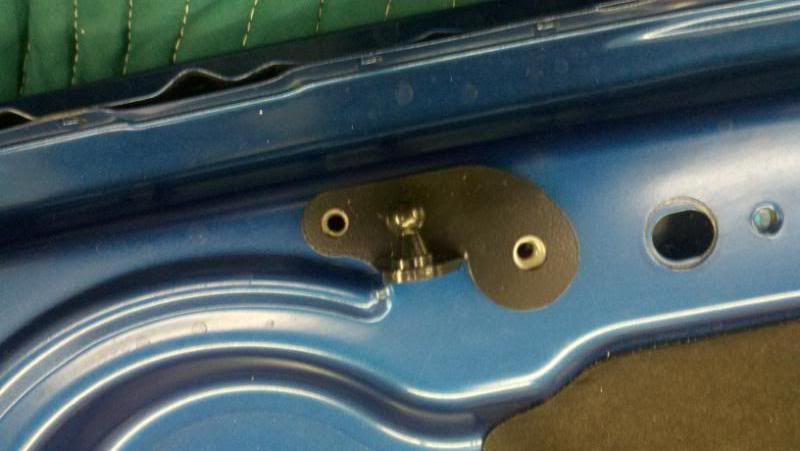 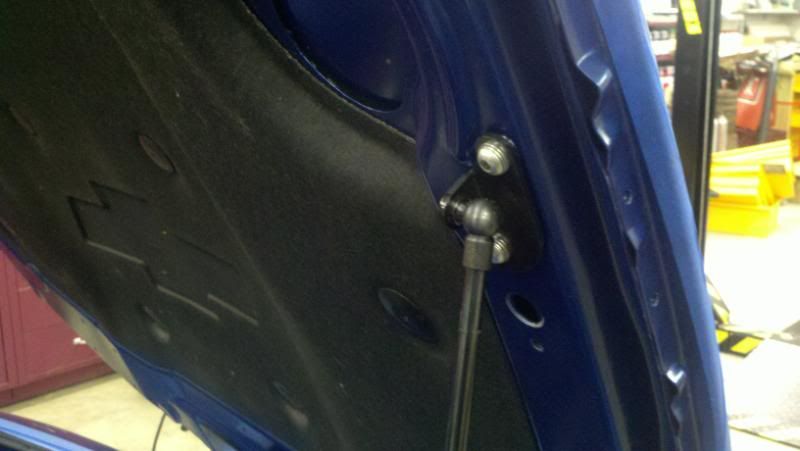 The only real problem I had was the Gas Struts: They would contact the inner fender lip causing the hood not to close and to bow up when it finally did. This was rectified by knocking down the inner lips on each side with a body dolly and hammer, then I nipped out a recess for the head to lay in and that gave us P.E.R.F.E.C.T alignment. This step not for beginners, be patient and work it slowly! 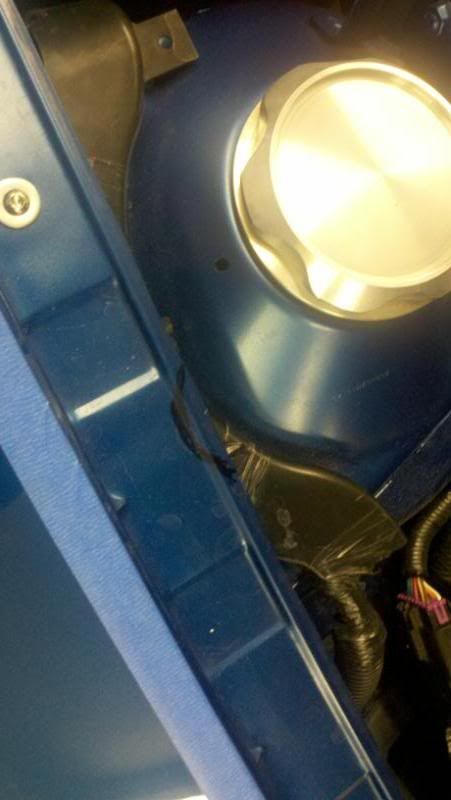 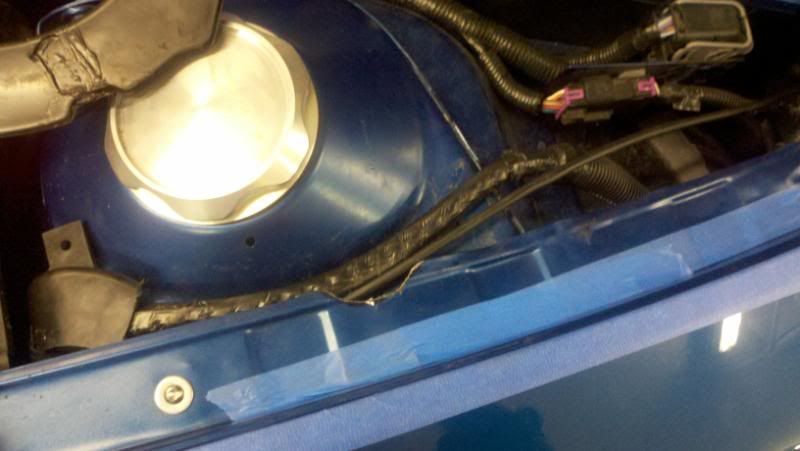 A little edging and its sweet looking! 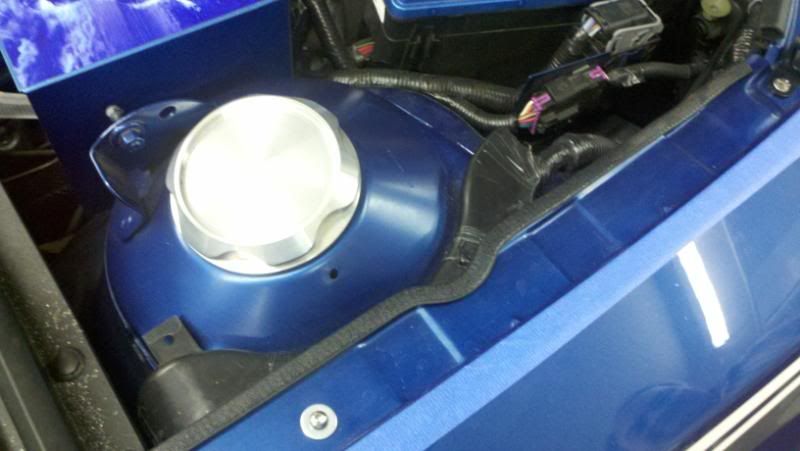 When it comes to removing the hood latch (factory), you will find a wire attached...unplugging it means you will lose your "Hood Open" warning indicator and you will now be able to start the car with the hood open..SO BE CAREFUL!! You do not need to jumper this, I simply put a 10 cent dust cap on it to keep it clean, then tucked it behind the grill. 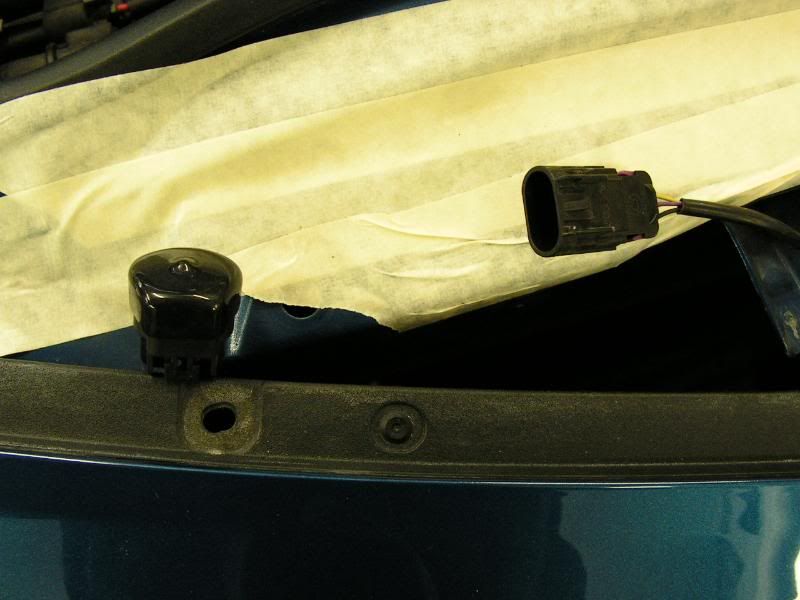 The washer hose extension is included in the kit and connects to an existing barb on your cars washer hose...I routed it behind my hood pad and thru the old latch hole....lots of room! 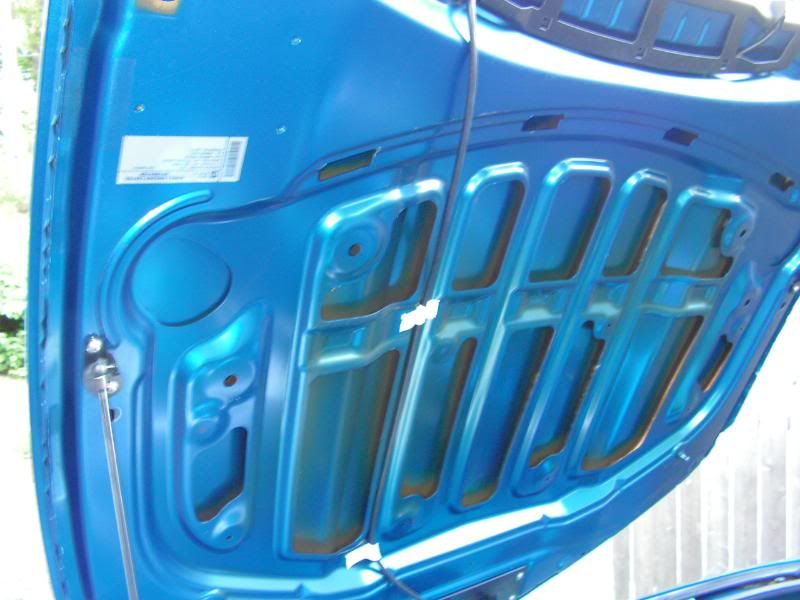 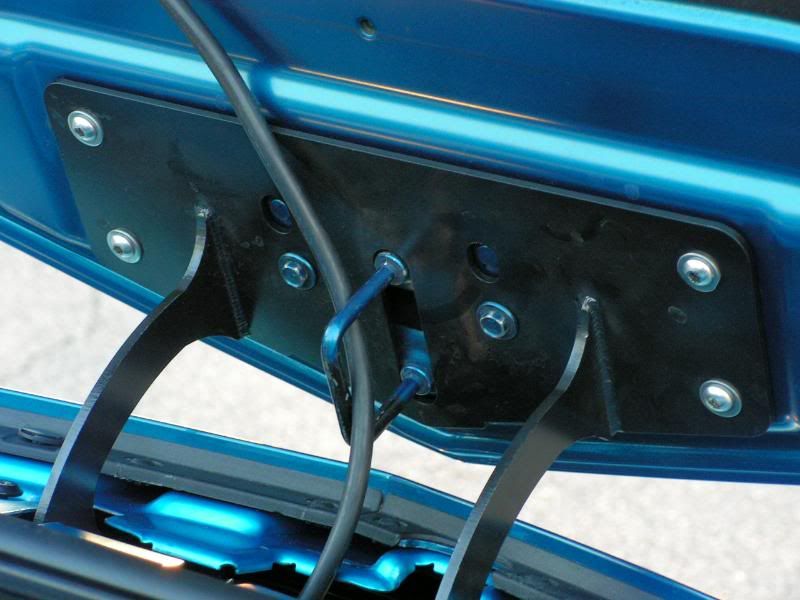 I am including a couple short vids at the end for more info.... At the end of the day there are more likes than dislikes: I wish the Gas Struts were done differently so I didnt have to mod the fender lips= Dislike. Quality/fit/ finish= BIG LIKE!! (Very well made) Completeness of kit= BIG LIKE!! (All the hardware is there and its good stuff) Instructions detail= BIG LIKE!! (Could put in a blurb about the hood connector) AWSOME WOW FACTOR= O.M.G are you kidding Heres is the kicker: I finished it the night before a show and I unexpectedly got some R+D I didnt bargain for. You see I showed the car in Penn Yan and it was a HUGE hit, Afterward our group set out for Watkins Glen Raceway....a wrong turn ended us up on a dirt and gravel-goat herder foot path of a seasonal highway meant for 4X4 use I am sure....It really shook the crap out of the car....so much so that I checked it over at the Glen before running it. I then put 3 hard laps on the car...stuffed it thru the upper S's and force fed it through every turn I knew would tweak on the body. At NO TIME did I ever get a squeak or a rattle, nor did the hood ever give any sign of lifting. Even after all that abuse it was quiet as a mouse all the way home on the highway...some 200 miles! My hat is off to the guys at Revolution...I really like when a company sends something that does what they say it does!! VIDS:
__________________
|
||
|
|
|
|
10-10-2011, 09:04 PM
|
#32 |
|
knows 2 facts about ducks
Drives: ...and they're both wrong Join Date: Aug 2009
Location: The HMS Invincible
Posts: 25,072
|
awesome write up. The reverse hood flip really is an eye catcher
__________________
|
|
|
|
|
10-11-2011, 05:04 AM
|
#33 |
 
Drives: 2011ss rally yellow Join Date: Aug 2010
Location: colonie ny
Posts: 383
|
Nice
|
|
|
|
|
10-29-2011, 10:06 AM
|
#34 |
|
Hell yeah I'm Guilty.....
|
Heres a little update...I went to REMOTE START the car and found that it no longer works because the factory latch (Removed) controls this function thru the alarm circuit.
I am working on a fix for this...more to come but for now ..NO REMOTE START>>> 
__________________
|
|
|
|
|
10-31-2011, 05:13 PM
|
#35 |
|
Hell yeah I'm Guilty.....
|
Ok here is what I figured out...2 ways to tackle this remote start issue:
1) Remove the switch from the hood latch by pressing out the rivet and tucking it under the grill---NOTE* The car will forever think the hood is closed even when its not so remote will work with hood open...BE CAREFUL! 2) Correctly--- Install a diode limiting circut (Like GM did), connect to a pin switch like in a car alarm. This will make it all operate as it should. See Diagram Below.....
__________________
|
|
|
|
|
10-31-2011, 06:58 PM
|
#36 |
|
knows 2 facts about ducks
Drives: ...and they're both wrong Join Date: Aug 2009
Location: The HMS Invincible
Posts: 25,072
|
I say go with the "correct"/safe route. Cuz you know some idiot will stick his hand into a running belt.
__________________
|
|
|
|
|
10-31-2011, 08:21 PM
|
#37 |
    
Drives: '18 Sierra Denali '05 GMC 2500HD Join Date: Jul 2011
Location: Upstate NY
Posts: 1,396
|
Hats off on the hood latch switch problem, now that I see a wiring diagram, what you were saying makes sense. Glad to see you got it figured out.
__________________
Had: 2010 SS/RS M6 Hurst STS, Noweeds |
|
|
|
|
11-01-2011, 07:05 AM
|
#38 |
|
Hell yeah I'm Guilty.....
|
Just in time for storage..LOL
Silly Rabbit!
__________________
|
|
|
|
|
|
|
|
 |
|
|
 Similar Threads
|
||||
| Thread | Thread Starter | Forum | Replies | Last Post |
| Ghost Armour Offer for Camaro5.com | CooG | Cosmetic Maintenance: Washing, Waxing, Detailing, Bodywork, Protection | 12 | 05-25-2011 06:39 PM |
| Rider graphix, question, and some other questions. help please. | thetournykid | Cosmetics and Lighting Modification Discussions | 6 | 03-28-2011 08:15 PM |
| Camaro in Ghost Rider 2 Movie | kevin2323 | 5th Gen Camaro SS LS LT General Discussions | 34 | 01-27-2011 03:10 PM |
| Ghost Armor Review and Installation | JkHSS2 | Interior Parts & Accessories | 40 | 03-10-2010 05:27 PM |
| Ghost Chrome Paint on RS Wheels | Richochet83 | Wheels and Tires Talk Sponsored by The Tire Rack | 8 | 01-19-2010 02:56 PM |


