You are browsing camaro5 

|
 09-10-2014, 12:13 PM
|
#15 |
        
Drives: 2010 Turbo LS3 Join Date: Dec 2009
Location: Palm Bay, FL
Posts: 2,736
|
Second set of hands would have helped with the dipstick tube.
I would have purchased O2 sensor extensions if I had known they would be too short, but once the manifolds and cats were off, it was too late so I just extended the wires on the O2 sensors and called it a day.
__________________
2010 SS - On3 kit with downpipe cutout, CTR 78/80, CompCam 239/251 620/632 122+4, E85, Z28 suspension and ZL1 diff with Outlaw axles. Gen6 ZL1/1LE brakes.
2011 Vert - 416/w 230/236 .612/.602 115lsa, 1LE suspension w/32mm rear bar. Z28 diff. ZL1 brakes. |

|

|
|
09-10-2014, 12:33 PM
|
#16 |

Drives: 73 VETTE ,, 05 2500hd diesel,14 1LE Join Date: Feb 2014
Location: The Left lane PHOENIX AZ
Posts: 2,626
|
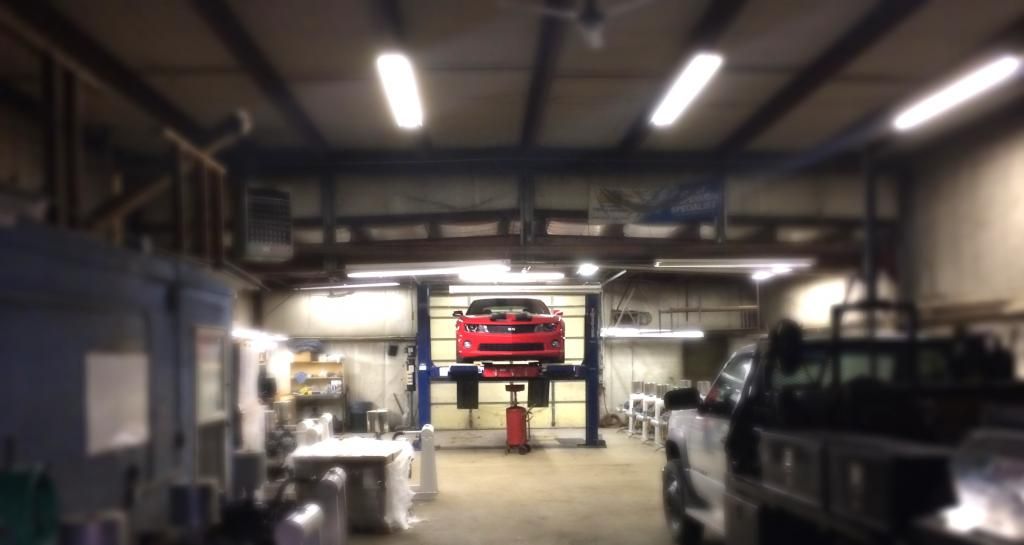
I'm an old gear head (63) and we used to do the header installs in the 60's on jack stands . It was a real chore but we got it done . After while we would get the use of gas station/repair shop lifts and it was much more fun. Check with some of your buddys and see if they know a kool shop that would let you use a lift.
__________________
OLD GUY FLYING FAST AND LOW
|
|
|
|
|
09-10-2014, 01:50 PM
|
#17 | |
|
Drives: 2013 VR 2SS RS Join Date: Sep 2012
Location: Kansas
Posts: 619
|
Quote:
 Having your own personal lift is handy.  Or as I like to call it, the Camaro perch. My car sits on the lift all year around.
__________________
 |
|
|
|
|
|
09-10-2014, 01:55 PM
|
#18 |
|
Drives: 73 VETTE ,, 05 2500hd diesel,14 1LE Join Date: Feb 2014
Location: The Left lane PHOENIX AZ
Posts: 2,626
|
I have a shop with 2 lifts and once you get used to lifts you are spoiled .
__________________
OLD GUY FLYING FAST AND LOW
|
|
|
|
|
09-10-2014, 02:07 PM
|
#19 | |
|
Drives: 2013 VR 2SS RS Join Date: Sep 2012
Location: Kansas
Posts: 619
|
Quote:
__________________
|
|
|
|
|
|
09-10-2014, 02:31 PM
|
#20 |

Drives: 2017 Camaro 1SS 1LE Hyper Blue Join Date: Mar 2013
Location: Minnesota
Posts: 661
|
I did mine on Rhino Ramps with the help of my son. He actually fished them up and I guided them in past the plugs, we left them on.
__________________
2017 Camaro 1SS 1LE Hyper Blue
|
|
|
|
|
09-16-2014, 11:23 AM
|
#21 |
 Drives: 2010 Camaro SS Join Date: Jun 2014
Location: Fla
Posts: 61
|
did mine on stands...do suggest an assistant and frequent assessing of clearance issues.i.e steering shaft,passenger frame rail. and routing of o2 sensor wires.. I had to remove twice per side to do ball peen hammer adjustments due to vibrations/contact,but these were cheap ebay headers..another set of eyes helps alot
|
|
|
|
|
09-16-2014, 11:45 AM
|
#22 | |
|
Drives: 2010 Camaro 2SS/RS Join Date: Mar 2012
Location: Las Vegas, NV
Posts: 508
|
Quote:
__________________
 |
|
|
|
|
|
09-16-2014, 12:34 PM
|
#23 |

Drives: 2010 Camaro 2SS/RS Join Date: Aug 2012
Location: Cordova, TN
Posts: 774
|
My 2" longtubes went in on jack stands in 2 1/2 hours.
__________________
2010 Camaro 2SS M6
2" Stainless Power Longtube Headers 3" Full exhaust w/ Off-Road H-Pipe Bo White Ported Throttle Body Hurst Short Throw Shifter Best Time: 12.43 @ 114, 1.99 60' on stock wheels and stock tires Build Thread |
|
|
|
|
09-16-2014, 05:05 PM
|
#24 |
|
Autoboticus Roboticus

|
Here's how to solve your issues with getting your O2 sensors removed!
1: get yourself one of these O2 sensor removal sockets (you can pick one up anywhere): http://www.harborfreight.com/3-8-eig...nch-97177.html 2: Pick up a propane torch (again, you can pick up from anywhere): http://www.harborfreight.com/electri...rch-91061.html 3: After the stock pipes are removed (so you can get to the O2 sensors easily), use some non-flammable penetrating lubricant spray onto the threads and bung (the part the o2 sensor screws into... called the "bung".. don't ask me why). I used WD-40 and didn't have an issue with flammability after it was sprayed on. 4: Use the propane torch on a low setting and apply heat to just the bung on the pipe (as much as possible). You don't have to get it red hot, just heat it up a bit spreading the heat evenly around the bung and don't let the torch sit on one spot for too long. I did this for about 60 seconds. Don't melt the O2 sensor. 5: Using the O2 sensor socket, unscrew the sensor counter-clockwise. It didn't take much at all for mine to break loose. I was able to remove all 4 sensors in about 10 mins or less.
__________________
 |
|
|
|
|
|
|
|
 |
|
|


