You are browsing camaro5 

|
 07-16-2011, 12:04 PM
|
#1 |
|
LT4 M6

Drives: 2018 ZL1 1LE Join Date: Nov 2010
Location: Bloomington, IN
Posts: 1,249
|
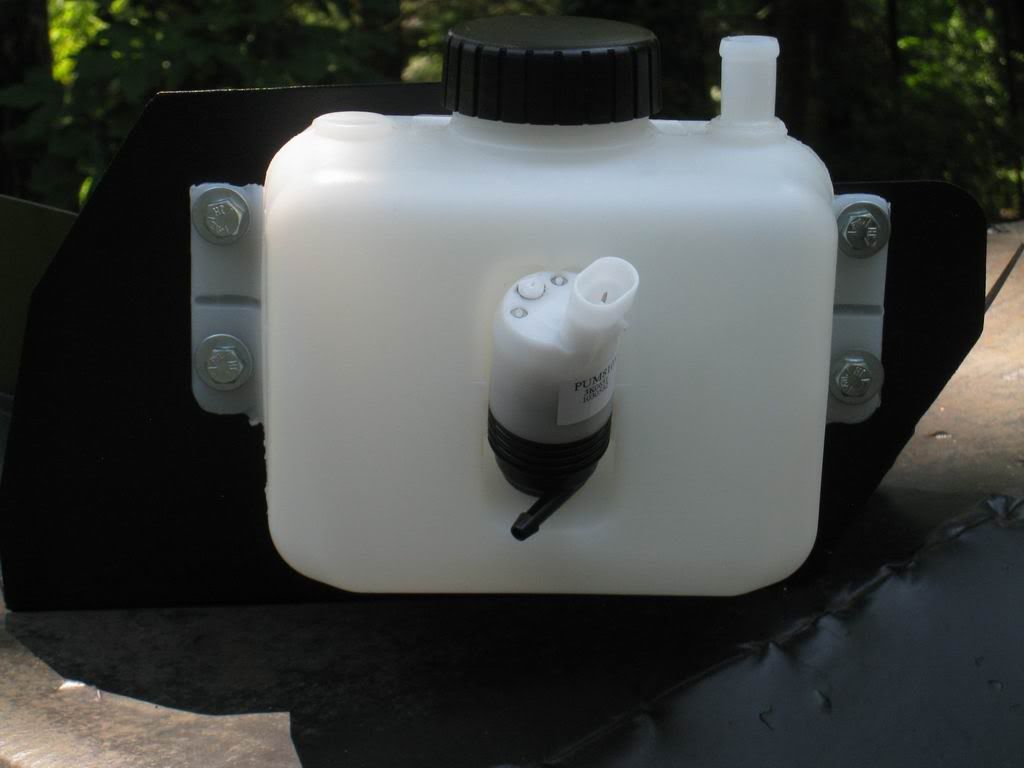
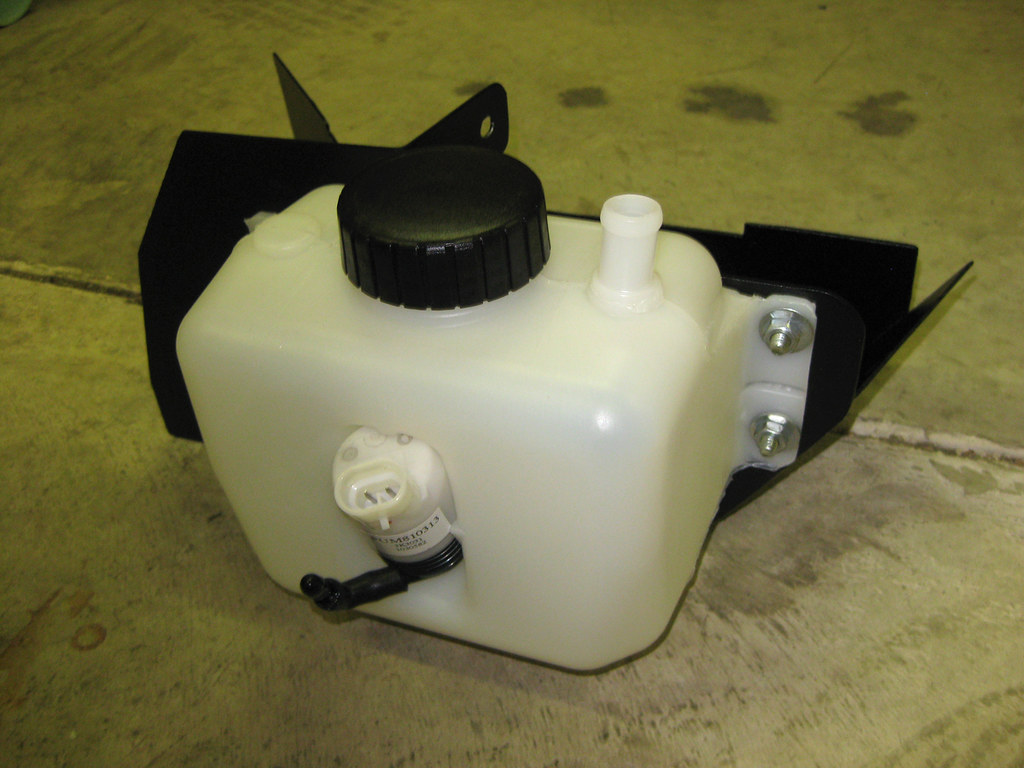
Apex chase washer bottle relocation kit.
How do you route the hose to get it to the washer bottle?
http://www.apex-speed.com/apex-motor...t-1234567.html |

|

|
|
07-16-2011, 01:53 PM
|
#2 |
|
LT4 M6
Drives: 2018 ZL1 1LE Join Date: Nov 2010
Location: Bloomington, IN
Posts: 1,249
|
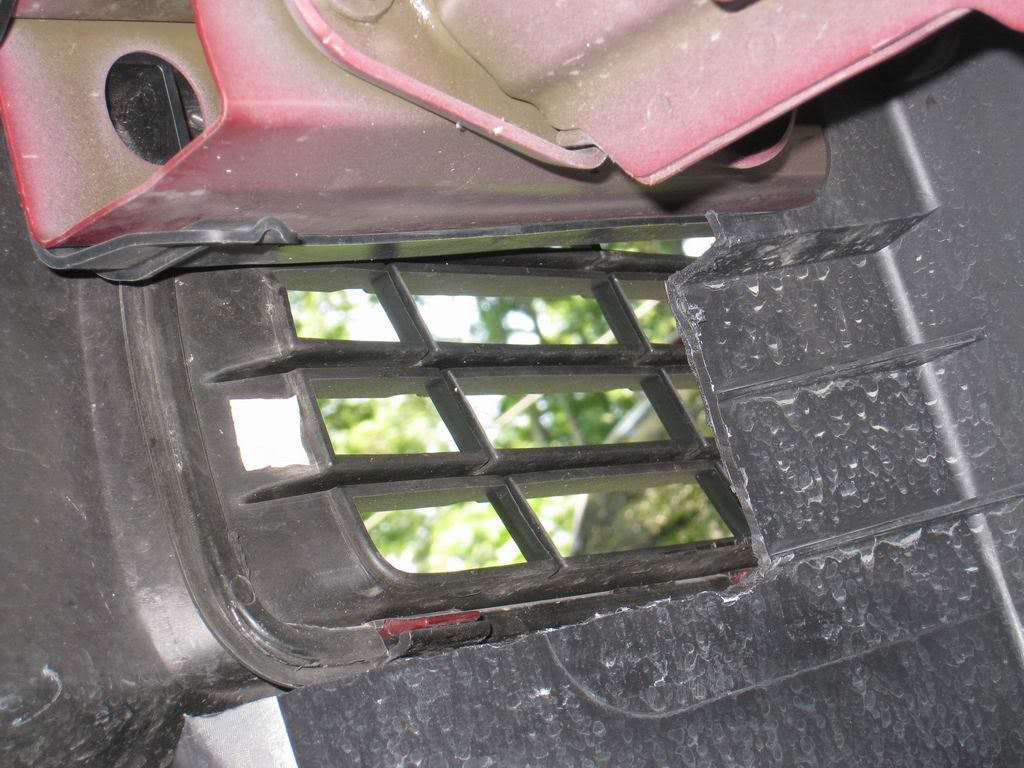
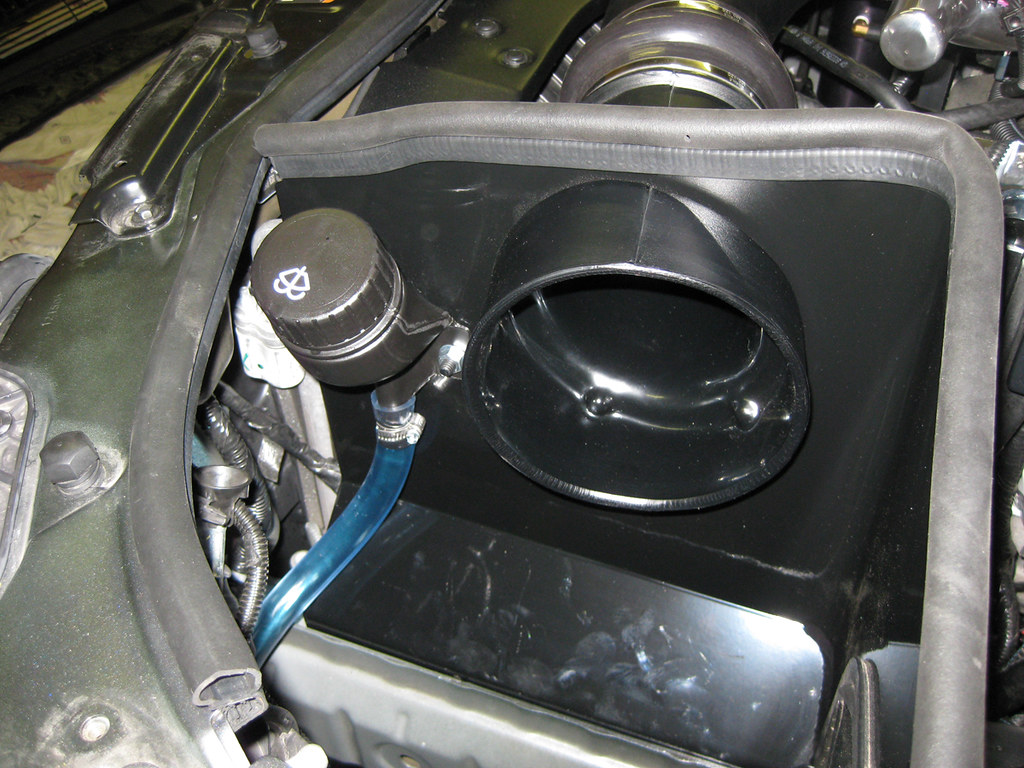
I got it figured out. Anyone have this installed? It pushes out the inner wheel liner like the bottle is a hair too big. When the tire is fully turned to the right it is only about an inch or two away (or how ever thick my hand is) from the liner. I guess that will be okay?
 I will drive it and see if it rubs on the liner.. |
|
|
|
|
07-16-2011, 02:33 PM
|
#3 |
|
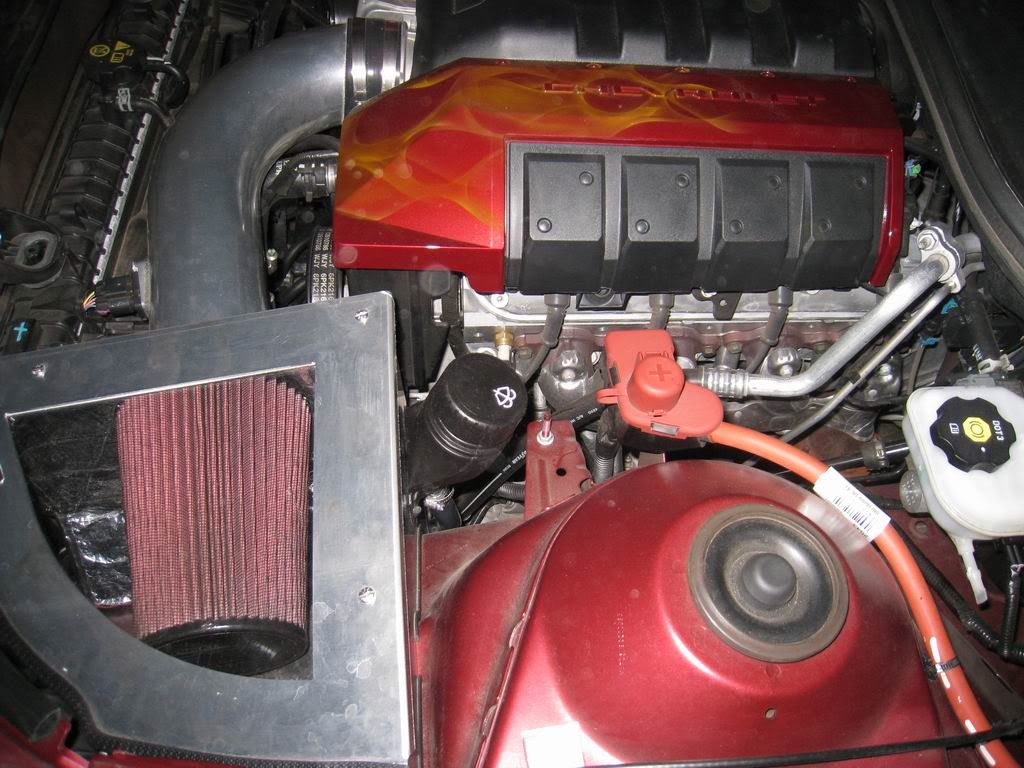
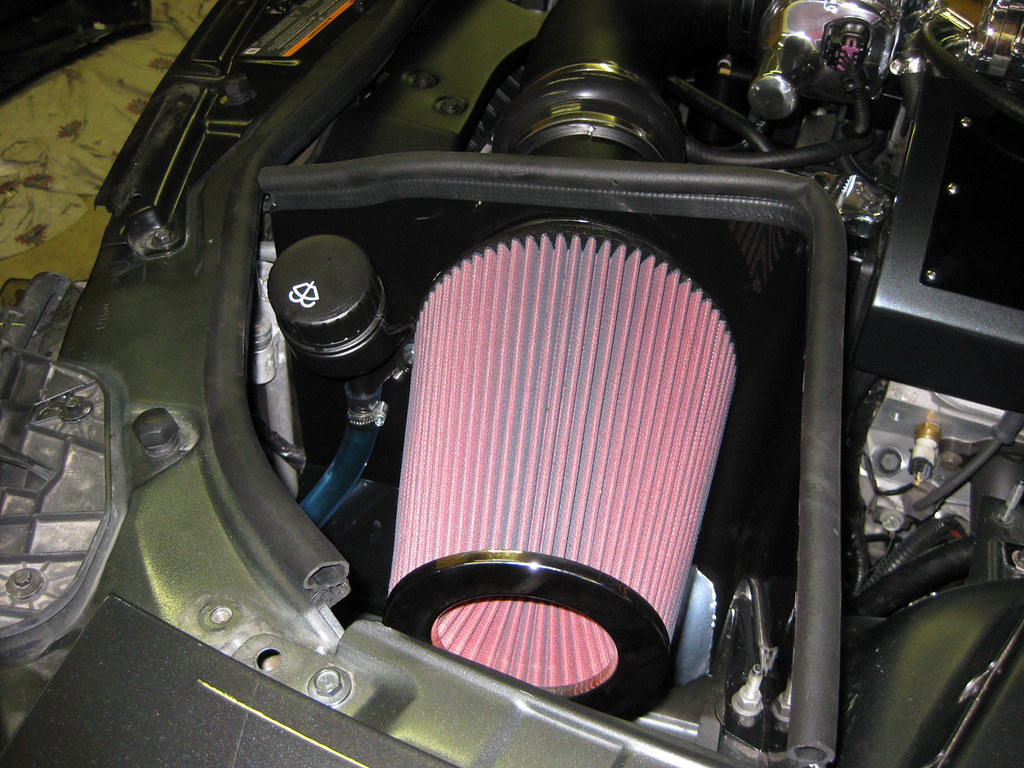
I'm thinking of going this route (i.e. CAI + scoop + washer relo)... could you possibly post some pics of the installation? TIA
__________________
Black 2SS ordered 1/4/2010, received 2/19/2010
 |
|
|
|
|
07-16-2011, 02:46 PM
|
#4 |
|
LT4 M6
Drives: 2018 ZL1 1LE Join Date: Nov 2010
Location: Bloomington, IN
Posts: 1,249
|
I drove it around town and did not notice any tire rubbing. I guess it is okay.
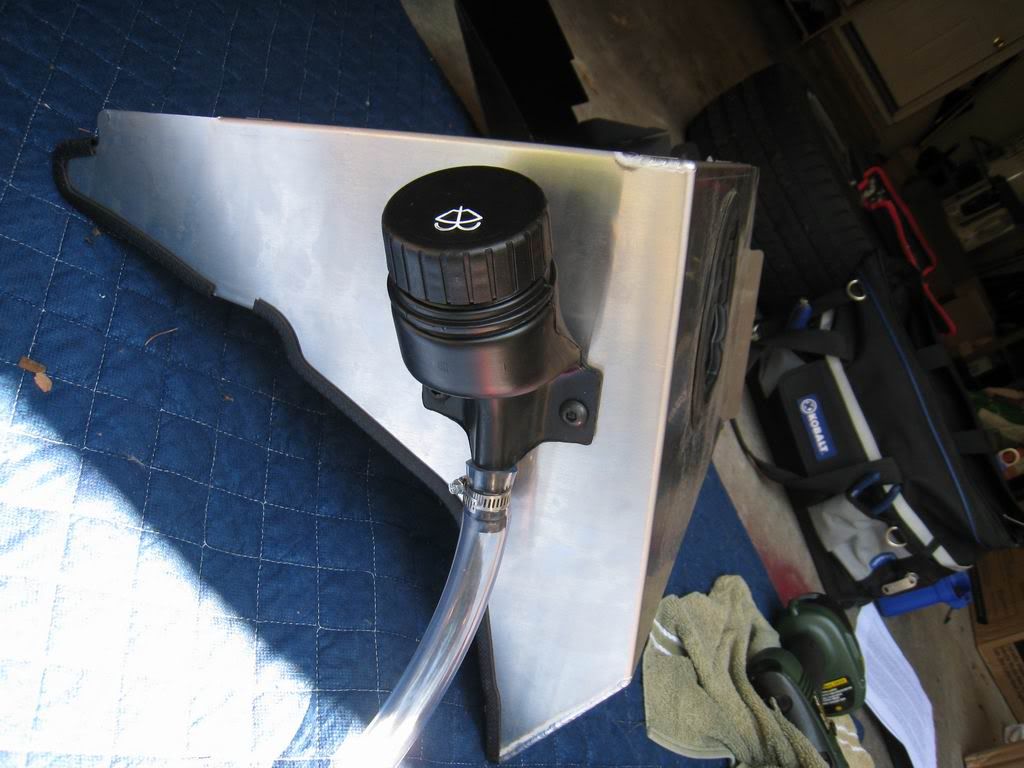
and too clg_98ta I used this write up to install. The washer bottle bolts to the Apex scoop. It is even pre drilled. http://autoagenda.com/images/ADMscoopInstallation.pdf |
|
|
|
|
07-16-2011, 03:46 PM
|
#5 | ||||

Drives: 2000 Camaro SS Join Date: Feb 2010
Location: Louisville, Ky.
Posts: 25,179
|
Quote:
Quote:
Quote:
Quote:
Last edited by Apex Motorsports; 07-16-2011 at 08:29 PM. |
||||
|
|
|
|
12-18-2013, 06:29 PM
|
#6 |
 
Drives: 2013 ZL1 Black Join Date: Aug 2013
Location: Dallas
Posts: 411
|
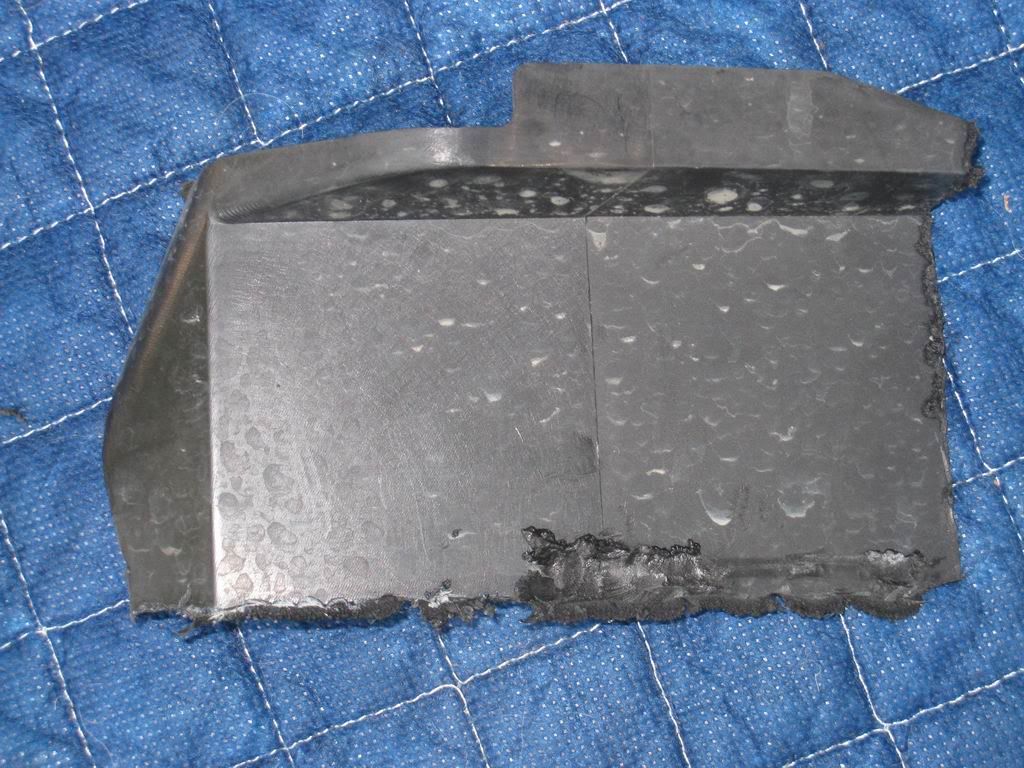
I installed my washer locate last week and did notice it made the fender well stick out some. Didn't think much of it at the time.
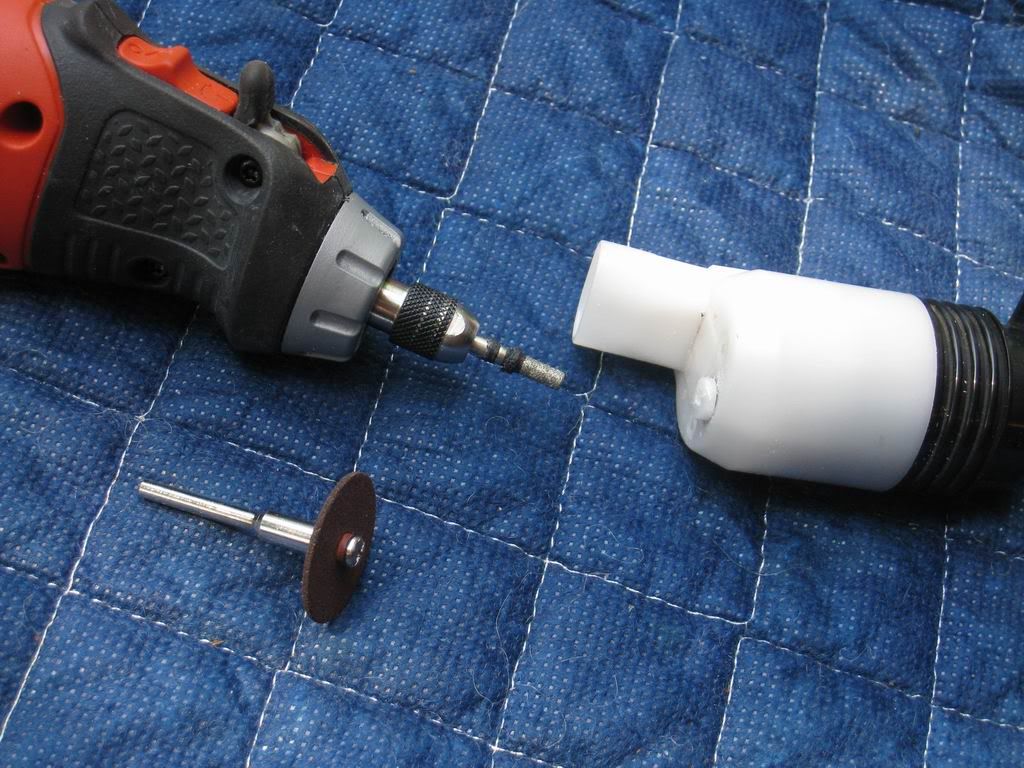
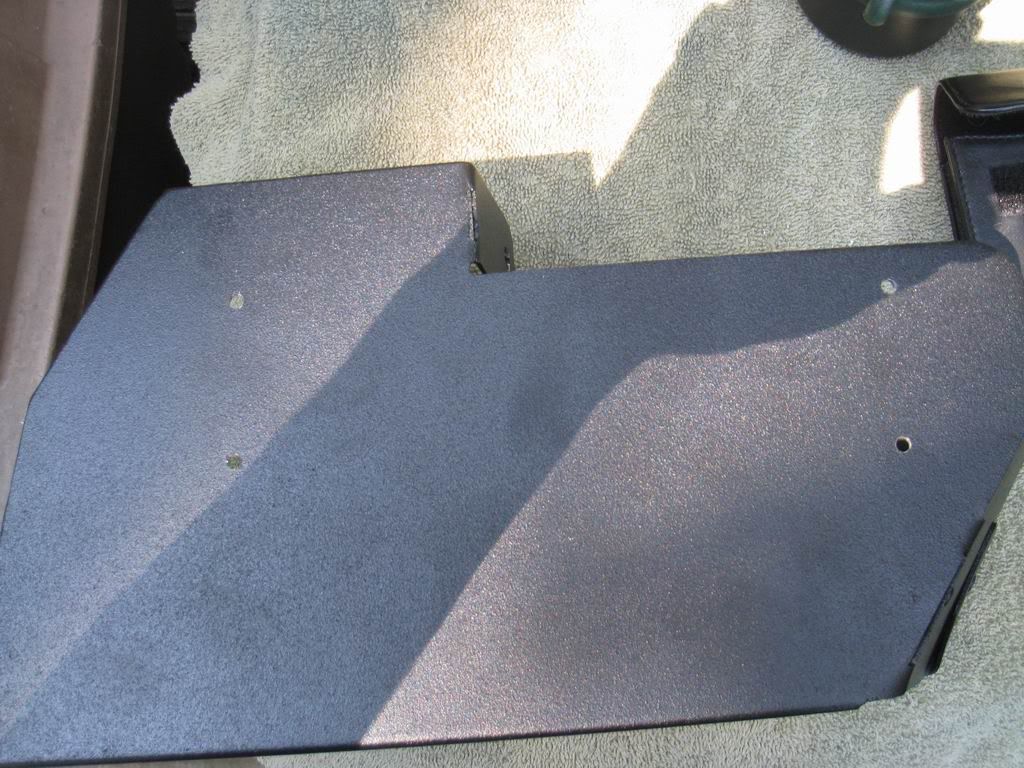
Had some rear 20s installed on the front with the 275s this weekend to make a square setup like many here do. Today I noticed a mark on the fender well where the tire was rubbing when I turned all the way to the right. Read this thread and moved it forward as far as it would go, but I still didn't like how the fender well stuck out some still. I ended heating the fender well plastic up with my heat gun and made it form closer to the scoop and washer bottle which minimized how much it stuck out. Put my tire back on and turned the wheel all the way to the right. I have enough room to put my fingers between the tire and wheel well now, so I should be good now.
__________________
2013 ZL1 (purchased 3/2017 with 5k miles) - Black/Auto/Nav/Sunroof/Rotofab CAI/RDP tuned/1 7/8" LT Speed Engineering Headers w/TSP HF Cats/NPP with 3-way control switch/HD-Link
Previous Camaro (sold 11/2015): 2012 2SS - Auto/RS/Black/Sunroof/MyLink Nav/SP 1 7/8" LT Headers w/HF Cats/Hybrid SW Retro Catback w/Borla Pro XS Mufflers/ADM Dyno Tune/C.A.I. CAI/Vmax Spiral Ported Throttle Body/APEX Catch Can/275x4 Squared Wheel Setup/Custom Fit Full Size Spare/Ceramic Tint Replaced with 2013 Black Dodge Charger SRT8 |
|
|
|
|
|
|
|
 |
|
|
 Similar Threads
|
||||
| Thread | Thread Starter | Forum | Replies | Last Post |
| DIY - ADM Scoop & Apex Washer Tank Installed with a CAI intake | ClutchKargo | Camaro DIY & HOW-TO instructions & discussions | 44 | 03-08-2016 05:52 PM |
| kenne bell washer bottle | markssylver | V8 - Engine, Exhaust, Bolt-Ons, Tuning Equipment | 1 | 12-23-2010 08:19 AM |
| WASHER BOTTLE REMOVAL PICS ADM AIR SCOOP INSTALL | 1969to2010 | Camaro V8 LS3 / L99 Engine, Exhaust, and Bolt-Ons | 13 | 11-08-2010 09:00 AM |
| 5202 (H16 ; 9009) Slim HID Kits !!! 09-Up Camaro Fog Light HID kits !!! | HID_Guy | Exterior Parts & Accessories | 19 | 09-08-2009 01:07 AM |
| 2010 Camaro Fog/DRL Light 5202 HID kits .... | HID_Guy | Exterior Parts & Accessories | 1 | 09-07-2009 12:19 PM |