You are browsing camaro5 

|
 12-07-2012, 11:32 PM
|
#15 |
          
Drives: 2021 1LE Join Date: Jul 2011
Location: N'Awlinz
Posts: 6,315
|
First look
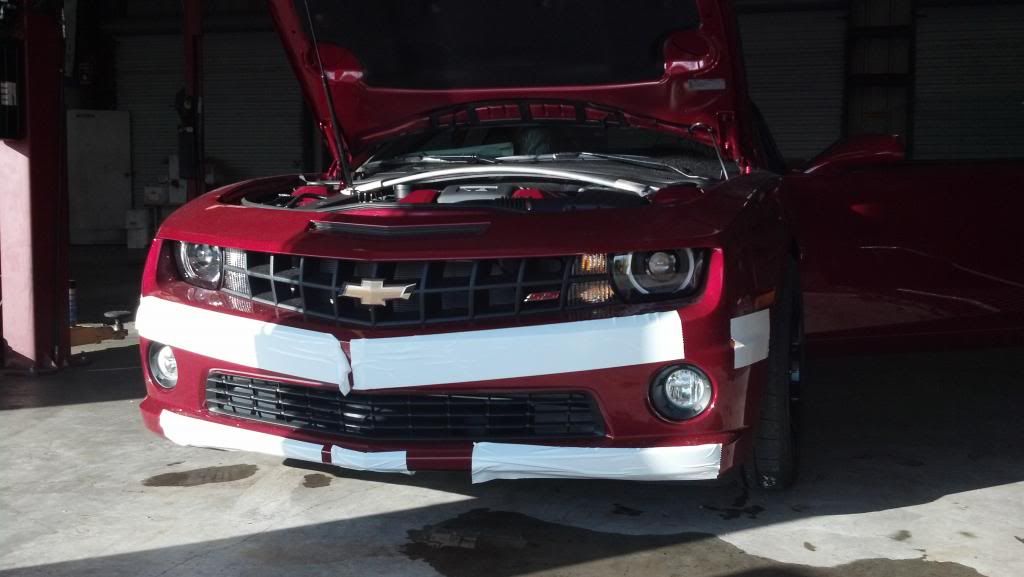 14 miles on the odometer! 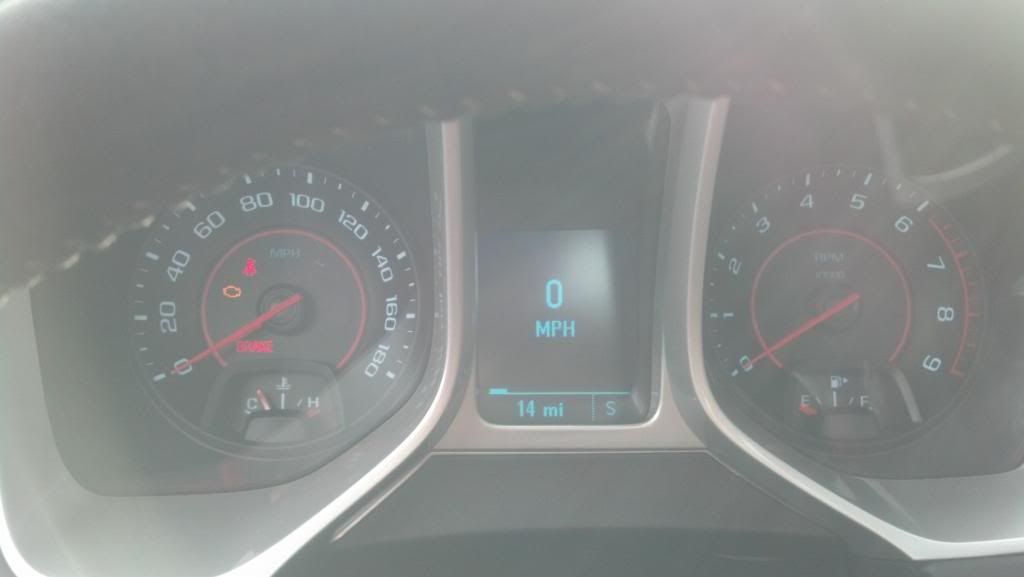 Damp (Car was built on 11/13 delivered 12/6) 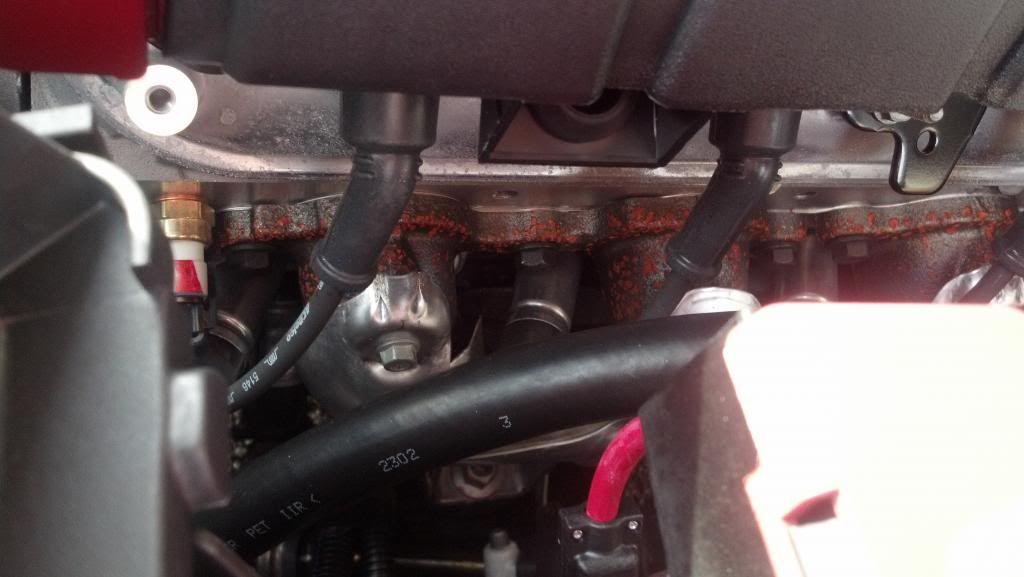 Oil Separator (clean side catch can) 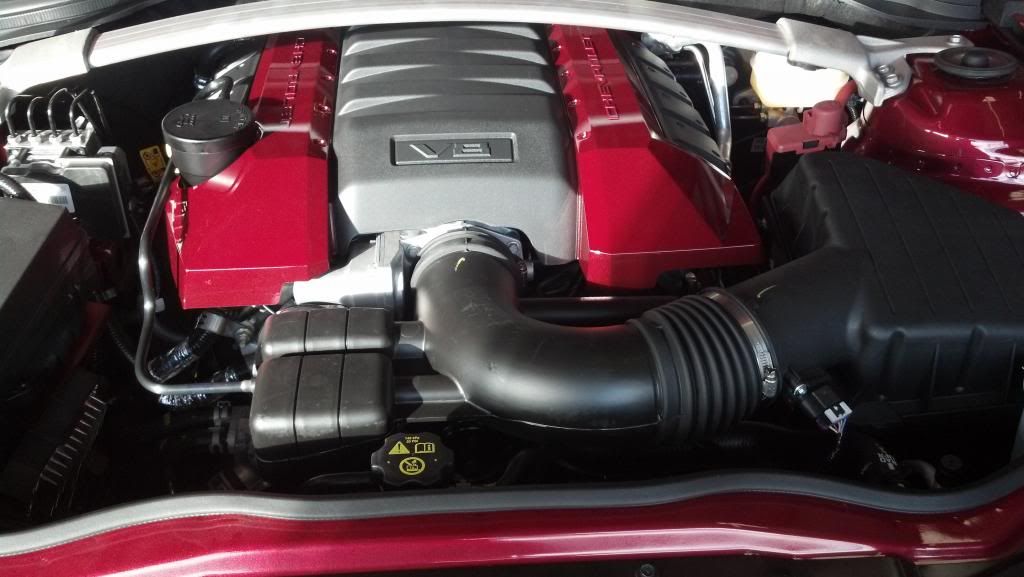 Needs to drop about an inch 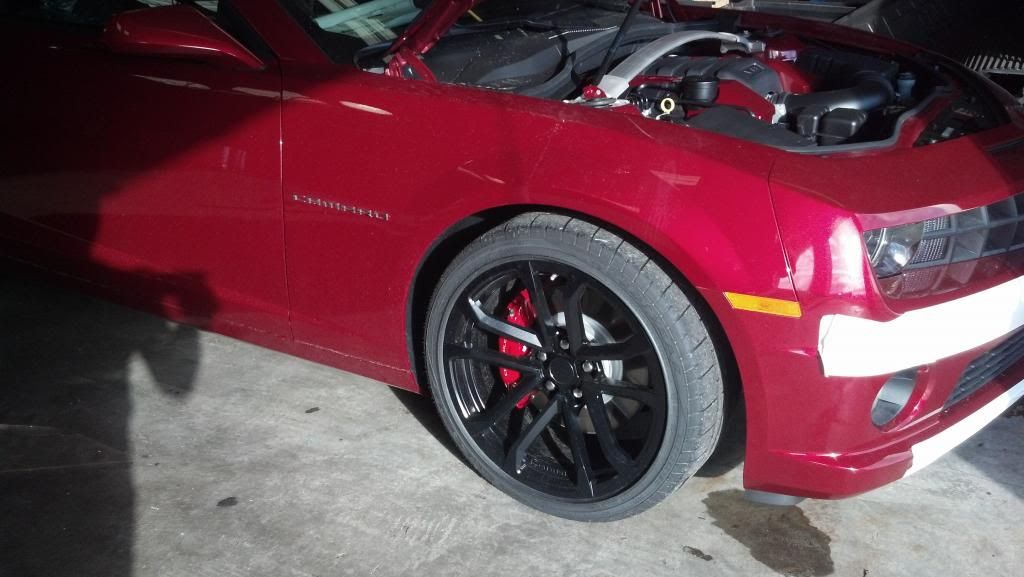 or so.... 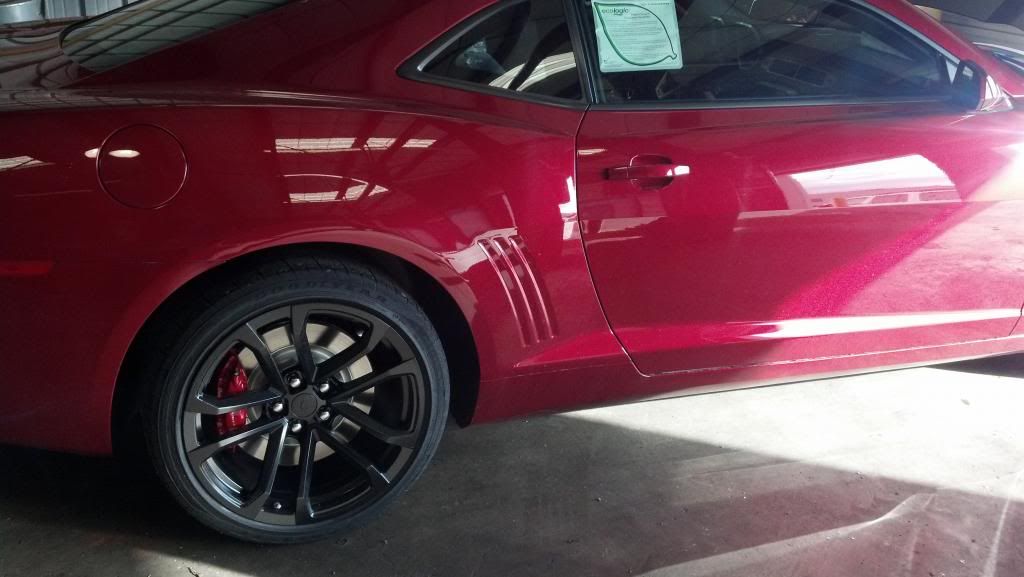 Fuel time (notice the rail car dirt... dealership not allowed to wash it) 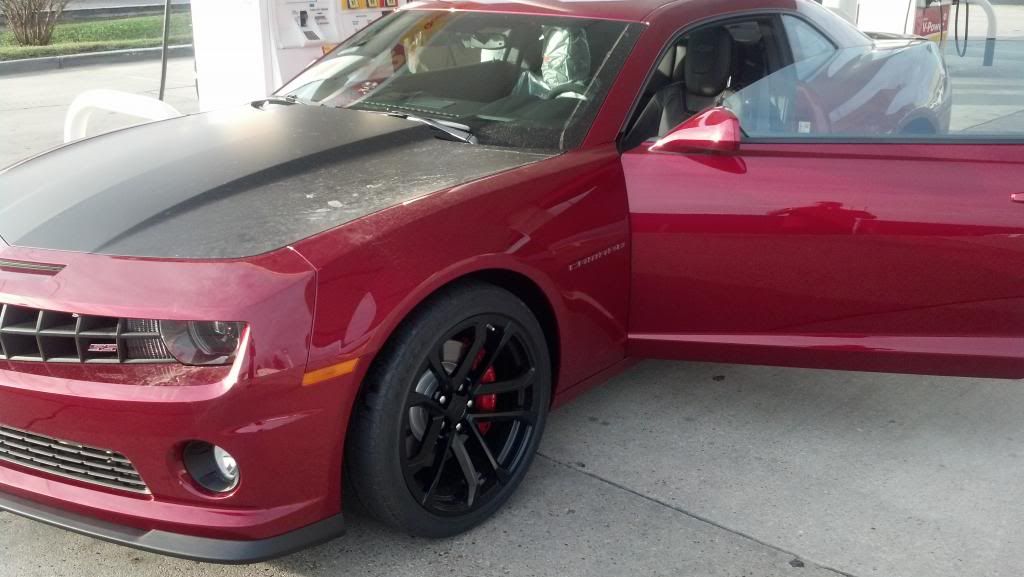 93 octane from dealership (supervised by me  ) )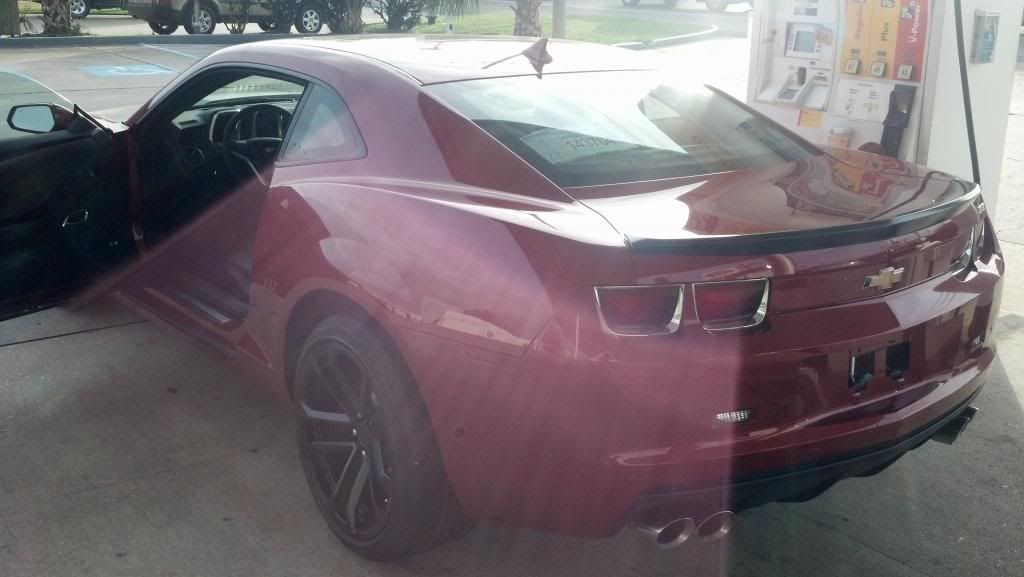 Setting sun and overcast.... 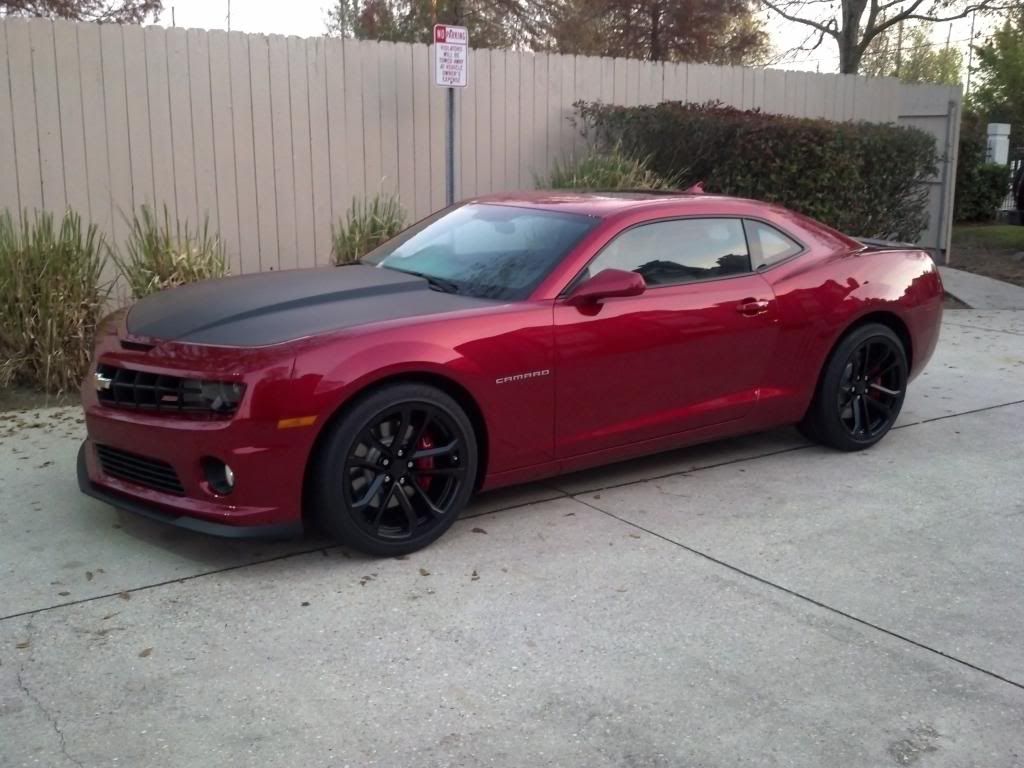 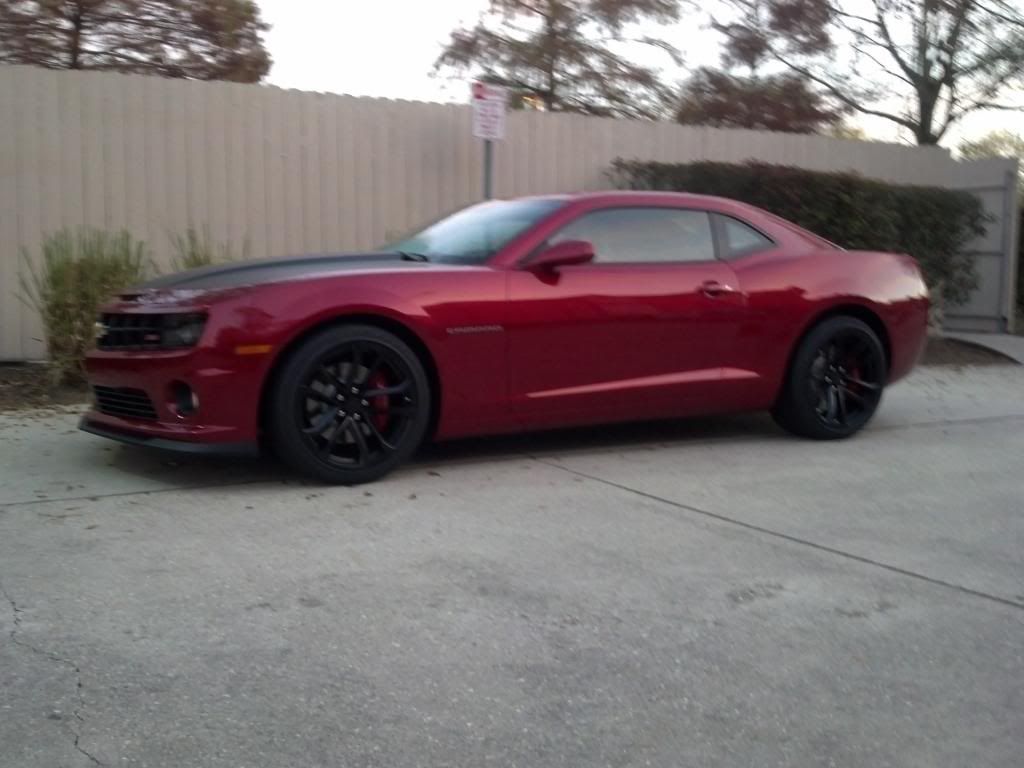 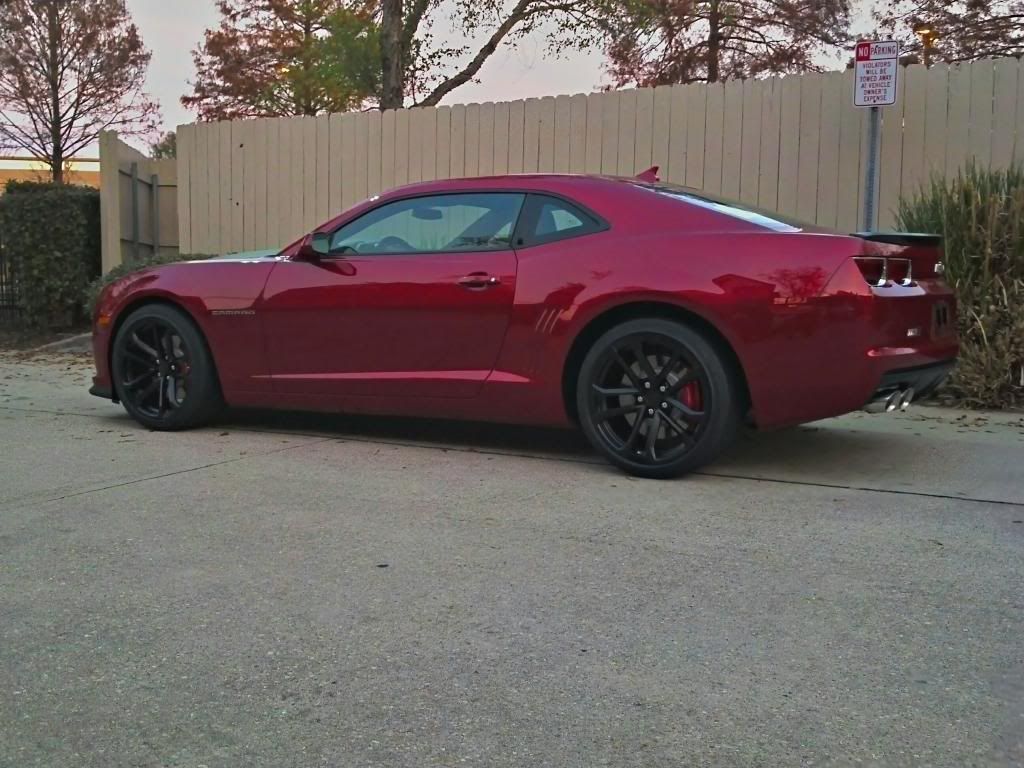 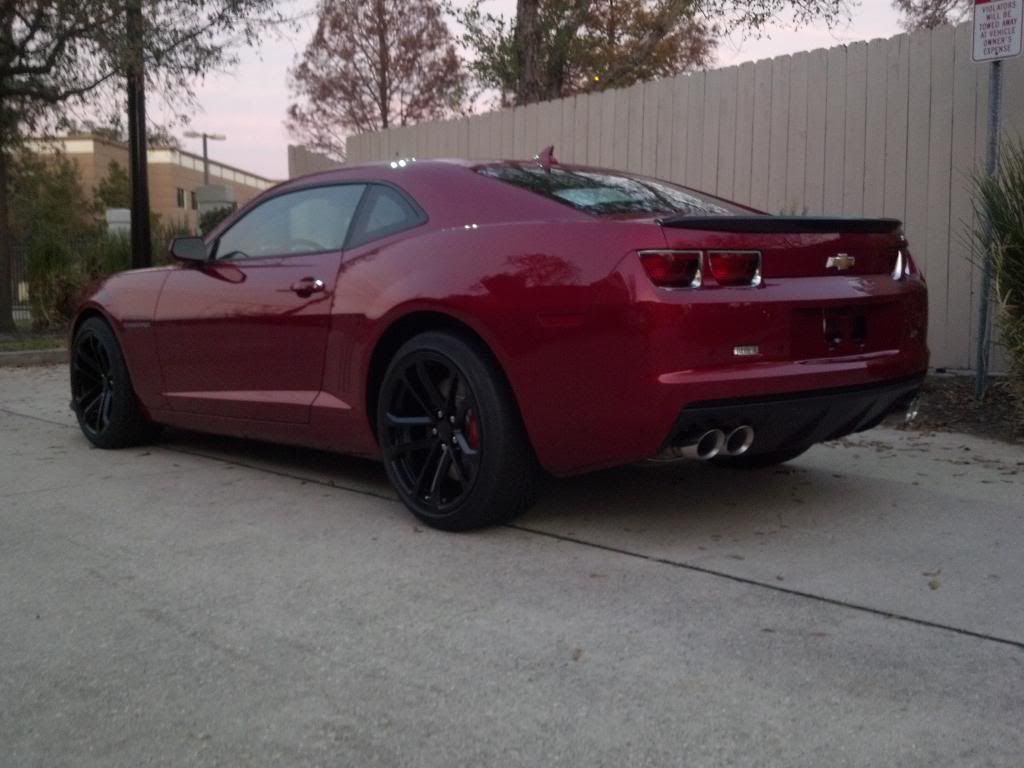 HDR 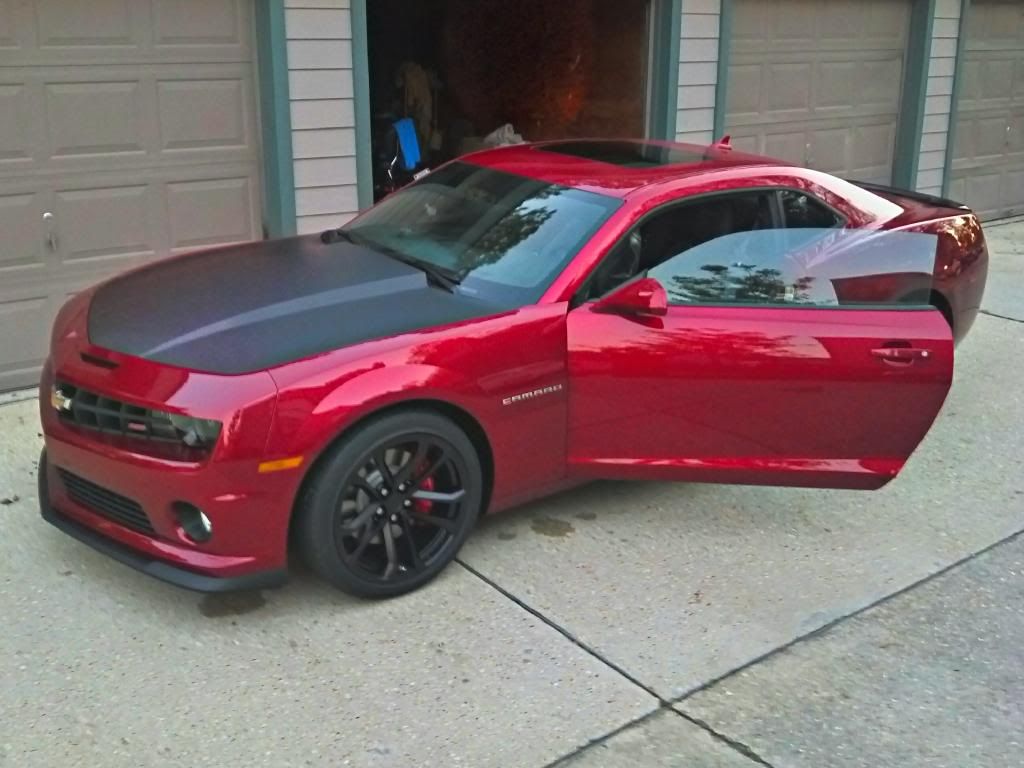 Had to air up the tires (the lest the dealership touched it the better I felt) 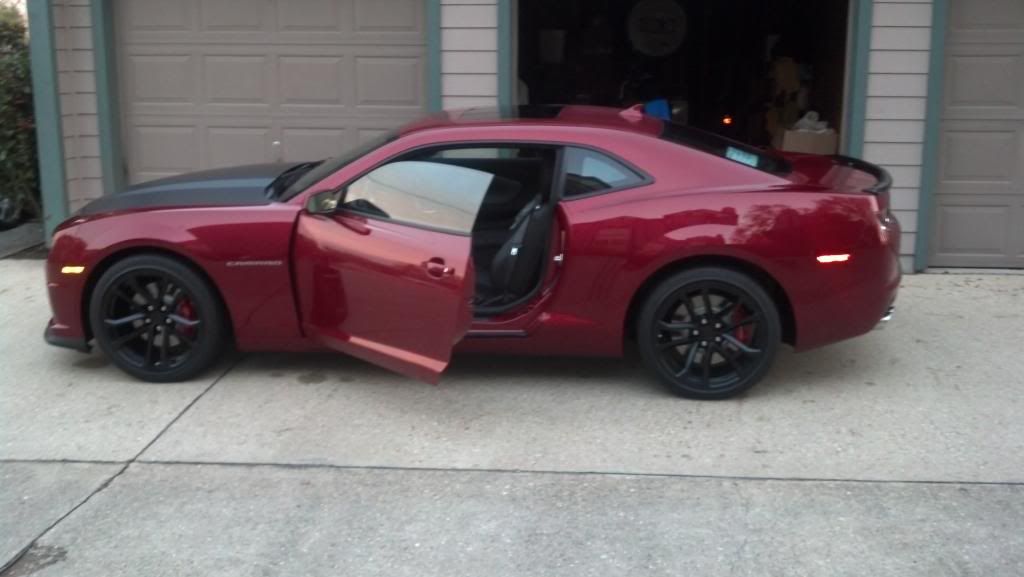 Received the car late and had to go to work. All I was able to do was knock the dirt off. Tomorrow I will install the catch can and the designated clutch reservoir and start beating on it to seat the rings. 
|

|

|
|
12-08-2012, 02:32 AM
|
#16 |
 
Drives: 2021 Forte GT Join Date: Jul 2011
Location: BC, Canada
Posts: 455
|
Lookin good!! Love the color and the black spoiler!
|
|
|
|
|
12-08-2012, 04:38 AM
|
#17 |
|
BeckyD Rocks :-)

|
Congrats
 Though it was sad to see the old ride go, you are certainly ushering in the new ride with great fervor and enthusiasm. The depth of your journal is quite astounding. In about six to seven months you will see another CRT 1LE that will look very close to yours except for a few things. I'm looking forward to your progression with the car as it will add to my knowledge and preparation for when I get mine. Thank you for sharing. Though it was sad to see the old ride go, you are certainly ushering in the new ride with great fervor and enthusiasm. The depth of your journal is quite astounding. In about six to seven months you will see another CRT 1LE that will look very close to yours except for a few things. I'm looking forward to your progression with the car as it will add to my knowledge and preparation for when I get mine. Thank you for sharing.   
__________________
2015 CRT 1SS/1LE RS/Recaro's/NPP/Nav/Rear vision pkg./BA speaker upgrade. Stage 3 BMR cam, ARH 1 7/8 headers, CAI,
BMR 1.25 drop springs, JPSS Billet Bushings, Peddars Cradle Bushings...460 whp...so far....SOLD, but not forgotten!  |
|
|
|
|
12-08-2012, 04:33 PM
|
#18 |
|
Drives: 2021 1LE Join Date: Jul 2011
Location: N'Awlinz
Posts: 6,315
|
Woke up VERY early this morning...., let the mods begin. Car has 30 miles on it.
HAPPY BIRTHDAY!!  Oil Seperator.  PCV  The trick to get these off is to move the detent THEN pull. 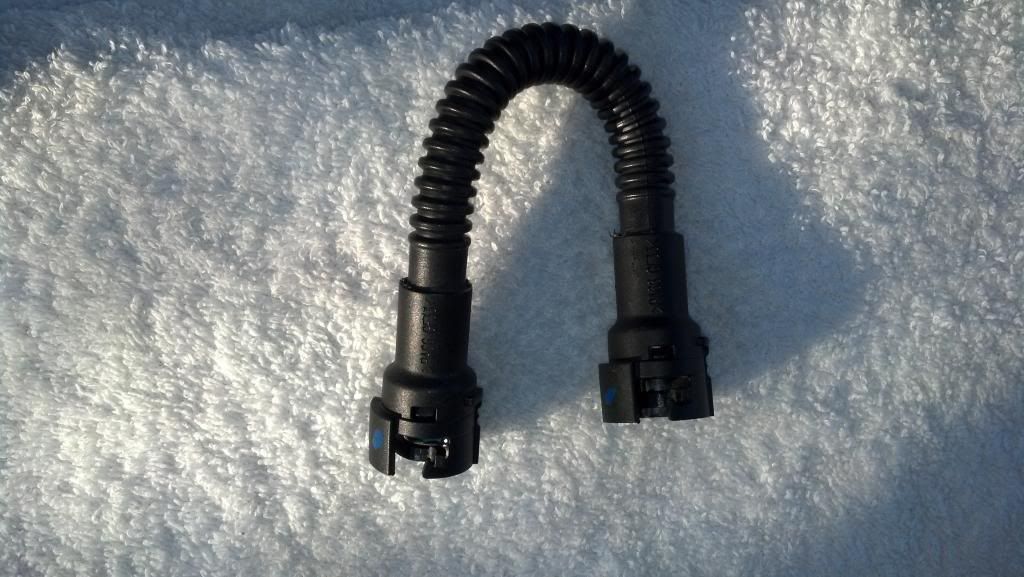 Where hoses connect.  Bracket mount.  Installed the RX catch can. The 2013 LS3 has a few items that are different from the 2011 so I changed the location of the can. Fits perfect quick install. The hardest part is getting my big hands in position to attach the hoses to the engine. 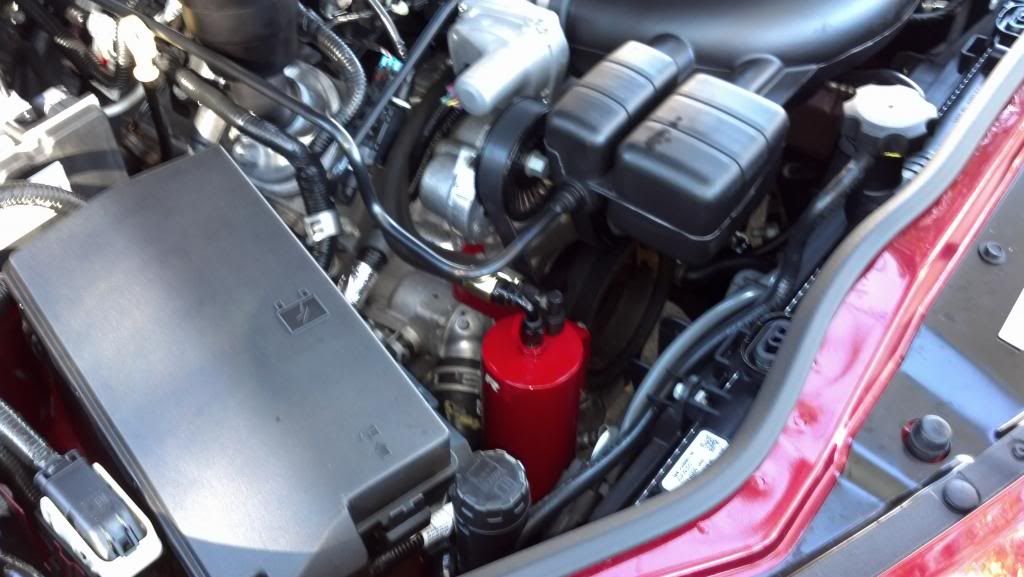
|
|
|
|
|
12-08-2012, 04:50 PM
|
#19 |
|
Drives: 2021 1LE Join Date: Jul 2011
Location: N'Awlinz
Posts: 6,315
|
The next MUST DO MOD was to install a separate clutch reservoir. You;ll see why in the next few photos. This is another very quick and easy install.
Protect the paint from drips. Empty most of the brake fluid. 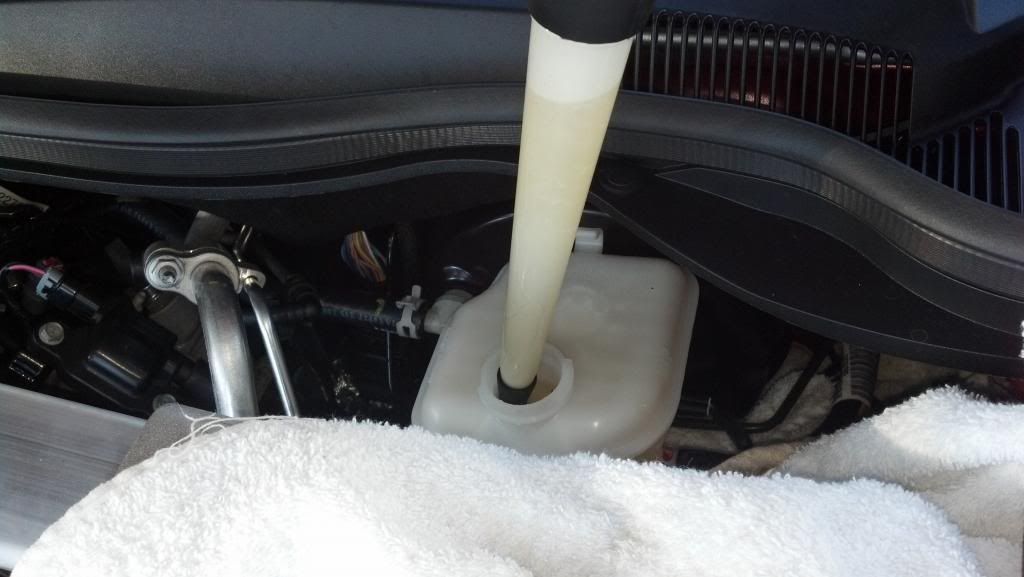 Remove line that feeds clutch and cap. 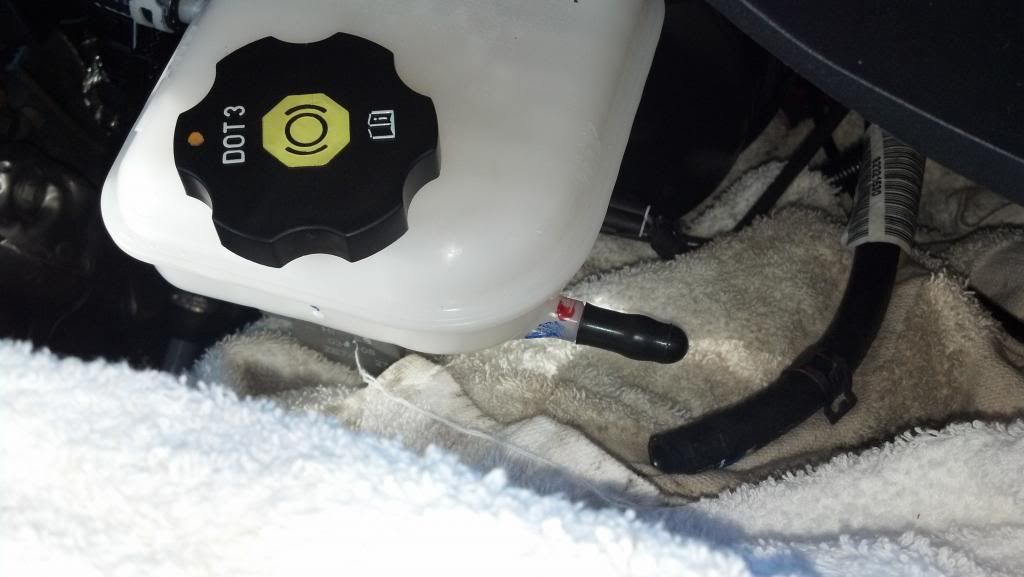 Attach clutch line to new reservoir and attach. Mine is being held in place with some wire tires. I could not find my self tapping screws. 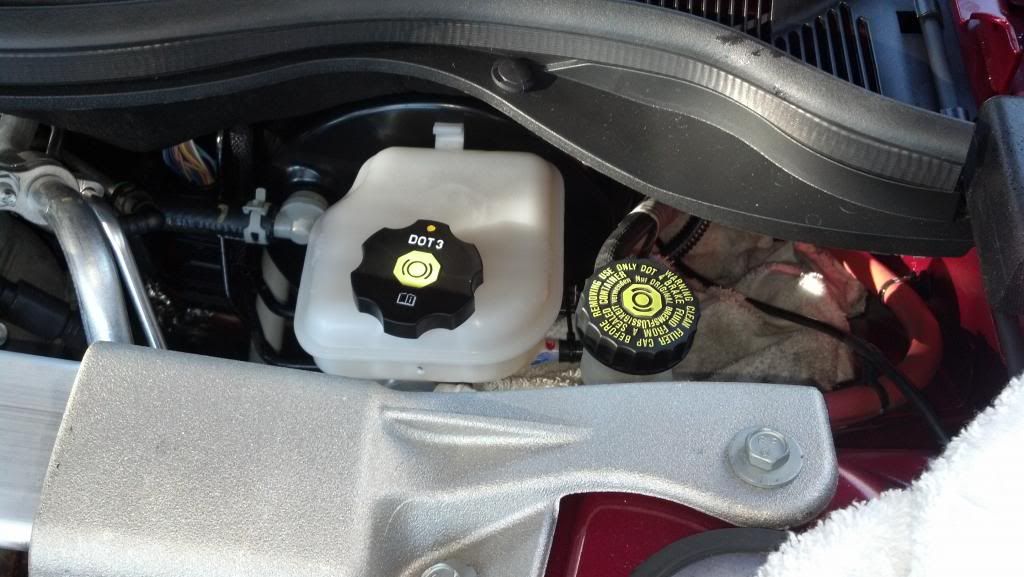 Now this next photo was taken after ONLY 25 miles of break-in in driving. The clucth fluid is already getting dirty!! And this is why we do this mod. That dirt would make its way into the brake system can't be good also reduces braking and brake fluid effectiveness. Also we can do frequent clutch fluid changes very easy now. This mod cost less than 25 dollars!!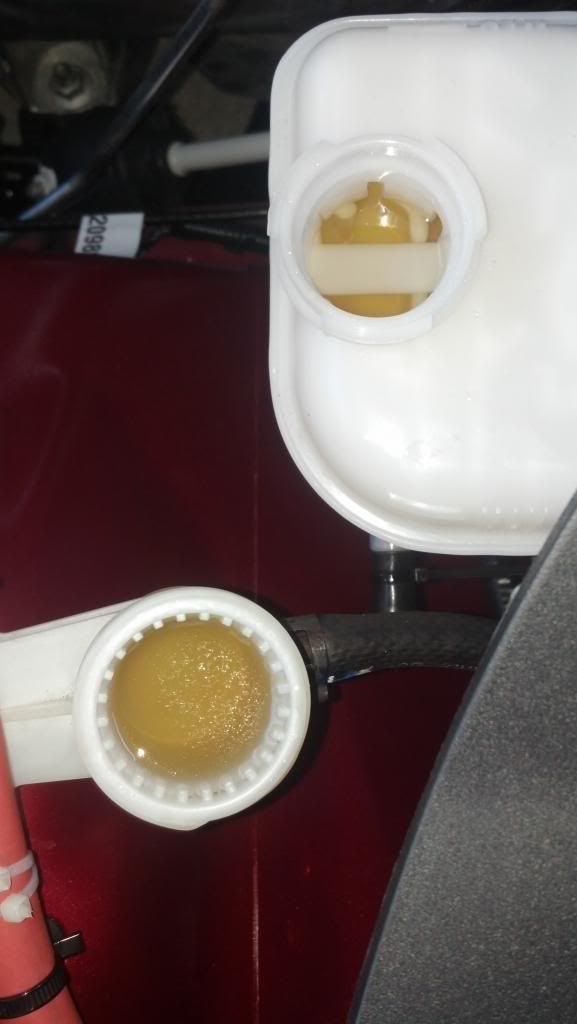
|
|
|
|
|
12-08-2012, 05:05 PM
|
#20 |
|
Drives: 2021 1LE Join Date: Jul 2011
Location: N'Awlinz
Posts: 6,315
|
Did some driving and decided to do a little cosmetic work.
 Gotta love plastidip!! 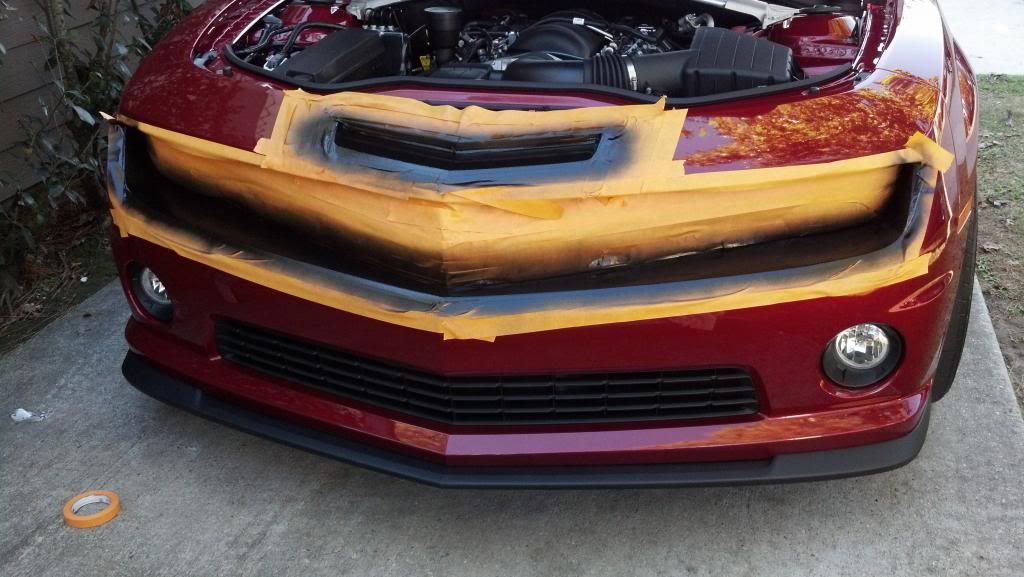 Best part about this stuff is over spray clean RIGHT off. 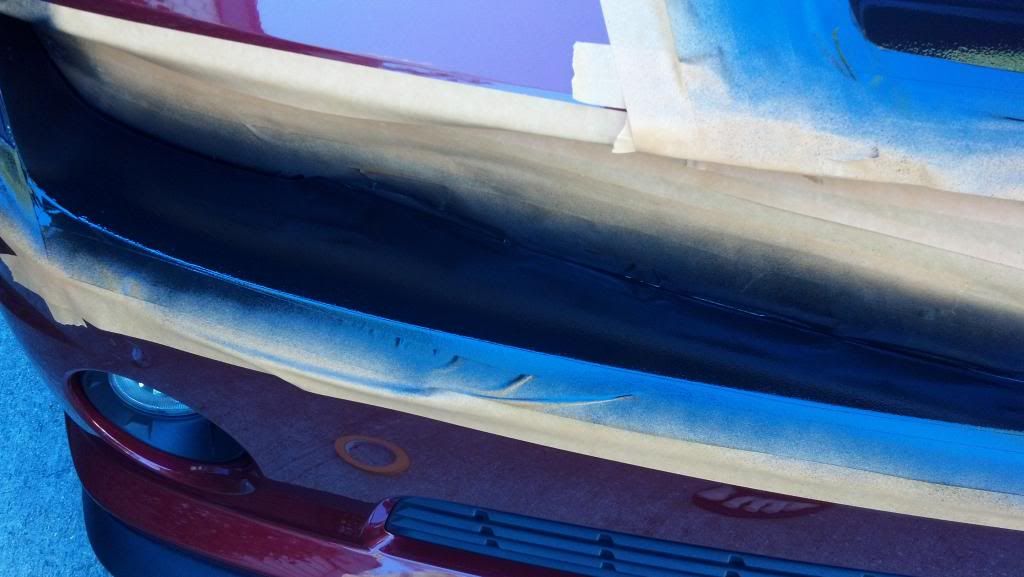 It is a PERFECT match to the hood and splitter!!  Check out the results. 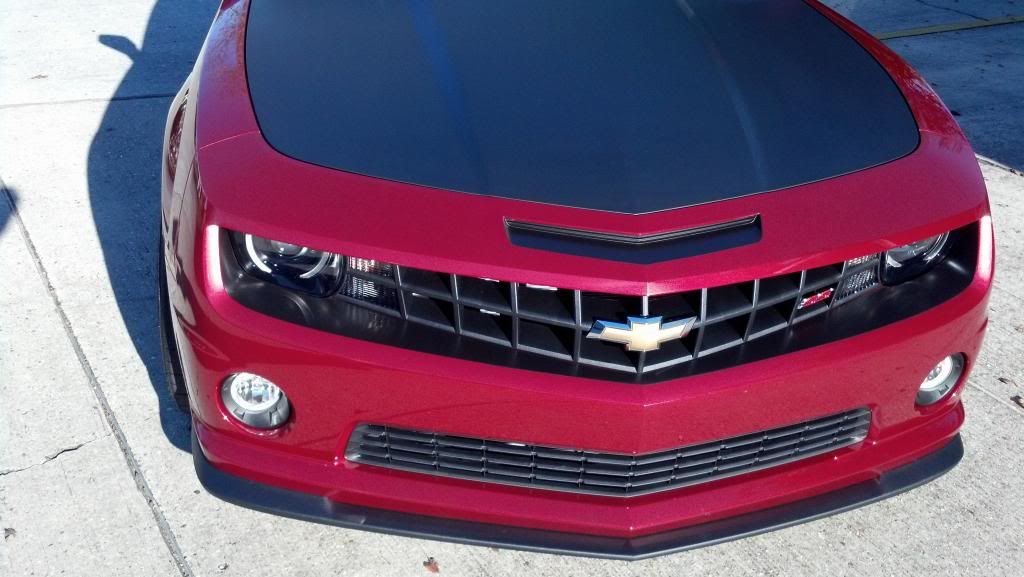  
|
|
|
|
|
12-08-2012, 05:09 PM
|
#21 |
|
Drives: 2021 1LE Join Date: Jul 2011
Location: N'Awlinz
Posts: 6,315
|
More brake in driving tonight a few more cosmetic and lighting stuff tomorrow. Going to the dyno next Saturday so no performance mods till then. Will try to write a "first impressions post..... soon.
|
|
|
|
|
12-08-2012, 09:16 PM
|
#22 |
|
Banned
Drives: 1991 New Yorker, 69 Tbird, ABM2SSRS Join Date: May 2009
Location: BC Canada
Posts: 2,248
|
Your car looks great so far! I'll probably be doing most of the same cosmetic mods, maybe a rear blackout as well.
|
|
|
|
|
12-08-2012, 09:24 PM
|
#23 |
      
Drives: SS,PaceCar,ZL1,1LE,C7Z51,Z06,17-ZL1 Join Date: Jun 2009
Location: Detroit, Mich
Posts: 68,623
|
Awesome!!

|
|
|
|
|
12-10-2012, 01:36 AM
|
#24 |
|
Drives: 2021 1LE Join Date: Jul 2011
Location: N'Awlinz
Posts: 6,315
|
Put the ZL1 peddles in today. Forgot what a pain it is to get the covers on. I had to bake 'em at 200 for about 10 minutes to be able to stretch the rubber onto the peddles.
 The gas peddle is plug and play and is held in place by three 10mm bolts. Finished product. 
|
|
|
|
|
12-10-2012, 01:47 AM
|
#25 |
|
Drives: 2021 1LE Join Date: Jul 2011
Location: N'Awlinz
Posts: 6,315
|
Also took off the taillight bezels today. Not sure if I will leave them off or paint 'em. I definitely don't like the chrome look. Getting these off can be a little tricky. You have to take your time and be sure not to force it. The tabs can brake real easy or you could scratch ya paint.
 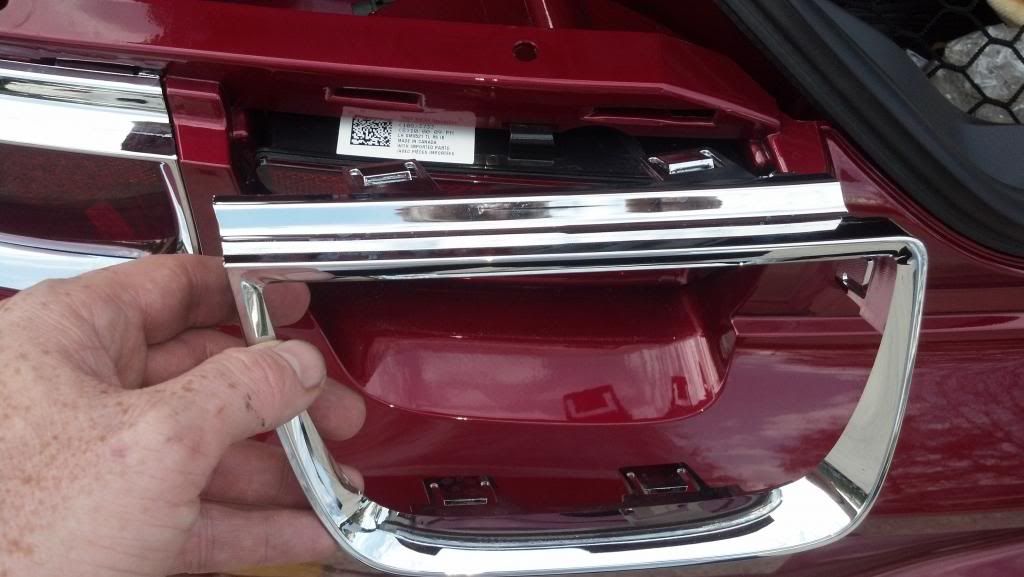 Here is a comparison. 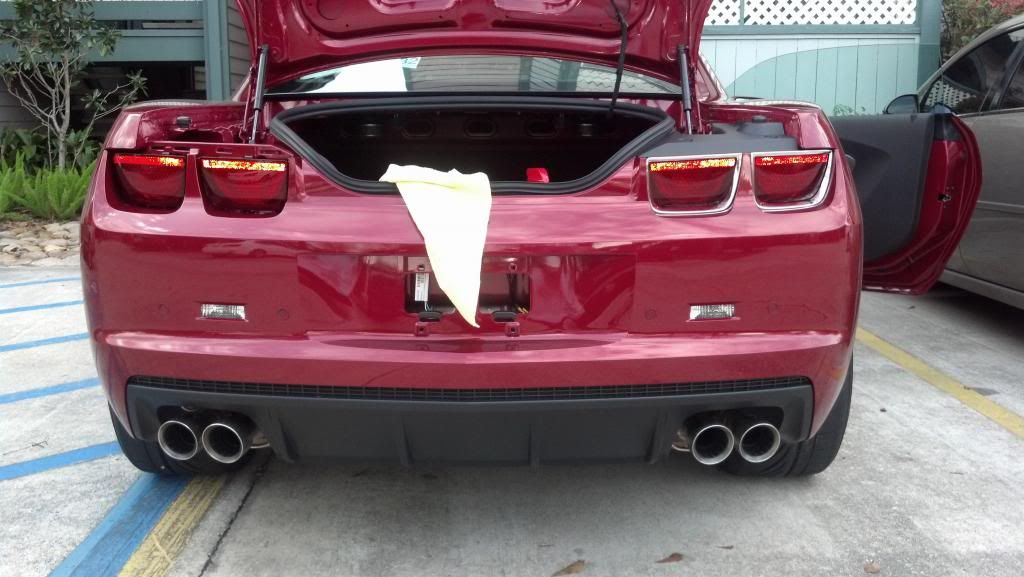 I may just leave them off. I like the deep look. 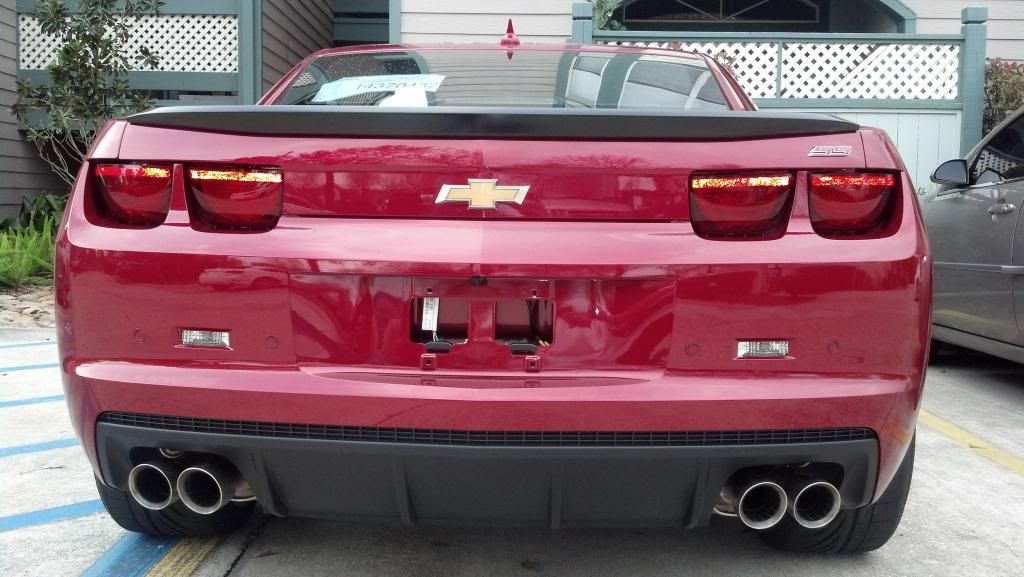
|
|
|
|
|
12-10-2012, 02:00 AM
|
#26 |

|
Lookin good!
__________________
 |
|
|
|
|
12-10-2012, 06:56 AM
|
#27 |
|
Do you even lift, bro?
|
Love you're not waiting either! Already have plastidip sitting in the garage waiting for the same headlight area mod :P Been waiting for a buddy to help me tape everything up bc he wants to do his wheels and wants to see how it works. Looks sick man!
__________________
My 1LE (645WHP/597WTQ) build/journal Thread:
1st ever 1LE COTW http://www.camaro5.com/forums/showthread.php?t=255461  |
|
|
|
|
12-10-2012, 08:19 AM
|
#28 |
|
Drives: '11 VR 2LT HHr Join Date: May 2011
Location: Gateway to the West
Posts: 2,721
|
Sweet 1LE Congrats !
 So many colors to choose from ! ! ! love that crt ! ! !
__________________
2011 Hhr
Formerly known as Silver85IrocZ !! |
|
|
|
|
|
|
|
 |
|
|


