You are browsing camaro5 

|
 12-29-2010, 03:22 PM
|
#1 |
  
Drives: 2012 Challenger SRT8 Auto Join Date: Sep 2009
Location: Central New Jersey
Posts: 839
|
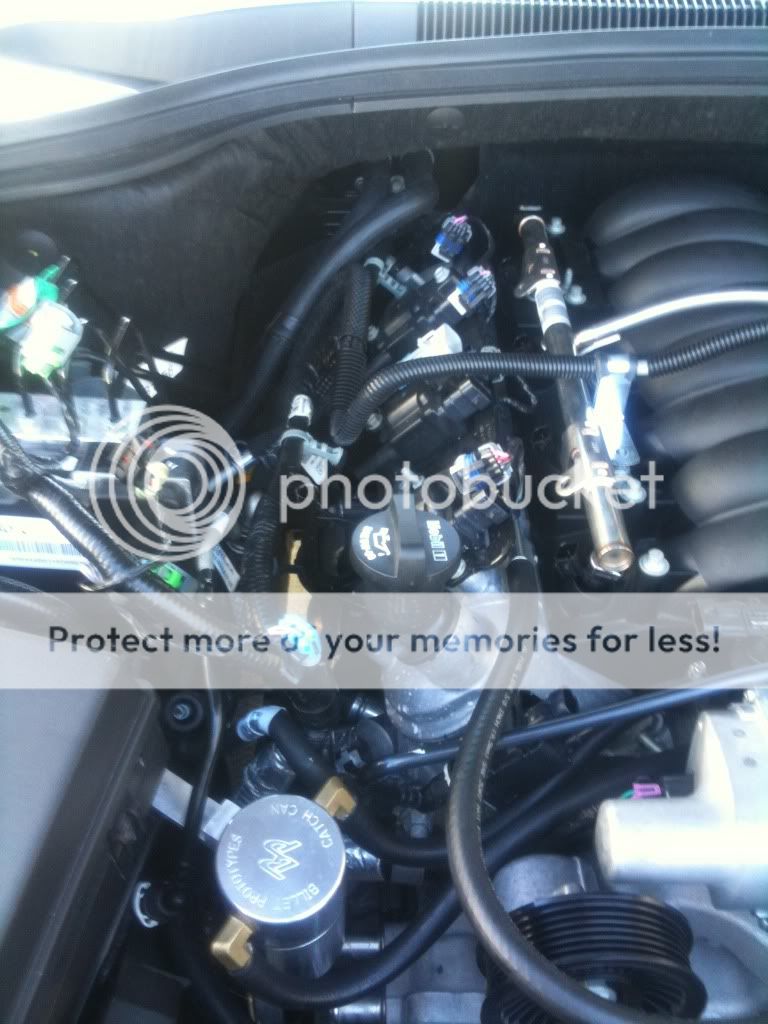
DIY cam install, tips for getting passenger-side valve cover off???
I am very near starting the teardown for my cam swap and being this is the first time I will be doing this I am researching all the steps so I just follow my script when I finally put a wrench to the car in the next week or so. I hope to do a full blown step-by-step can swap thread with full pictures as there seems to be such a thread lacking for these cars and the only full thread being the ls1 swap on an F-Body that is floating around.
My main question is around what to move out of the way to get to the passenger-side valve cover. The driver's side is pretty straight forward....  The passenger-side is a little busier so is it a case of just working the coil packs and stuff out from under everything along with the valve covers or are there some things I should disconnect to make my life easier....  Thanks in advance for any tips or advice...
__________________
"When the people find they can vote themselves money, that will herald the end of the republic." - Benjamin Franklin  LS3 Camshaft Swap Do-It-Yourself Instructions - 2010 LS3 gone but not forgotten!!! |

|

|
|
12-29-2010, 05:05 PM
|
#2 |
 
|
when I did mine I took off the fuel and evap line then the coil packs and there was plenty of room. it was actually harder to change the springs on the drivers side.
__________________
2010 2SS M6 CGM LMR cold air, texas speed underdrive pulley and complete stainless exhaust 17/8 headers coated, comp LSR cam, push rods and trunion upgrade, norris catch can, prothane engine mounts, pfadt coilovers, BMR everything suspension, BMR four point strut, MGW billet shifter, barton pistol grip handle, AAC dome and footwell blue, all lights 25% tint, RKsport carbon inlay spoiler, powdercoated calipers, Stoptech stainless brake lines, Hawk HPS pads, West Bend Dyno tune 491rwhp and 465rwtq corrected.
|
|
|
|
|
12-29-2010, 05:14 PM
|
#3 |
|
BAMF SS

Drives: 2016 Camaro 1SS A8 Join Date: Mar 2010
Location: Ford City, PA
Posts: 3,024
 |
uhhh... disconnect the coil packs and coil pack mounting plate and harness from the valve cover..... i don't think you can even unbolt the valve covers without taking the coil packs off first.
and as far as getting the passenger valve cover off (assuming you already have the coil packs off).... just think of "tetris" it usually takes me a couple extra minutes each time, and i think each time i do it a different way, but it isn't rocket science.
__________________
2016 1SS A8: FBO + Circle D + P1X + Meth + Tuned by Pray Performance
Stock Longblock 800 SAE rwhp. 9.4 @ 145 mph. |
|
|
|
|
12-29-2010, 06:20 PM
|
#4 | ||
|
Drives: 2012 Challenger SRT8 Auto Join Date: Sep 2009
Location: Central New Jersey
Posts: 839
|
Quote:
Quote:
__________________
"When the people find they can vote themselves money, that will herald the end of the republic." - Benjamin Franklin LS3 Camshaft Swap Do-It-Yourself Instructions - 2010 LS3 gone but not forgotten!!! |
||
|
|
|
|
12-29-2010, 07:49 PM
|
#5 |
|
Account Suspended
Drives: 2012 Camaro RS, RX supercharged Join Date: Dec 2009
Location: Bradenton, FL
Posts: 6,063
|
I make K-member lowering bolts tha allow you to drop the entire K-member 4 inches to make it a breeze. Takes 10 minutes to drop and you don't have to remove brake lines or anything that you normally wouldn't.

|
|
|
|
|
12-31-2010, 07:37 AM
|
#6 |

Drives: 2011 SS/RS LS3 Join Date: Oct 2010
Location: Miami
Posts: 528
|
I had used the gates # 18077 & 18078 hoses to replace the ones on top of the intake. Since they weren't in the way I was able to unbolt the fuel rail hold down -L bracket attatched to an intake or fuel rail stud- and you can lift up the fuel rail and wedge it under the cowl. Disconnect the evap line - the one that clips next to the fuel line- and bend it back towards the cowl. Disconnect the injectors and the main connector in the middle of the valve cover for the coils. The Y of elctrical harness that goes around the oil fill cap has a clip attatched to the front of the passenger head. Open the clip and pull the dipstick out and you can lift the wiring harness over the dipstick tube and get all that wiring out of the way. No need to disconnect the connectors to the coil pack as the wiring comes out with them. I originally removed the rear most coil on the passenger side -first one on the drivers side- and was able to remove the valve cover with the coil packs attatched. I don't reccomend that though as it makes installing them a bitch. It's best to just remove the coil pack first and have a nice and easy valve cover to put back on.
Last edited by Irnwkrkev; 12-31-2010 at 09:40 AM. |
|
|
|
|
12-31-2010, 05:58 PM
|
#7 |
|
Account Suspended
Drives: 2011 2SS Join Date: Jun 2010
Location: Springfield, Mo
Posts: 833
|
If your having problems with the valve cover, you probably should not tackle cam and springs alone. Call a friend. No offense intended but be careful with your baby.
|
|
|
|
|
12-31-2010, 07:49 PM
|
#8 | |

Drives: Silver SS/RS, Man 6 Join Date: Apr 2009
Location: DFW area, Texas
Posts: 884
|
Quote:

__________________
Silver 2SS/RS Man/6
CTS-V front 6-Piston Calipers, GM 3.91 Rear Gears |
|
|
|
|
|
01-01-2011, 07:32 AM
|
#9 |
|
Drives: 2012 Challenger SRT8 Auto Join Date: Sep 2009
Location: Central New Jersey
Posts: 839
|
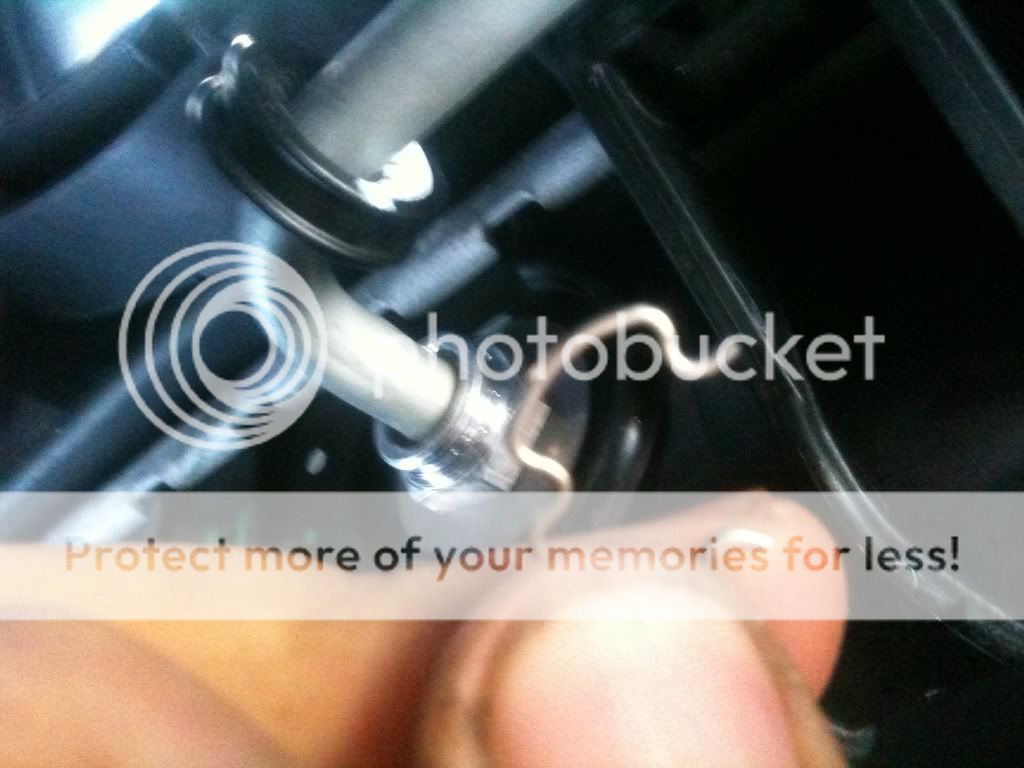
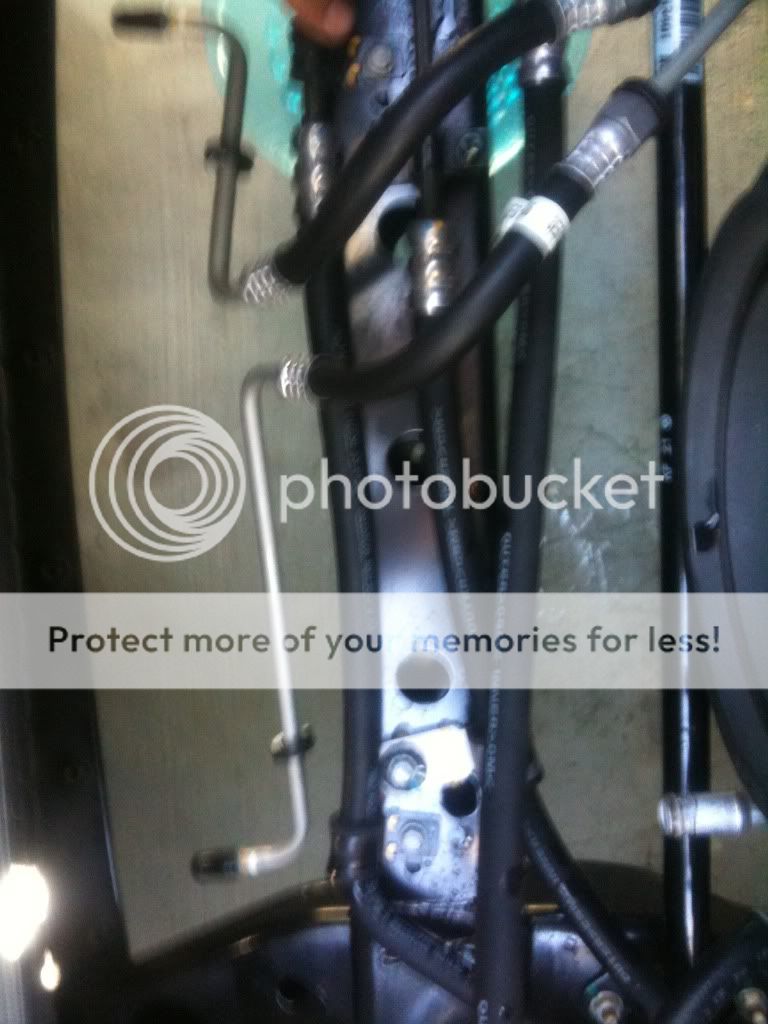
Thanks for the tips so far folks, now here is the next possible stupid question. When taking the radiator out, the best way to disconnect the two small lines that go into the backside bottom of the radiator. Are folks disconnecting them right at the base or higher up the line? Yes, probably an obvious answer but I still have to ask.
Upper fittings....  Lower fittings (passenger-side one pictured).... 
__________________
"When the people find they can vote themselves money, that will herald the end of the republic." - Benjamin Franklin LS3 Camshaft Swap Do-It-Yourself Instructions - 2010 LS3 gone but not forgotten!!! |
|
|
|
|
01-01-2011, 08:15 AM
|
#10 |
|
Drives: 2011 SS/RS LS3 Join Date: Oct 2010
Location: Miami
Posts: 528
|
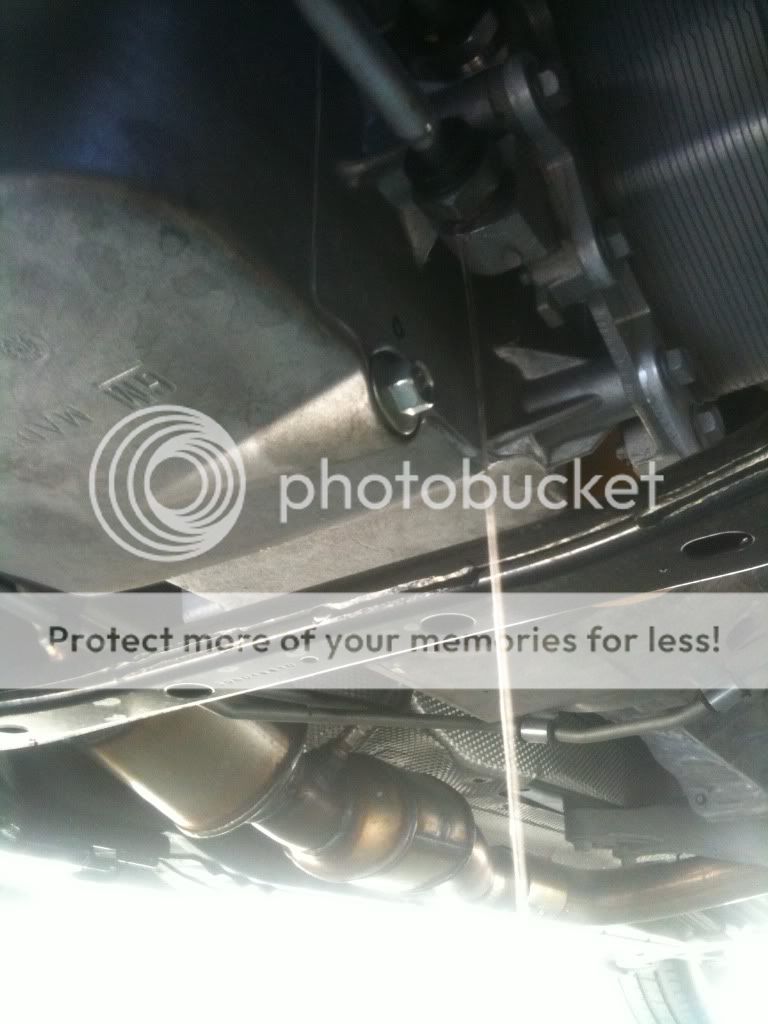
Lower fitting. Pry up the black plastic cap and there are wire clips that hold the lines in. I had an assortment of vacuum caps and used two to cap the lines and two long ones to plug the radiator -be carefull not to push them too far. I also unbolted all the clips to the power steering and a/c lines after removing the radiator to have enough play to lift up the a/c condensor to remove and install the camshaft. If you're by yourself you can wire the condenser to the hood clip while you work the cam in and out of the engine. There are also two fittings like this near the oil filter. In order to remove the lower most radiator hose -the small one- you need to disconnect this lower line and drain the coolant that is left in the motor. I didn't realize it was the same type of fitting and just loosened the threaded fitting, but it would be much quicker to remove the black cam and retaining wire like the trans lines in the radiator.
|
|
|
|
|
01-01-2011, 10:54 AM
|
#11 | |
|
Drives: 2012 Challenger SRT8 Auto Join Date: Sep 2009
Location: Central New Jersey
Posts: 839
|
Quote:

__________________
"When the people find they can vote themselves money, that will herald the end of the republic." - Benjamin Franklin LS3 Camshaft Swap Do-It-Yourself Instructions - 2010 LS3 gone but not forgotten!!! |
|
|
|
|
|
09-16-2011, 08:28 AM
|
#12 | |
|
No Pain No Gain

Drives: Yellow 5th Gen 2SS RS Join Date: Aug 2009
Location: GA
Posts: 1,519
|
Quote:
__________________
2010 2SS/RS/L99 - Headers/CAI/SWAYs/CoilOvers/Tune/Steel Braided Brake Lines/Frozen Slotted Rotors
|
|
|
|
|
|
|
|
|
 |
|
|
 Similar Threads
|
||||
| Thread | Thread Starter | Forum | Replies | Last Post |
| DIY : Install headers on 2010 Camaro SS | Nine Ball | Camaro DIY & HOW-TO instructions & discussions | 70 | 06-25-2020 07:40 PM |
| Cam basics | CamaroSpike23 | Camaro V8 LS3 / L99 Engine, Exhaust, and Bolt-Ons | 76 | 11-25-2015 12:42 PM |
| L99 Lifters | Ohten | Camaro Issues / Problems | Warranty Discussions | TSB and Recalls | 25 | 06-29-2010 10:33 AM |
| DIY : Install catback on 2010 Camaro SS | Nine Ball | Camaro DIY & HOW-TO instructions & discussions | 3 | 08-09-2009 05:36 PM |


