You are browsing camaro5 

|
 03-11-2010, 08:21 PM
|
#29 |
|
Unofficial Glass Tech

Drives: 2014 Ford F150 FX2 Join Date: May 2009
Location: Raceland, LA
Posts: 1,376
 |
doesn't look like you did anything bad... wet sanding is meant mainly for freshly painted surfaces where you're wet sanding the clearcoat (not 24 hours after you paint it)... i wet sanded my rx7 after we painted it, it took a long time but the results were great... we used 2 compounds that come in a big plastic bottles, from what i rememeber it was equivilent to 1000g and 2000g sandpaper... we used a high speed Dewalt tool on a wool pad for the 1000g and an egg shell type pad for the 2000g... after it was all done, i used a good wax and threw the car cover on it...
 but by all means, im no paint/detail specialist |

|

|
|
03-11-2010, 08:27 PM
|
#30 | ||
|
CGM is the Best! Thx GM

Drives: 2010 2LT RS Camaro, Auto + Sunroof Join Date: Jul 2009
Location: MA
Posts: 513
|
Quote:
Quote:
Definitley dumb to try this the first time on the camaro. lesson learned, hopefully fixable.
__________________
 Proud Owner of a CGM 2 LT/RS Auto Transmission w/Sunroof and Spare Tire   |
||
|
|
|
|
03-11-2010, 08:35 PM
|
#31 |
|
"Detailing Devil Dog"

Drives: 2001 Corvette Coupe Join Date: Jan 2010
Location: Louisville, KY
Posts: 2,730
|
Okay PatFan, I guess you already realize that you really made a bone head move! I won;t rub it in more than that!
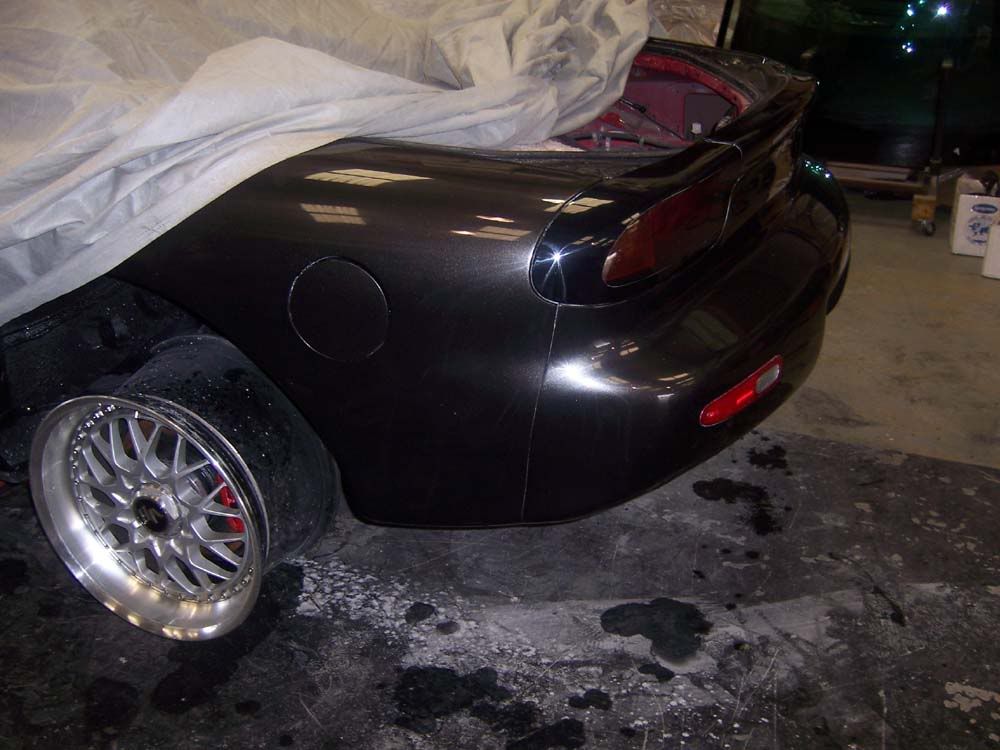
 First off, allow me to offer two resources that have proven methods of chip repair. None of these methods involve sand paper! That is the last thing that you should have done! What you should have done was checked with the people installing the cler bra. Most of these places have guys who have knowledge with paint correction and will take care of any issues for a price. Now for those two resources. The first is Dr. Colorchip. The second option is the Langka System. Either will work if the are used EXACTLY as the instructions direct! Neither product is fast and may take days or longer to do the job right. I cannot stress the part about following the directions. That is the secret to your success. I would seriously think about getting this fixed professionally as it is nowhere near as easy as some of the post in this thread make it out to be for a novice. For someone who does this for a living, it would take less than 5 minutes to make those scratches disappear. For a novice, it would take less than that to make the damage require a visit to a paint booth! If you put a rotary polish on that damage, you will loose the paint chip because you will end up wiping all the paint off that area! That would NOT be good! Now for a lesson in wet sanding. I'm not going to post the entire... ahhh what the heck. I'll post the whole thing here. Only the first 4 or 5 videos apply to what you'v done. If you want to learn how to sand correctly, check them out. Also, 2000 grit paper will wipe the paint off that spot pretty darn fast so don't even go that route. Like I said before, I would get that fixed professionally now that you have messed it up this bad. There are guys who travel around with airbrush equipment and will fix and clear your chips on the spot. You may want to locate one of them. Here you go, wet sanding 101. You've asked and asked for it, and I finally made the time and got it done. My start to finish videos on DIY wet sanding! There are 8 videos in this series, however, most of the information will be covered in the first 4 videos. Halfway through the fourth video, I change up and try using the PC-7424 as an orbital sander. Now the only orbital sand paper that I had was 3000 grit, which isn't going to do all that much so I had mixed feelings about the results. Add to that the price of orbital sandpaper and I wasn't about to invest a whole lot of money trying to see what would happen. Maybe somebody from 3M will see this and donate some to the Junkman's research fund! Just as always, READ THE TEXT THAT ACCOMPANIES EACH VIDEO BEFORE YOU WATCH THE VIDEO! This cuts down on the repeat questions that I get, which are usually covered in the text (not to mention the videos). If you skip through the videos and miss something I covered in detail there, I'm just going to send you back to the videos. If you ever have to suffer through uploading videos of high quality to You Tube, you'll understand (it took 12 hours to upload these). Plus, I always get bombarded with questions from people who stumble upon the videos, not having any knowledge of the thread that they are posted in. It actually takes me hours to answer my emails some days! :willy: So, with that said, here we go!  Video 1 - Introduction and Wet Sanding Basics In this video, I talk about things like the paint thickness gauge, the grits of sandpaper that you can use with Adam's Polishes, and general information on what to and what not to do. I also go into the description of the Adam's Focal Pads and Backing Plate Kit.. Video 2 - Focal Pad's and Wet Sanding with 2500 Grit Paper In this video, I continue the discussion about the focal pads and start the wet sanding process using the 2500 grit sandpaper. Every once in a while, you may hear me say that I'm using 2000 grit paper. That is not true, that is just me having a senior moment.  Video 3 - Wet Sanding with 2500 and 3000 grit Paper In this video, I'm removing the scratches with both grits of sandpaper. Once I get through with the 3000 grit paper, I find that I didn't go deep enough with the 2500 grit. Thus, I repeat the process again. The reason I didn't go deep enough was because I was trying to be careful and not go through the clear coat. This is why you need a paint thickness gauge. Without one, you are just guessing at how much clear coat you have to work with. That hood had been painted before so it has more clear on it than a car that has factory clear on it. Factory clear is notoriously thin and you have to be extremely careful when wet sanding on it. Video 4 - Using the Focal Pads to Remove Wet Sanding Damage In this video, you see me remove the damage that I've done using the Focal Pads and Adam's Swirl and Haze Remover Car Polish (SHR). Halfway through this video, we are basically done with the repair. I do show you the area that I'm working on and how much of the damage has already been repaired. All that is left is to follow the SHR with the Adam's Fine Machine Polish, and then the wax of your choice. I prefer the new Adam's Americana Premium Paste Wax  After that, I go into the discussion of using the PC-7424 as a orbital sander. Since the sandpaper that I was using is so fine (3000 grit), it really didn't do much but laugh at the paint. If I am ever to do this again, I will definitely have to get a heavy grit sandpaper. At $80.00 a box for 15 sheets, I won't be doing it anytime soon! Video 5 - Using the PC-7424 as an Orbital Sander In this video, you get to see me using the PC as a orbital sander using some 3000 grit orbital sanding disk. The results are not what I was looking for as 3000 grit sandpaper is just not harsh enough to do what I was thinking I could do. Had I used some 1500 grit paper, I would have really accomplished something but the damage would have probably been unrecoverable. That would have called for a visit to the paint shop! Video 6 - Correcting the Damage Done with the Orbital Sander Just what it says. I use SHR and a orange pad to correct the damage that I did with the orbital sander. I show a new technique that I am using consisting of a lot of pressure with the polisher set on a speed of 5 - 6. As I approach the end of my buffing process, I let up on the polisher and let the weight of the polisher do the final work. I only use this technique with the orange pad, never with the white or black pads. Video 7 - Results of My New Technique In this video, we look at the results of my new technique. I also discuss some of the supplies that I used with the orbital sander. The results speak for themselves. Adam's Polishes are for real! Video 8 - The Recap and Conclusion Just as the titles says, I go over everything that I did and give you my insight of the experience. In the end, I will stick to wet sanding when it comes to getting rid of scratches. Maybe if I had to sand a entire panel would I give thought to using the PC as a orbital sander but for now, it's one scratch at a time. Well that's it folks! Give'em a watch and let me know what you think. I think you'll find them as educational as always, with me showing my senior monents splashed throughout the production. What can an old jarhead say? :willy: Here are some pictures from the experience:            The Junkman
__________________
"Marines - Making the other guy die for his country for over 200 years."
|
|
|
|
|
03-11-2010, 08:49 PM
|
#32 |
|
CGM is the Best! Thx GM
Drives: 2010 2LT RS Camaro, Auto + Sunroof Join Date: Jul 2009
Location: MA
Posts: 513
|
Ive already watched the videos (after i already messed up) they were very informative!
As far as getting it done professionally, how much would that one spot cost? it is below the door handle on the drivers side close to the rear panel..... Also how much would it be for about 10-12 small chips on the front bumper.... total repaint of the bumber maybe?
__________________
Proud Owner of a CGM 2 LT/RS Auto Transmission w/Sunroof and Spare Tire |
|
|
|
|
03-11-2010, 09:00 PM
|
#33 | |
|
"Detailing Devil Dog"
Drives: 2001 Corvette Coupe Join Date: Jan 2010
Location: Louisville, KY
Posts: 2,730
|
Quote:
Stop by a body shop and have them buff out your sanding marks. They shouldn't charge you a dime because it will take them less than 5 minutes to do it. If they claim they need you to leave the car there, DRIVE AWAY. They are a rip off shop.
__________________
"Marines - Making the other guy die for his country for over 200 years."
|
|
|
|
|
|
03-11-2010, 09:01 PM
|
#34 |
           Drives: 2010 2SS IOM L99 Join Date: Jan 2010
Location: LOUISVILLE,KY..
Posts: 7,545
|

|
|
|
|
|
03-11-2010, 09:10 PM
|
#35 | |

Drives: '67 Camaro ZZ4 & 2010 IOM 2SS Join Date: Oct 2008
Location: Real World USA
Posts: 582
|
Quote:
Worse thing you can do is try to fix it, mess it up & then take it to the professional... |
|
|
|
|
|
03-11-2010, 09:19 PM
|
#36 |
|
CGM is the Best! Thx GM
Drives: 2010 2LT RS Camaro, Auto + Sunroof Join Date: Jul 2009
Location: MA
Posts: 513
|
Reason i ask how much is the dealership was saying 6-700$ hundred not a real estimate but just talking. I dont think it would be even close to that. Im going to talk to the sales-manager i bought the car from. He can surely help me to a degree but im keeping all options open at the moment. Gonna check out those products now also.
__________________
Proud Owner of a CGM 2 LT/RS Auto Transmission w/Sunroof and Spare Tire |
|
|
|
|
03-11-2010, 09:22 PM
|
#37 | |
|
"Detailing Devil Dog"
Drives: 2001 Corvette Coupe Join Date: Jan 2010
Location: Louisville, KY
Posts: 2,730
|
Quote:
__________________
"Marines - Making the other guy die for his country for over 200 years."
|
|
|
|
|
|
03-11-2010, 11:13 PM
|
#38 |
|
Cheif Pounderhard

Drives: 80camaro/Avalanche/srt8charger Join Date: Jan 2008
Location: in the vault
Posts: 547
|
3M diamond dust polish. Fixed.
|
|
|
|
|
03-11-2010, 11:44 PM
|
#39 | |
|
"Detailing Devil Dog"
Drives: 2001 Corvette Coupe Join Date: Jan 2010
Location: Louisville, KY
Posts: 2,730
|
Quote:
__________________
"Marines - Making the other guy die for his country for over 200 years."
|
|
|
|
|
|
03-12-2010, 11:58 AM
|
#40 | |

Drives: 2019 Dodge Daytona R/T Join Date: Feb 2009
Location: Ontario
Posts: 2,572
|
Quote:
__________________
Quote of the year, from 6.1hemi:
"I just wanted to type some junk cause I am having some beers and I really like cars." |
|
|
|
|
|
03-12-2010, 12:12 PM
|
#41 |
Drives: 2LT RS Silver Ice w/Cyber Grey strp Join Date: Sep 2009
Location: Kunsan AB, Republic of Korea. Car is stored
Posts: 146
|
I have done selveral chips and followed with Scratch-X, it takes a little elbow grease but when finished you will never know it was there. I have doen this on my C6 Corvette my wife truck and the hood of my Camaro. If your paint bubble is a little high, try a micro fiber rag wrapped around a 9-volt battery while using the compound to keep it level with the body. Good luck.
|
|
|
|
|
03-12-2010, 12:12 PM
|
#42 |
|
GM fix my PAINT U suck!

Drives: 2010 Black 1SS/RS 6Spd Join Date: Sep 2009
Location: Great Red North
Posts: 1,856
|
Quick hit with 1200, 1500, 2000, 2500 and then a Farecla G3 then G10 and then swirl remover and no wax because of the clear bra going on. I would fix it for FREE if you were close to Toronto. I do stuff like this all day long. There are lots of different opinions and techniques. There is only 1 or 2 proper ways. Id have that in and out in under 20 mins. I just did a Infiniti G35 that someone tried to remover tar sap with a potscrubber. The owner when he picked it up at the dealer swore that it had to have been repainted. Anywayz you need to take it to someone thats not just a detailer you need someone that does this all the time. I dont know whats around you all I know is its not really as bad as it looks. Not to me anywayz.
__________________
 |
|
|
|
|
|
|
|
 |
| Thread Tools | |
|
|
 Similar Threads
|
||||
| Thread | Thread Starter | Forum | Replies | Last Post |
| wet sanding | Chris-10 | Cosmetics and Lighting Modification Discussions | 8 | 12-08-2009 05:55 PM |
| Potential Huge Problem.... 2010 Camaro Nose Cracks (UPDATE: NOT A PROBLEM AT ALL!) | Nine Ball | 5th Gen Camaro SS LS LT General Discussions | 328 | 05-03-2009 09:55 PM |
| Window index problem | camaroqueen | 5th Gen Camaro SS LS LT General Discussions | 33 | 04-29-2009 09:07 AM |
| Problem | Superman09 | General Automotive + Other Cars Discussion | 2 | 12-16-2008 09:16 PM |
| Problem with my v6 | TonytheTiger | 4th Generation Camaros | 12 | 08-22-2008 03:34 PM |


 Talk about a brain fart. Dude in the future use gm touch up paint and a tooth pick then call it a day. Another great option is drcolorchip. Good luck and please dont use your beautiful car for testing stuff out you dont know much about. Thats what beaters are for.

