You are browsing camaro5 

|
 10-31-2009, 07:58 AM
|
#57 | ||||
|
Truth Enforcer

Drives: anything I can get my hands on Join Date: Sep 2006
Location: anywhere and everywhere
Posts: 22,797
 |
nice!!! keep up the great work nick!
__________________
Never race anything you can't afford to light on fire and push off a cliff
A group as a whole tends to be smarter than the smartest person in that group until one jackass convinces everyone otherwise. Quote:
 Quote:
Quote:
|
||||

|

|
|
11-01-2009, 01:28 AM
|
#58 |
 
Drives: 1991 Z28 convertible Join Date: Apr 2009
Location: St Charles, MO
Posts: 136
|
Does this count as a "little" progress?
 This is love at first site, if I have never seen it before: 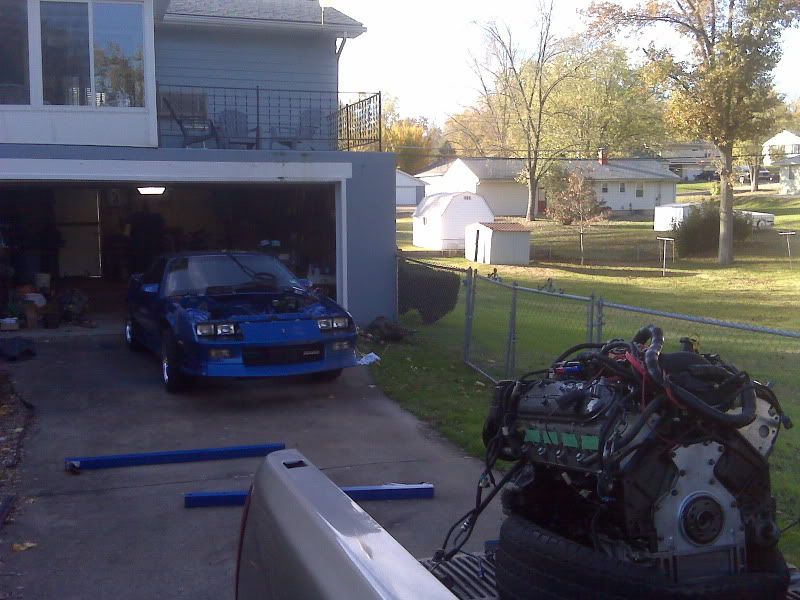 Ok, I think some of you guys are going to be really jealous with this next part. The reason I say that, is because not only did I not have to loosen the motor mount pedestals, or the motor mounts themselves, I also didn't even have to jack the car up off the ground, well partially anyways. All I did was jack the rear axle up off the ground about 8", left the front tires on the ground, and did a lot of lowering and then man-handling the motor and transmission on the hoist and lowered them down together from the top. Both bolts for the motor mounts went in without much problem. In fact, the driver side one went in right away, and I just had to have my friend push down on the block a little while I knocked the passenger side bolt in with a rubber hammer. Easy as pie. Sorry for the crappy BlackBerry pictures, I am definitely going to clean her up this week and take some really good ones with my Canon DSLR. I've been using my phone to take pictures of most of the progress because it's so handy to use instead of swinging around an actual camera.  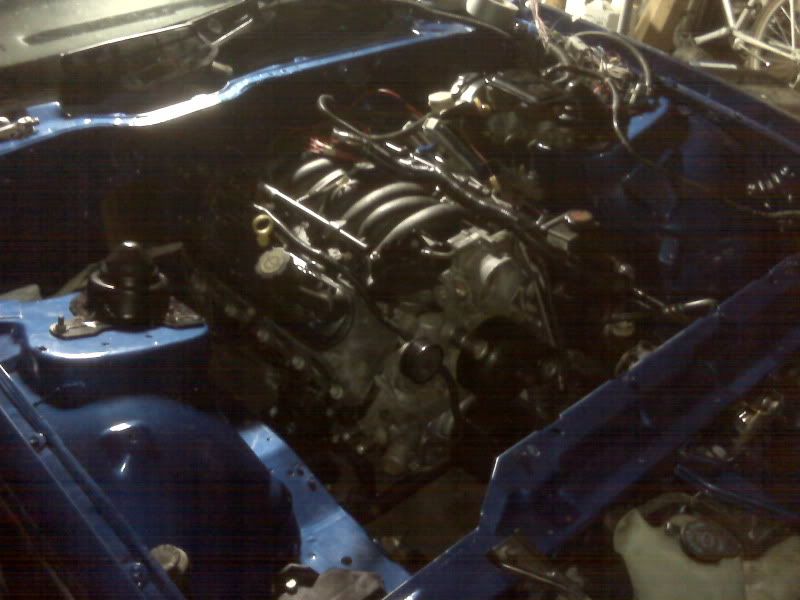 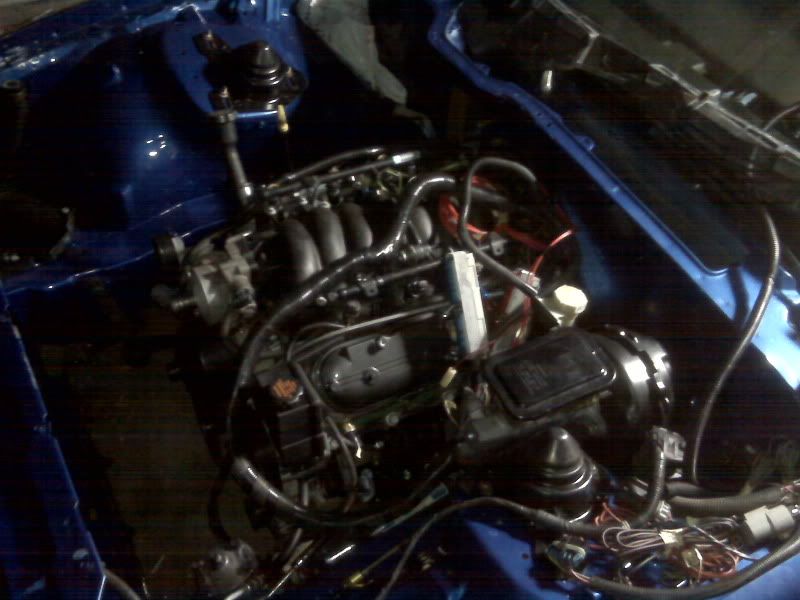 Ok, and one more positive note before I begin with the negative that I found tonight. The hole I cut for the shifter seems to be just right. I cut it in the correct spot, it could be a little smaller but I think the lower shift boot will cover most of it. 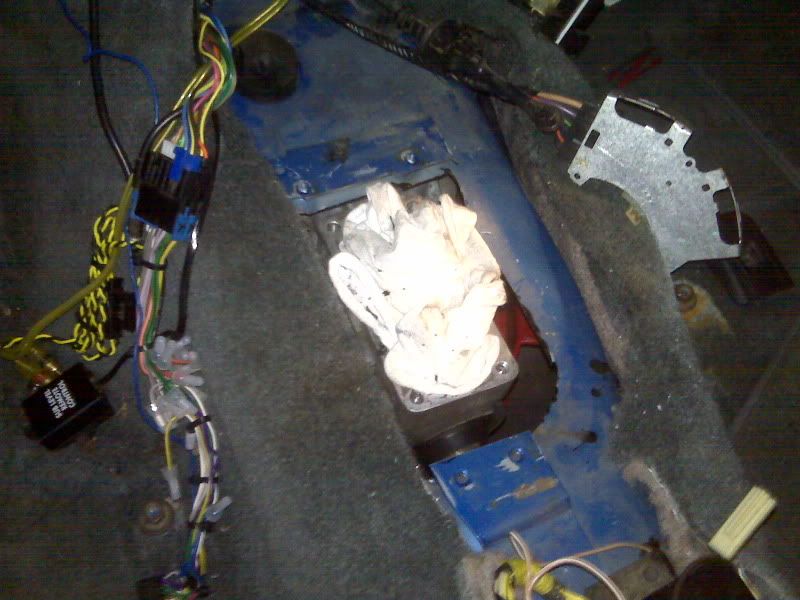 Ok here's the negative. Am I the first person to try using the Alston Racing sfc's and the Spohn T56 crossmember? The reason I ask, is because I haven't come across anyone else with this problem before. I'm thinking I will need to notch out a chunk of the mounting face of the cross member to clear the front of the sfc. You can see how bad it really is, there is like a 1/2" gap between the frame rail and the cross member, creating horrible ground clearance, as well as me not being able to bolt down the cross member all the way without breaking it. I'll wait to get some input from you guys before I start hacking away on it. This should be sitting flush with the frame rail: 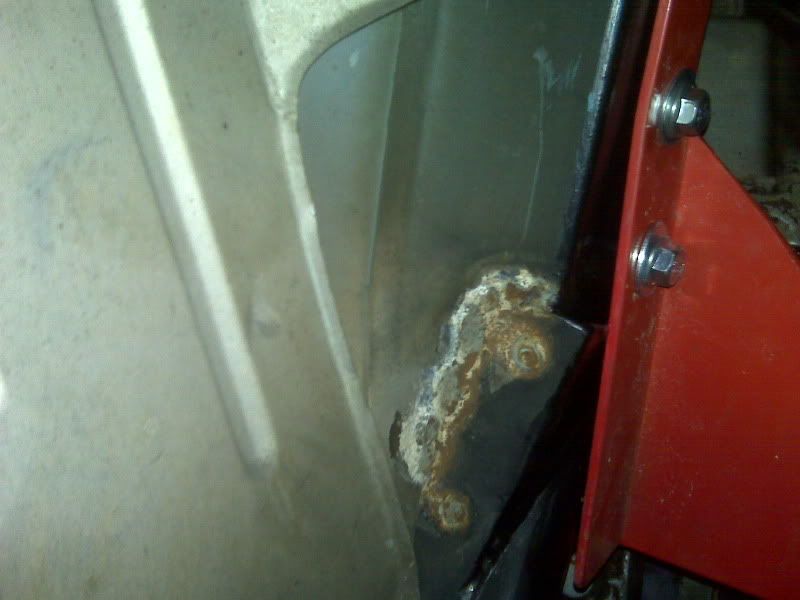  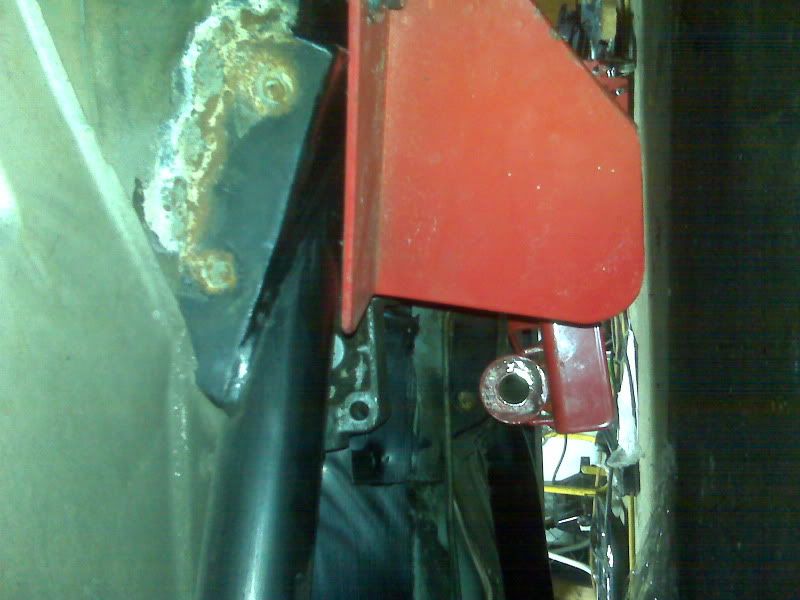
__________________
|
|
|
|
|
11-01-2009, 10:19 AM
|
#59 |
 
Drives: 1999 Z28 1983 Z28 Join Date: Nov 2008
Location: City of Champions,MA
Posts: 615
|
I have never heard of that brand of sfc. I use the Spohn SFC's and crossmember, the SFC's from Spohn weld up in a different location than those ones.
Thats about the size of the hole I cut for my shifter. Mine might have been a bit narrower but yours looks good. Congrats on the easy install, too few of car projects go that way. 
__________________
Current cars:
 99 Z28 06 Silverado 14 Silverado |
|
|
|
|
11-01-2009, 10:27 AM
|
#60 |
|
Drives: 1999 Z28 1983 Z28 Join Date: Nov 2008
Location: City of Champions,MA
Posts: 615
|
Also I taped my neutral safety switch in the park position just in case. I took a jumper wire and kept touching contacts on the safety switch til I found the two that made the reverse lights come on. Then I took those two and found a 80's TPI coolant sensor (not sure of the sensor) plug and it goes right in to the reverse switch on the pass side of the tranny towards the front. Just put those two wires in the reverse switch and instant lights.
__________________
Current cars:
99 Z28 06 Silverado 14 Silverado |
|
|
|
|
11-01-2009, 05:53 PM
|
#61 |
|
Drives: 1991 Z28 convertible Join Date: Apr 2009
Location: St Charles, MO
Posts: 136
|
Do you have pictures of that? I plugged in all the wires from the engine harness that go to the trans, and all of the plugs on the trans are occupied. One of them was for reverse. Any tips on how to do the interior wiring for the trans swap would be great!pictures are even better!!
__________________
|
|
|
|
|
11-01-2009, 06:52 PM
|
#62 |
|
Drives: 1999 Z28 1983 Z28 Join Date: Nov 2008
Location: City of Champions,MA
Posts: 615
|
I'll try to get some pics but IIRC the only plug on the pass side of the trans is for the lights. The two on the drivers are the CAGS and speedometer. So you need to wire that plug into the two corresponding wires on the neutral safety switch.
__________________
Current cars:
99 Z28 06 Silverado 14 Silverado |
|
|
|
|
11-06-2009, 12:59 AM
|
#63 |
|
Drives: 1991 Z28 convertible Join Date: Apr 2009
Location: St Charles, MO
Posts: 136
|
I only got the driver side header done today because I'm still working on the wiring, and haven't wired up the starter yet, and having the header there would make it really difficult to work in that area.
From my initial impression, it looks like the only things that are close to the header that could potentially be a problem are the brake lines. They get within an inch or so of the primaries. Other than that, the master cyl. line that goes to the transmission is somewhat close to it, but I think I can zip-tie it to the driver side o2 sensor to keep it farther away. Regarding this master cyl. line, does anyone know if it is just supposed to snap into place on the trans? I was going to put it in there tonight and it seemed to just snap into place, almost like it was magnetic? I couldn't pull it back out, so I think it's on there good, but at the same time, visually it looks like there hardly any of the line that went into the hole on the trans. 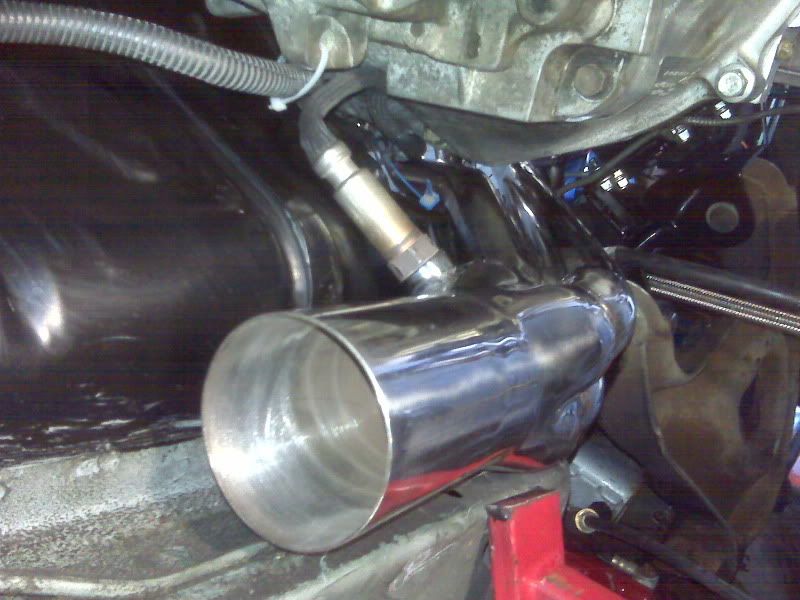 Pay no attention to all the random wires all over the place. They each have a home, I'm working on finding those right now haha 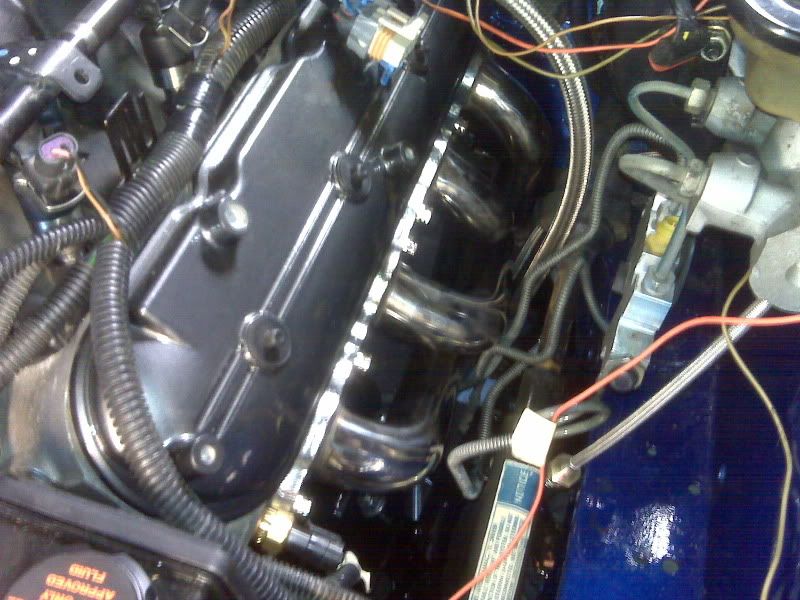 I also got the radiator put back in tonight, and then I went to try and put the LS1 dual fans in and noticed that it's a really bad fit. What does everyone to to make these fans fit nicely behind the radiator? I'm thinking that the little "cup" on the driver side of the radiator shroud, where it holds the stock coolant hose, can be cut off to make a little more room, is that correct? You don't run any coolant lines over to that side of the block anyways, if I remember correctly, because all the outlets on the water pump are on the passenger side? 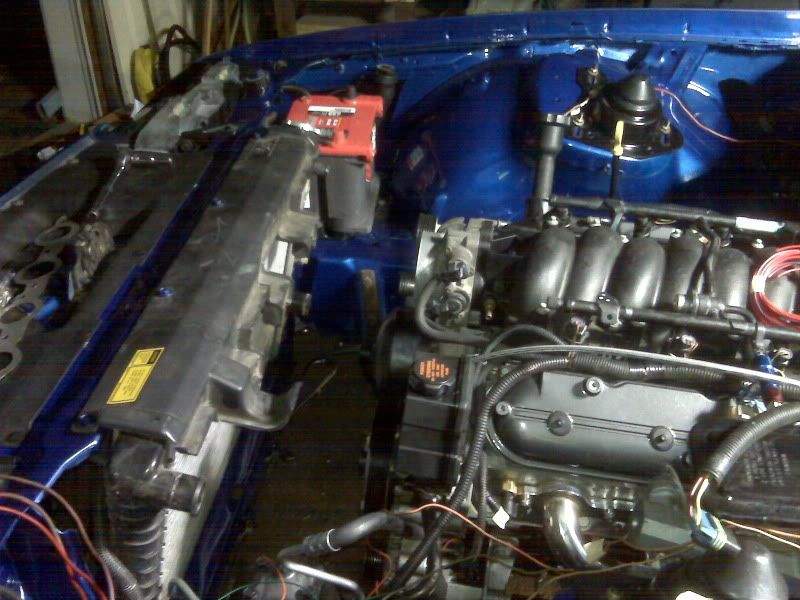
__________________
|
|
|
|
|
11-08-2009, 09:07 PM
|
#64 |
|
Drives: 1991 Z28 convertible Join Date: Apr 2009
Location: St Charles, MO
Posts: 136
|
I'm pretty sure that if I hooked up the 12v wire to the alternator, and installed the pushrods and rocker arms (and other misc things like radiator hoses, PCV system, etc) I could fire this baby up! I'm working on figuring out what a few wires go to in the swap harness right now, there's about 3 or 4 of them that I haven't finished up yet. It's getting very close, and with Vet's Day on Wednesday, and my work being closed (bank), I think I'm going to get very close to test-start this week. Cross your fingers for me.
Here's a tease at what I got done tonight. I mounted a power distribution block by the battery so I can run the positive battery cable to it, and then feed all the wires in the harness that need 12v from there. I will be putting loom on all the wires that go to this, so it will clean up nicely. I am running all the wires under a fender brace on the passenger side and then behind the block. 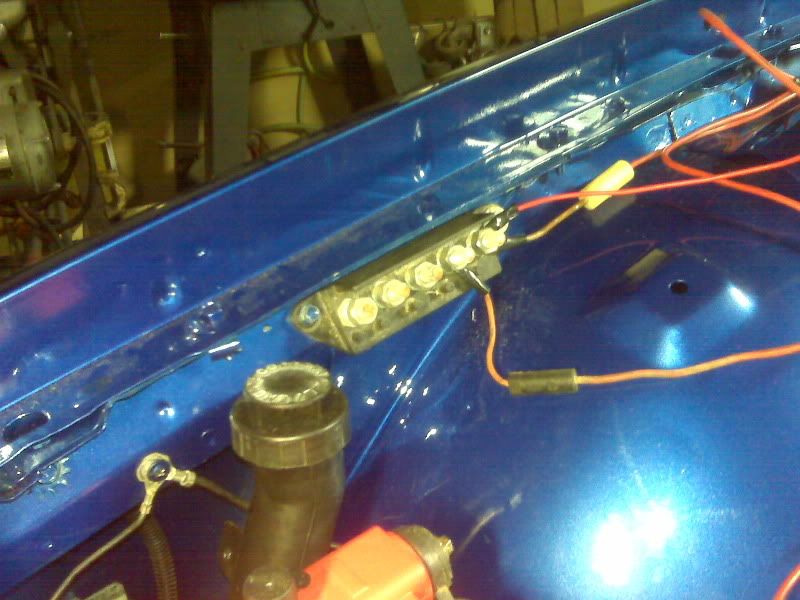 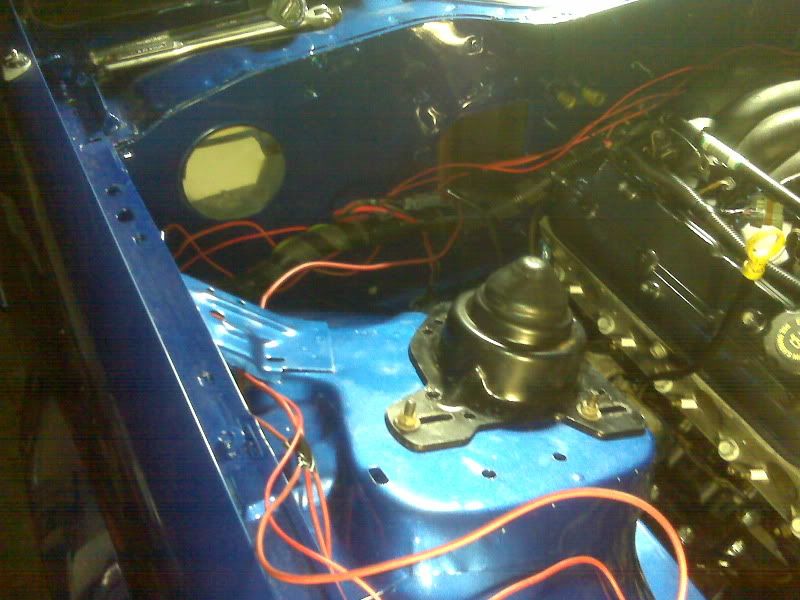 Here you can see that I ran the battery terminal cable behind the battery and the length fits perfectly where I have the power dist. block mounted. It wraps behind the battery by the headlights and comes back by the filler neck for the coolant overflow tank. This terminal went to the alternator on the stock setup, but since it would be hard to get it to stretch to the LS1 alternator, I'm going to run a wire from the back of the alternator, behind the block around the passenger fender like the rest of those wires and to the dist. block. I think it will look nice when done. 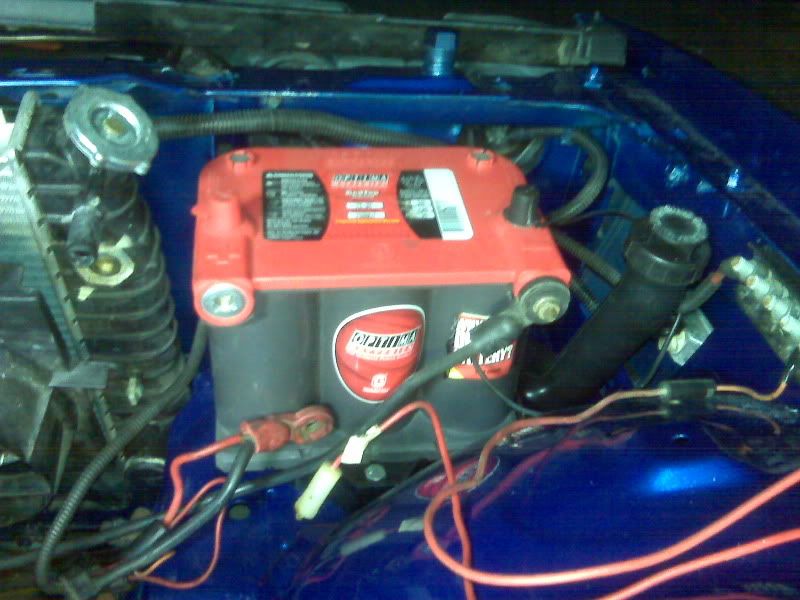
__________________
|
|
|
|
|
11-09-2009, 07:45 PM
|
#65 |
|
Gunning for Sixth

Drives: '03 ZR2 Blazer Join Date: Sep 2008
Location: Woodhaven, Michigan
Posts: 9,358
|
DEWD!!~
Seriously, if you have video function on a point and shoot or even on the iPhone get video of the test cranks. |
|
|
|
|
11-12-2009, 01:49 AM
|
#66 |
|
Drives: 1991 Z28 convertible Join Date: Apr 2009
Location: St Charles, MO
Posts: 136
|
Will do, I'm gonna borrow someone's video camera
 Got a lot done tonight. The passenger side header is on, I put my Stage 8 locking bolts on with the locker plates on both sides, re-installed the fans after I did some more trimming on the shroud and zip-tied the fans to the radiator. I also wired up the fans and put loom up the wiring all the way to the relays, so that looks nice now. Also, ran all the 12v wires over to the power distribution block and got some loom on them, still have more cleaning up to do on that area. I'm going to order some parts for a CAI this week, and install the pushrods and rockers, and finish the fuel line and then it should be ready to fire up. Just some pictures of the passenger side collector clearance with the transmission and the o2 sensor, and some other various shots of my progress tonight. 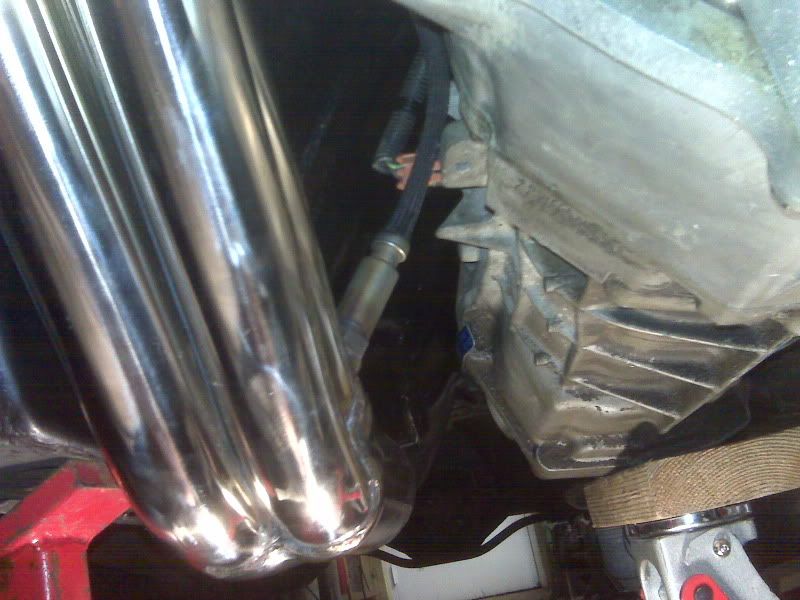 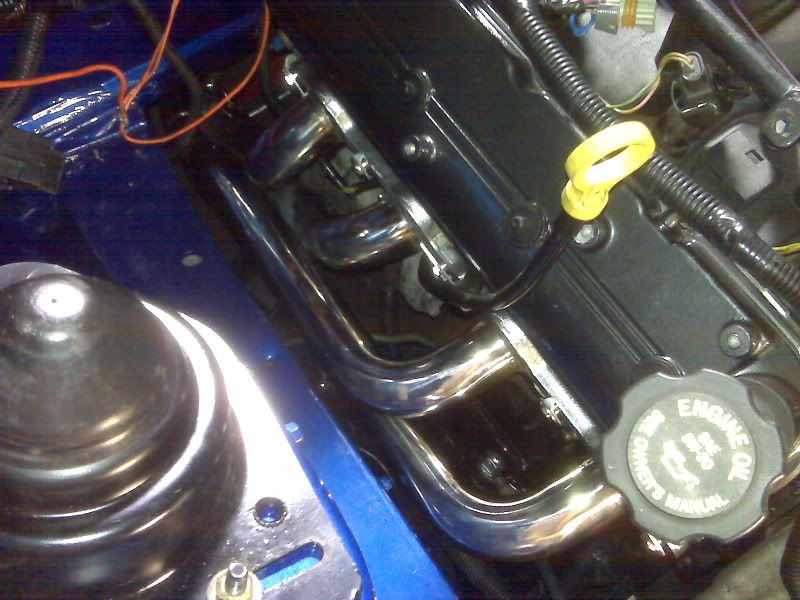  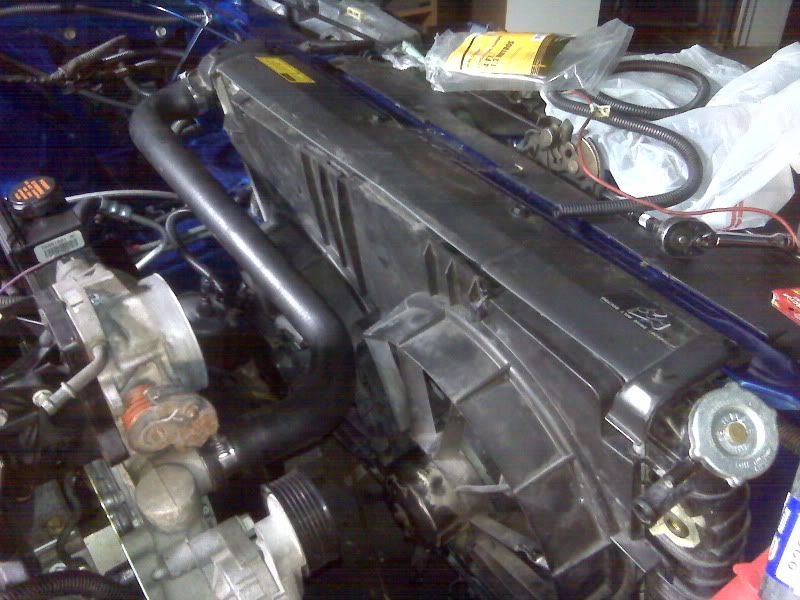 
__________________
|
|
|
|
|
11-13-2009, 12:02 AM
|
#67 |
 
Drives: 1994 Camaro Z28 Join Date: Sep 2009
Location: CT
Posts: 375
|
Wow, looks like it is coming along nicely. Great job!

__________________
-1994 Camaro Z28 Bone Stock-
|
|
|
|
|
11-15-2009, 10:51 AM
|
#68 |
|
Drives: 1991 Z28 convertible Join Date: Apr 2009
Location: St Charles, MO
Posts: 136
|
Ok, now the only things left to do are install the torque arm, re-do the wiring that went to the auto shifter for the p/n switch, starter switch, and reverse lights, disable VATS, and install radiator/heater hoses, a CAI, and the PCV system and it is ready to rock.
I got the Scorpion 1.7 rockers installed last night with the help of a friend, and my dad and I finished up the fuel line. I did it a little differently than most of you, I am going to change out the fitting on the fuel rail to a 90* angle and run it straight back to the firewall and down the trans tunnel away from the header. It comes out right by the cross member and I ran it down the frame rail like stock with the brake line, using the factory mounting tabs. I should have undercoated the driveshaft before I put it on....oh well. I think I can manage doing it by spinning it. 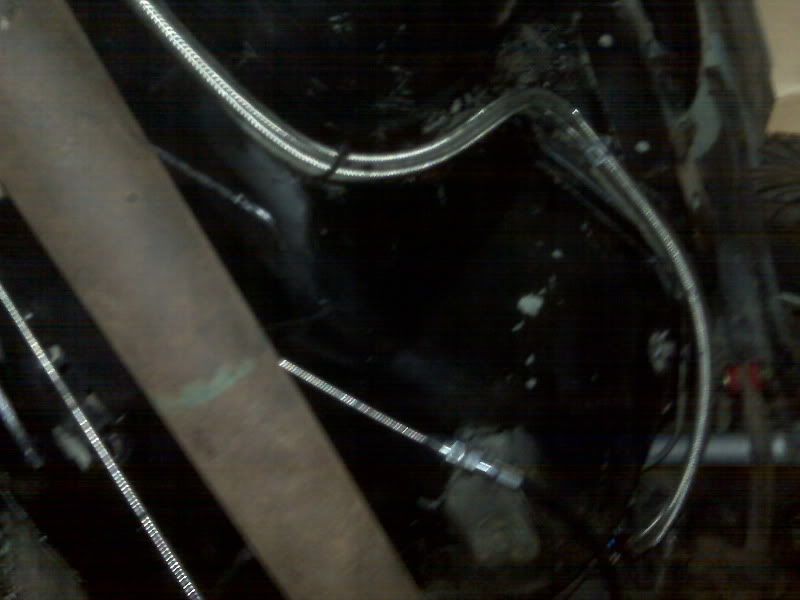 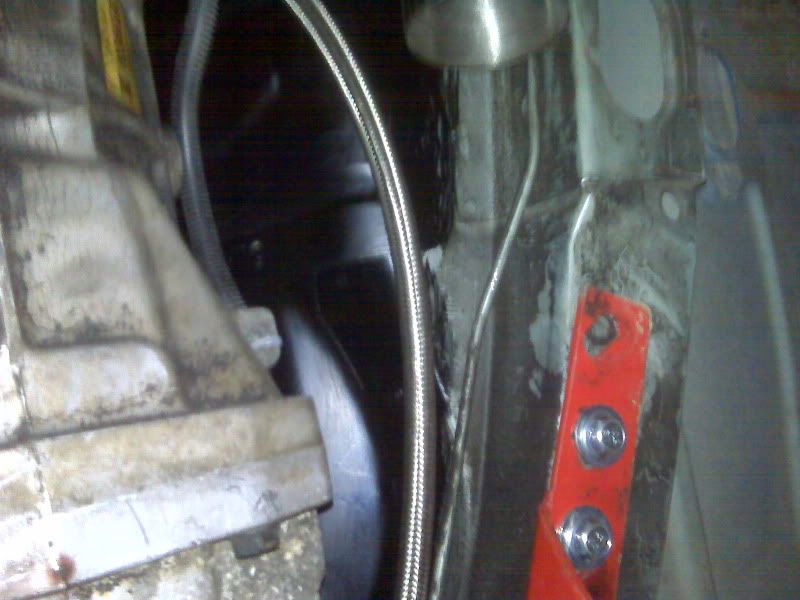 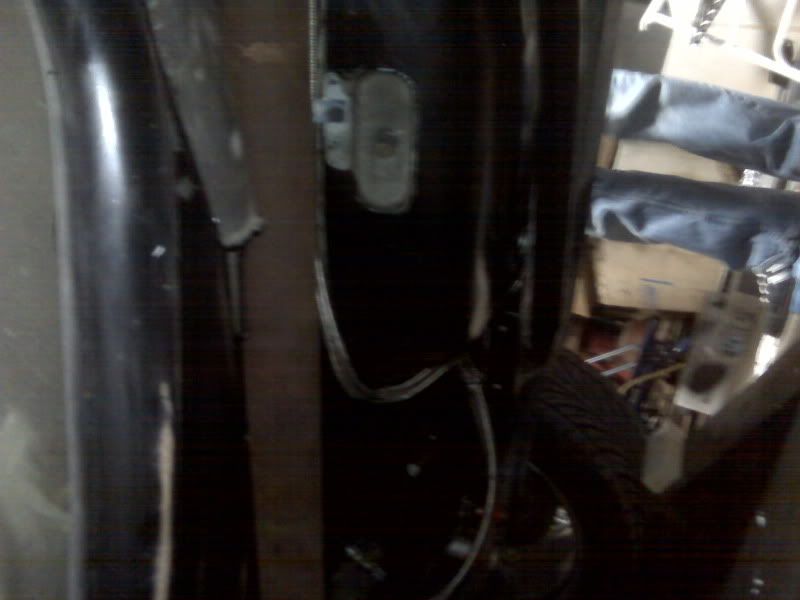 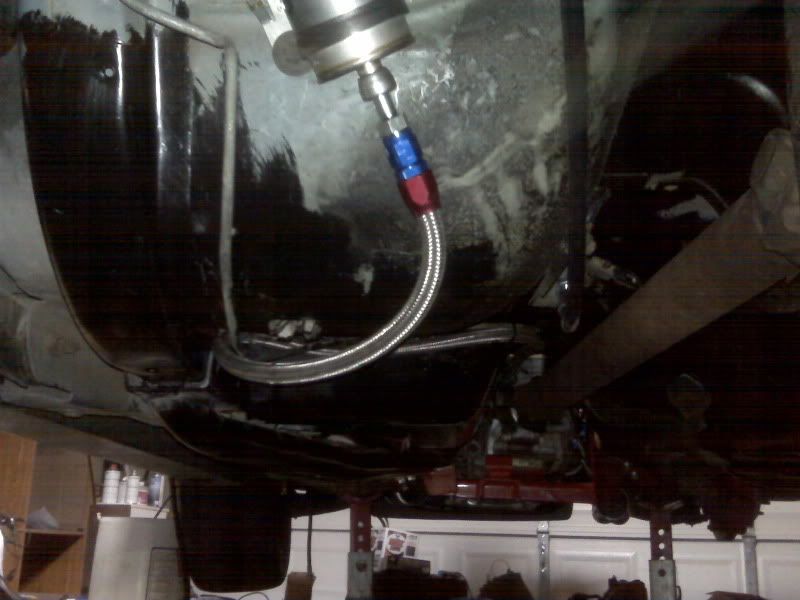 Crappy pictures sorry. I'm going to get the car on a lift at my friend's work after it's running and take lots of pictures with my GOOD camera. Also got the trans fluid changed and the Hurst re-installed, although I found that one of the bolt holes is stripped out. I'm getting a hold of a thread chaser to fix this problem. 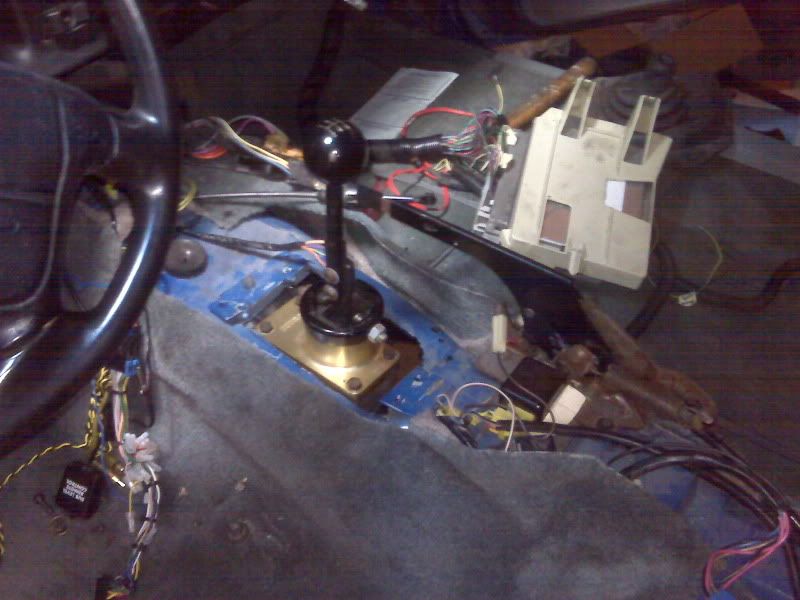 And have no fear, I'm not done undercoating the car yet. I just wanted to cover enough that wouldn't be in the way after the fuel line was ran lol 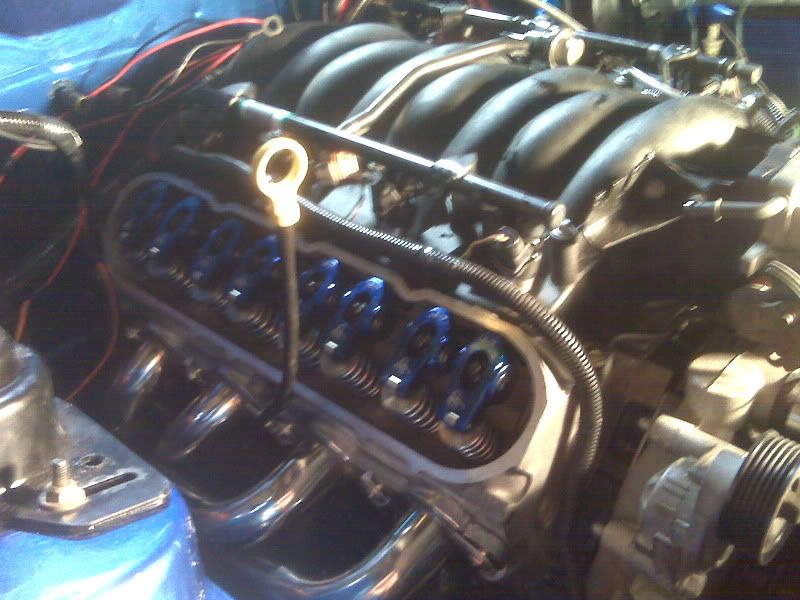 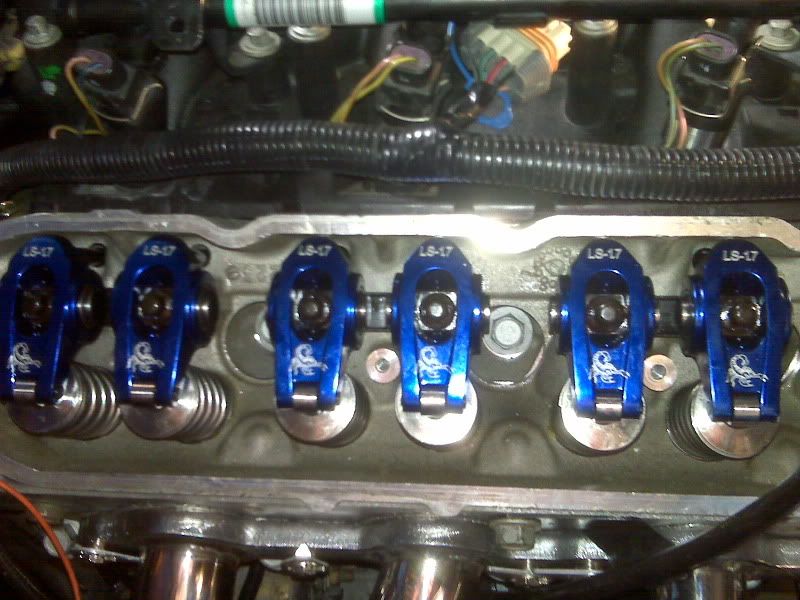 Let's see, another thing I got done was installing the LS1 ebrake conversion cables from Ed Miller. Man they are so awesome. 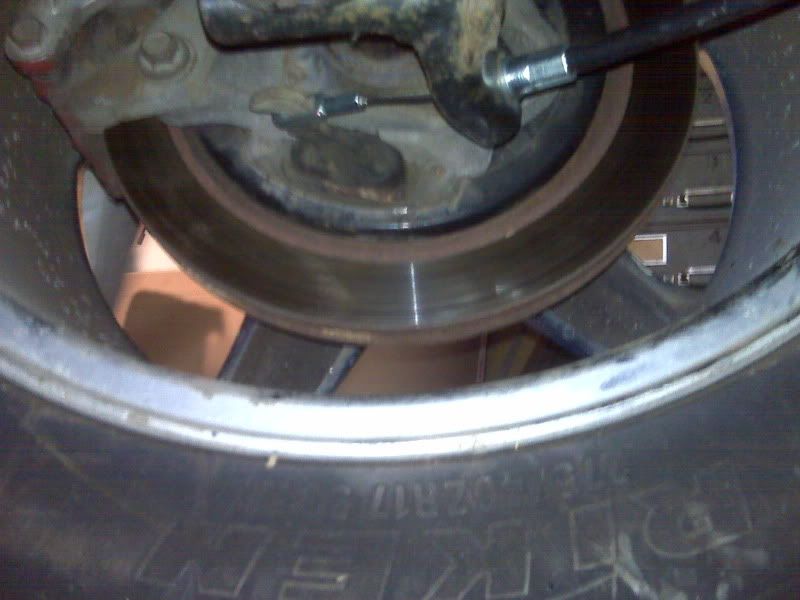  And last but not least, another question for those who have already done the swap. What do you do with these hoses that went to the heater core? I don't think they'll work because they are not angled to go to the water pump on an LS1. What hoses do you guys use for this, and which hose goes to the small nipple on the radiator? 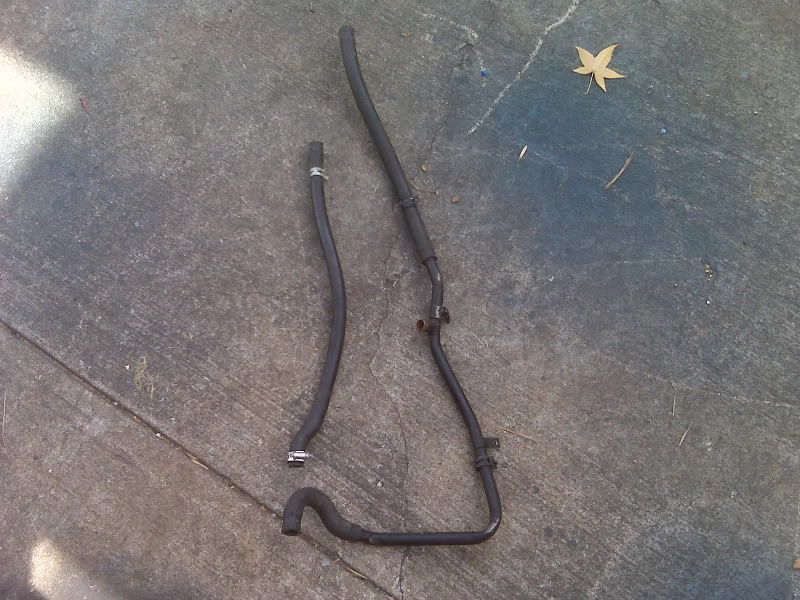
__________________
|
|
|
|
|
11-15-2009, 08:24 PM
|
#69 | |||||
|
Truth Enforcer
Drives: anything I can get my hands on Join Date: Sep 2006
Location: anywhere and everywhere
Posts: 22,797
|
Quote:
we just made our own hoses trimmed to fit for our heater box. as for the small nipple on the radiator.... which one was that? the top or the bottom one on the neck? one is an overflow line that goes to a resevoir, top one IIRC the bottom one I think we just capped off then again, ours is a very basic build... only what it needs to run and make it down the track.
__________________
Never race anything you can't afford to light on fire and push off a cliff
A group as a whole tends to be smarter than the smartest person in that group until one jackass convinces everyone otherwise. Quote:
Quote:
Quote:
Quote:
|
|||||
|
|
|
|
12-03-2009, 05:12 PM
|
#70 |
|
Drives: 1991 Z28 convertible Join Date: Apr 2009
Location: St Charles, MO
Posts: 136
|
Last Saturday I had my tuner over to start it for the first time and it would crank but wouldn't fire. It wasn't getting a Tac signal...needless to say I was very dissappointed and bummed out. It was either going to be the wiring (broken wire, or wrong pin, etc) or a bad crank sensor...
I started with the easiest test to do just to see if I could get it to fire, and that was to replace the crank position sensor. I fully trust the wiring job so I really didn't think that the wiring or pinning was the issue. Sure enough, after I put a new sensor in she fired right up! It doesn't stay running for more than a few seconds but my tuner needs to come back over and finish what we started on Saturday, plus I haven't adjusted the screw on the throttle body so the idle is out of whack anyways. But nonetheless, she fired up and I am SO excited! Just a few videos, it ran for only a second or two in the first one, but the second one it stayed running a little longer. Just enough to hear how completely awesome this thing is going to be once I get it back on the road.  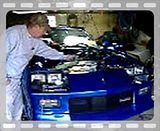 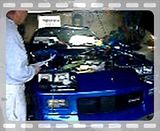
__________________
|
|
|
|
|
|
|
|
 |
|
|
 Similar Threads
|
||||
| Thread | Thread Starter | Forum | Replies | Last Post |
| Possible new option packages changes wanted for '11 '12 model years | PYROLYSIS | 5th Gen Camaro SS LS LT General Discussions | 91 | 09-15-2010 06:15 PM |
| Think about this and the Z28 5th gen | 13F20 | Camaro ZL1 Forum - ZL1 Specific Topics | 41 | 09-04-2010 01:59 AM |
| Official Camaro Convertible CONCEPT Press Release | Tran | Camaro Convertible Forum | 12 | 11-18-2009 08:05 PM |
| New 'Vert and Z/28 info?? | 2sharp | Camaro ZL1 Forum - ZL1 Specific Topics | 82 | 03-25-2009 02:31 PM |
| LS9 SC old news. Here comes the LSX. 850HP, 840 lb-ft of Torgue | 13F20 | 5th Gen Camaro SS LS LT General Discussions | 15 | 09-22-2008 05:35 PM |


