You are browsing camaro5 

|
 01-28-2010, 06:12 AM
|
#211 | |
|
Jamison711

Drives: 2LT RS BLACK Join Date: Dec 2009
Location: Martinsville, IN
Posts: 87
|
Quote:
__________________
 Loving the Blacked Out 2010 Loving the Blacked Out 2010 |
|

|

|
|
01-28-2010, 11:37 AM
|
#212 |
|
www.Camaro5store.com

|
sand the inside edge of the insert. Top part which is at an angle and a tiny amount below. Re-reaf the directions so you understand fully before starting or you could end up having to buy a new $90 part.
|
|
|
|
|
01-28-2010, 04:45 PM
|
#213 | |
       
Drives: . Join Date: Jan 2008
Location: .
Posts: 2,166
|
Quote:
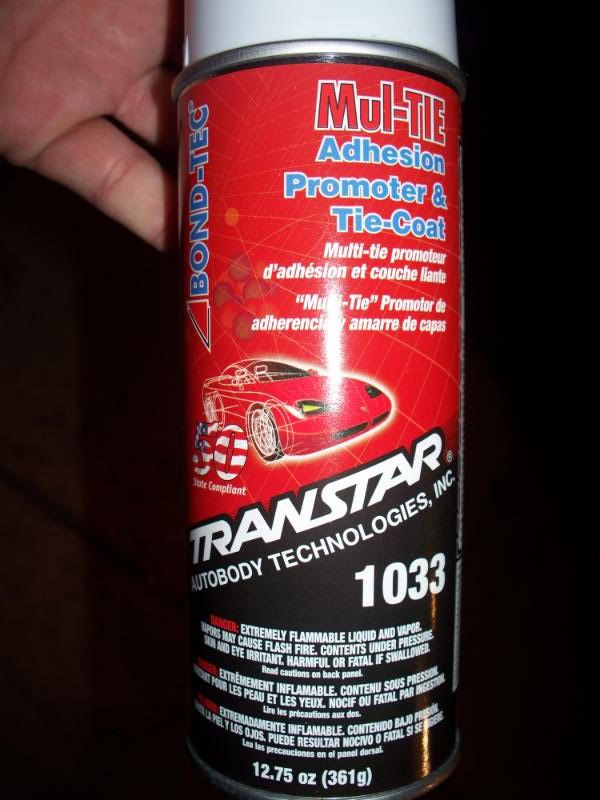
 ). This Bond-Tec is something everyone needs if they attempt to repaint their trim ). This Bond-Tec is something everyone needs if they attempt to repaint their trim 
|
|
|
|
|
|
01-28-2010, 07:35 PM
|
#214 | |
|
Jamison711
Drives: 2LT RS BLACK Join Date: Dec 2009
Location: Martinsville, IN
Posts: 87
|
Quote:
__________________
Loving the Blacked Out 2010 |
|
|
|
|
|
01-28-2010, 09:44 PM
|
#215 |
|
Derrick

|
tag, i got another question for ya! how are you reapplying the clips? i assume youre using somethin like 3m double sided adhesive tape, but how are you actually applying them so it all fits back together straight? i was thinkin maybe putting the clips back in their places on the dash with the adhesive on them and then putting the plastic strip on so that im sure to get it lined back up correctly. let me know how youre doin it or if there is a flaw in my idea!
__________________
 2010 ABM 2SS/RS, A6, home Dec 10th, wifes birthday present! 2007 GMC Yukon XL, 2000 S10 Xtreme, 1969 Chevelle |
|
|
|
|
01-28-2010, 10:21 PM
|
#216 | |
 Drives: 2010 SS/RS Join Date: Jun 2009
Location: Colorado
Posts: 288
|
Quote:

|
|
|
|
|
|
01-28-2010, 10:40 PM
|
#217 | |
|
Derrick
|
Quote:
__________________
2010 ABM 2SS/RS, A6, home Dec 10th, wifes birthday present! 2007 GMC Yukon XL, 2000 S10 Xtreme, 1969 Chevelle |
|
|
|
|
|
01-29-2010, 01:14 AM
|
#218 | |
|
Drives: 2010 SS/RS Join Date: Jun 2009
Location: Colorado
Posts: 288
|
"mirror tape?"
Quote:
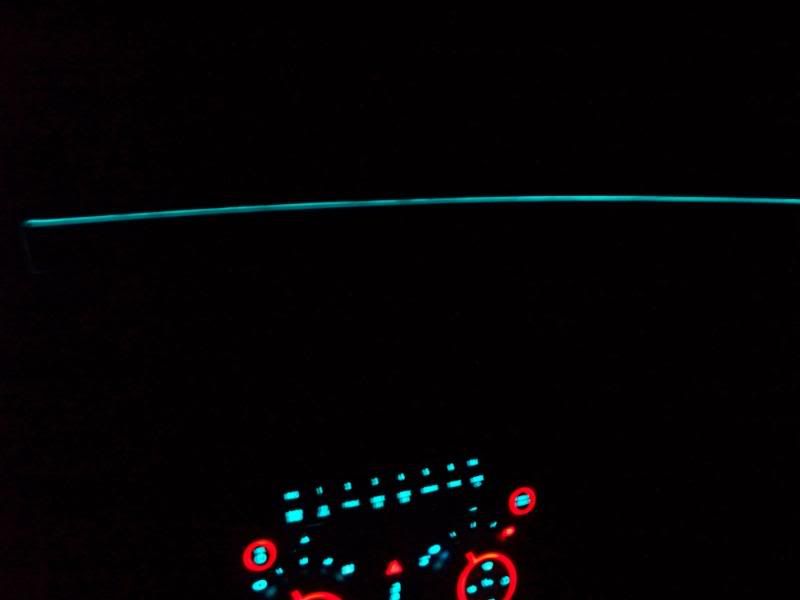
So, paint thinner huh? it didn't react/attack the plastic at all? Also, where did you get the mirrored finish tape? it looks bronzy in the pic or is that the reflection from your lighting? I have the IO interior and I switched from the digikey to the EL wire too (for the same reasons as you did) but I don't think I have sanded enough and have some minor scratches to buff out still. This is the progress so far: I still have some tricks to try, but it's getting there thanks to everyone one this thread! 
|
|
|
|
|
|
01-29-2010, 01:21 AM
|
#219 |
|
www.Camaro5store.com
|
Need a few minutes...but I can't wait to do the write up for ya'll. This install is by FAR the most gratifying thing I've done...and I did it all on my own with the help of some great members by posting THEIR experiences.
You guys are going to love this. AND, the install is PERFECT. LOOKS PERFECT....DAY AND NIGHT. Be back in a bit to answer a few questions...just got home. 
|
|
|
|
|
01-29-2010, 03:26 AM
|
#220 | |||||||
|
www.Camaro5store.com
|
Quote:
 [/IMG] [/IMG]Pictures are so much easier... Quote:
Quote:
The electrical is super easy as long as you follow directions and read the thread. ASK questions if you get lost. Realize that if you get stumped, you might have to make this a two day project. You won't want to. But, you can't move on unless you get answers. If you have quetions, post up and/or send me or Rick a pm. But, I stress that you READ the directions and LOOK at all the pictures that have been posted. Easy stuff...and anyone can do it. I am no electrician either. And, I had no issues. Quote:
 You are a smart cookie! Here ya go. This is what I did. Shows backer in place. 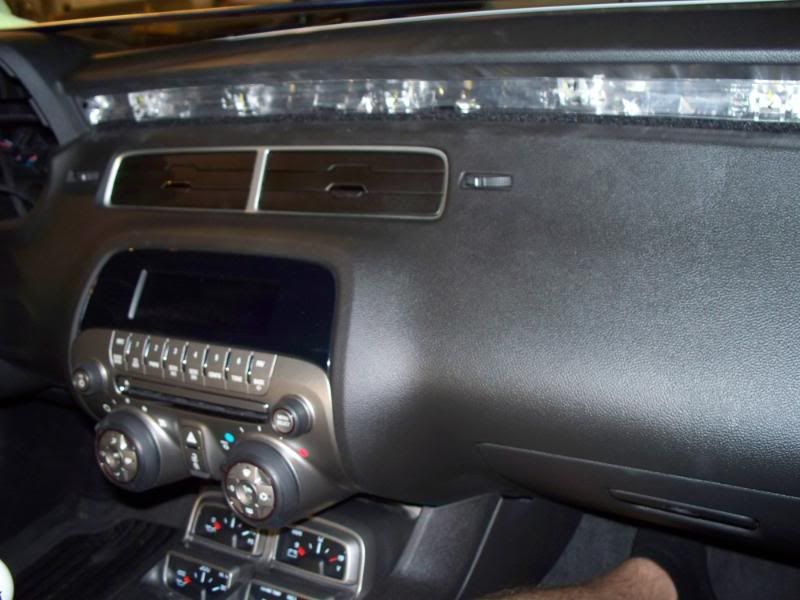 LEAVE THESE TWO METAL CLIPS IN PLACE! It'll hold the ends of the insert in so that it'll be aligned for the applique when you attatch it. One on either side... 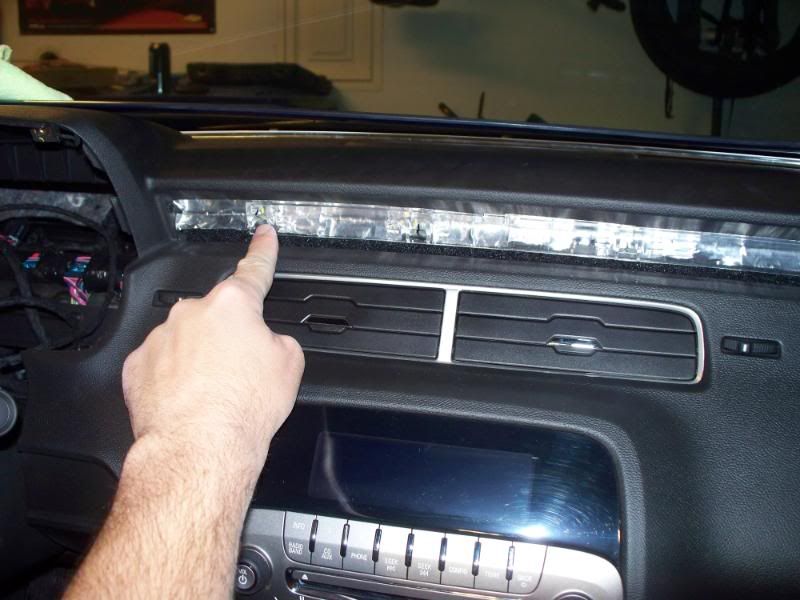 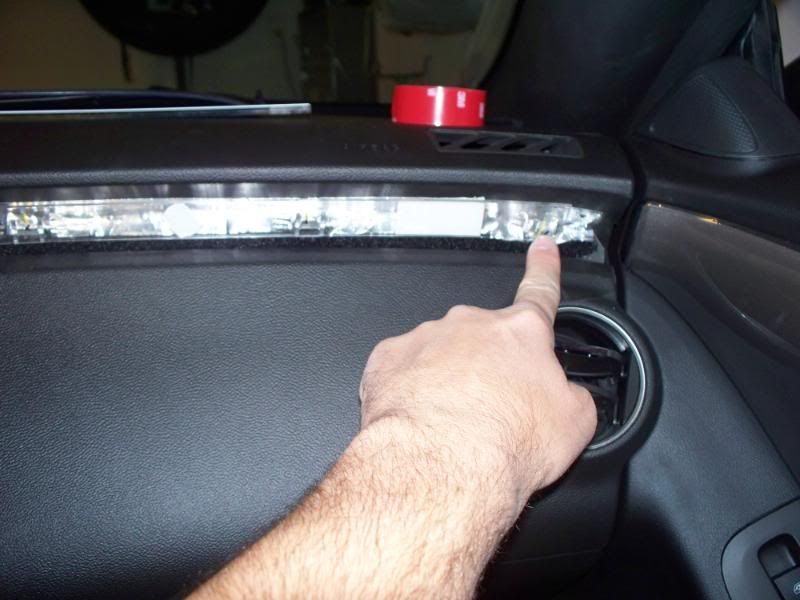 Then, grab your 3M double sided automotive trim tape. VERY easy to find......ANY parts store has them 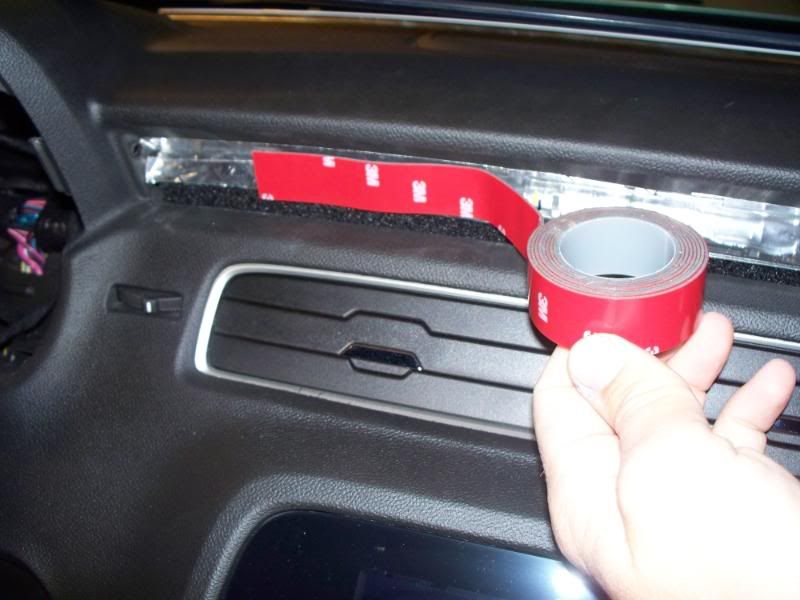 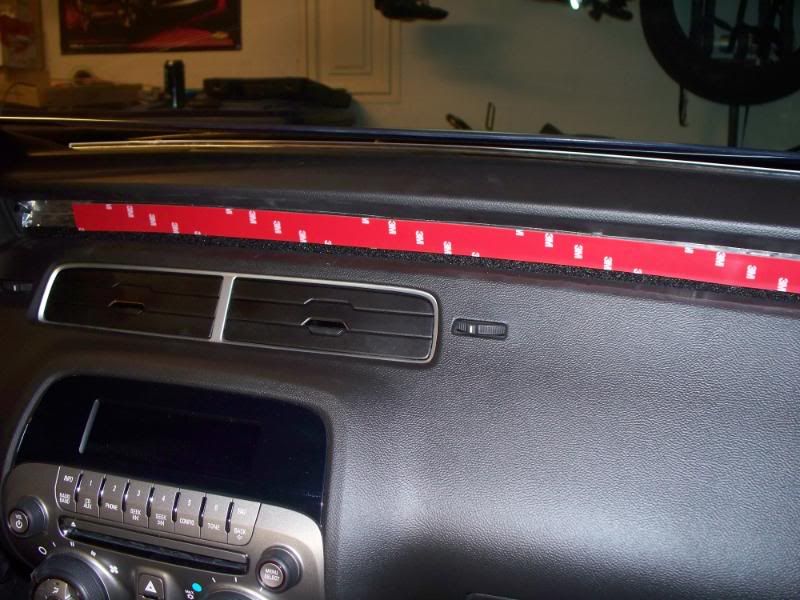 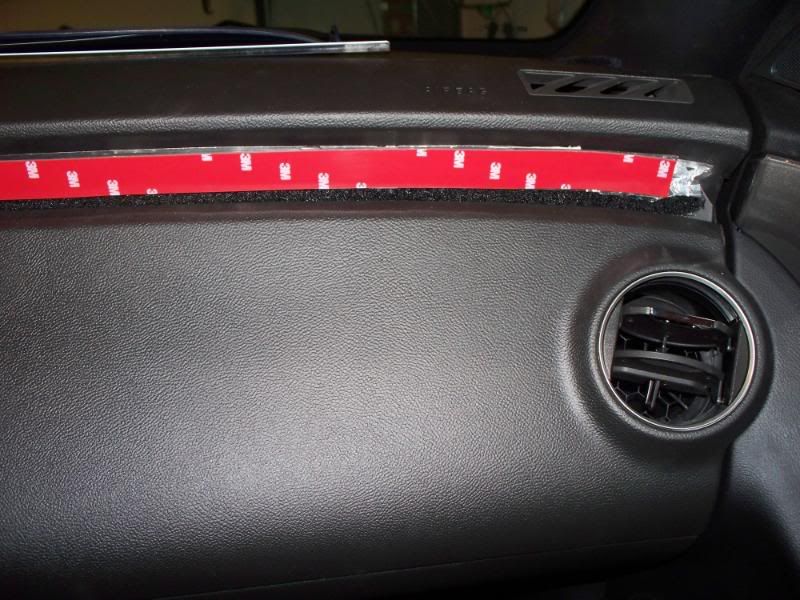 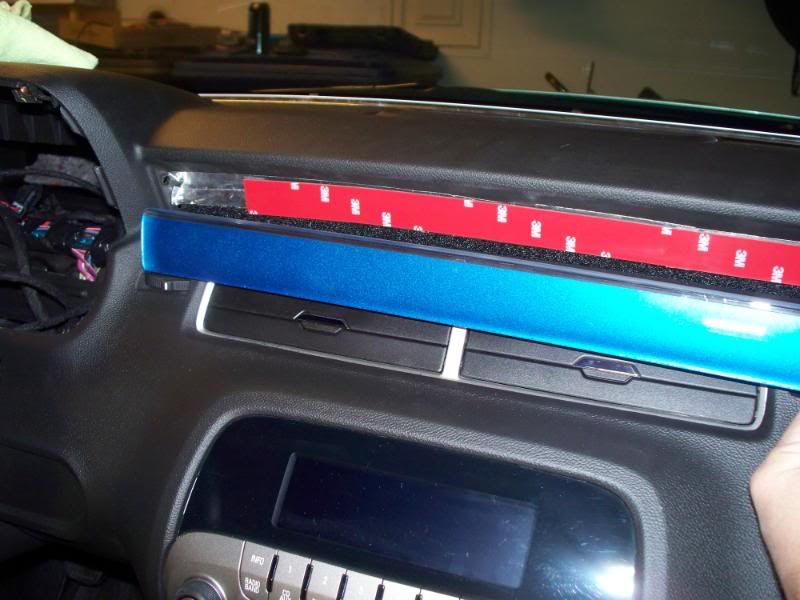 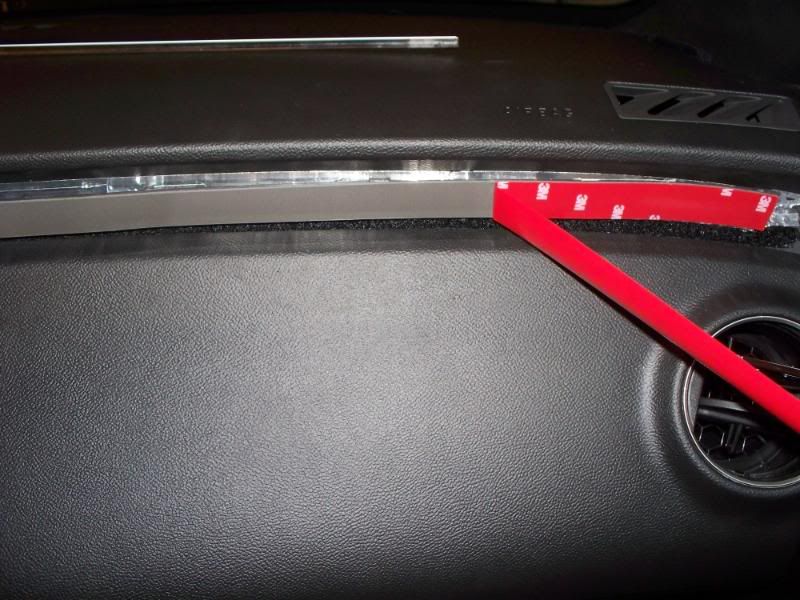 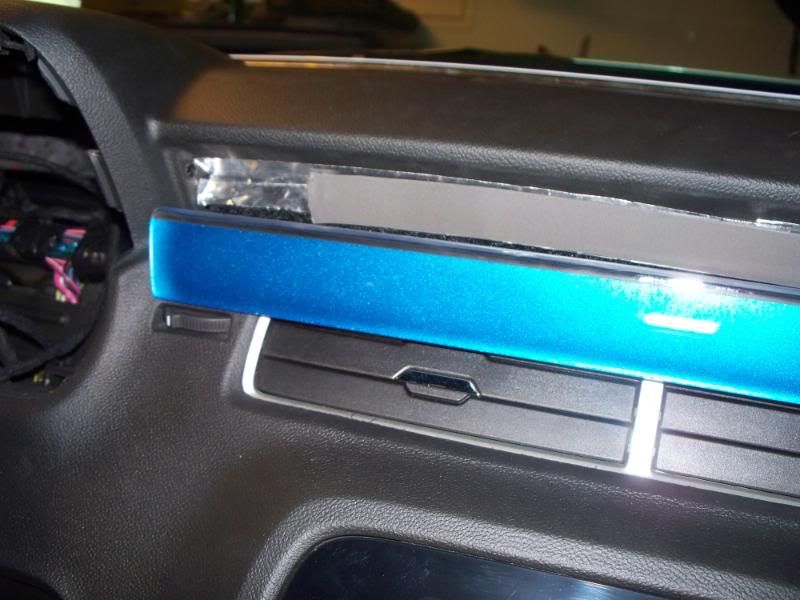 Basically, you have the backer and the applique separated. After you clean both the applique and teh backer of the double sided trim tape, you take off ALL the center backer's clips. Take those metal things off and leave only the side metal connectors in place. That way, we can have a good refrence point and it won't be difficult for you to take off after you get it started. You can see how I pulled it back off and it was easy...the clips are missing. 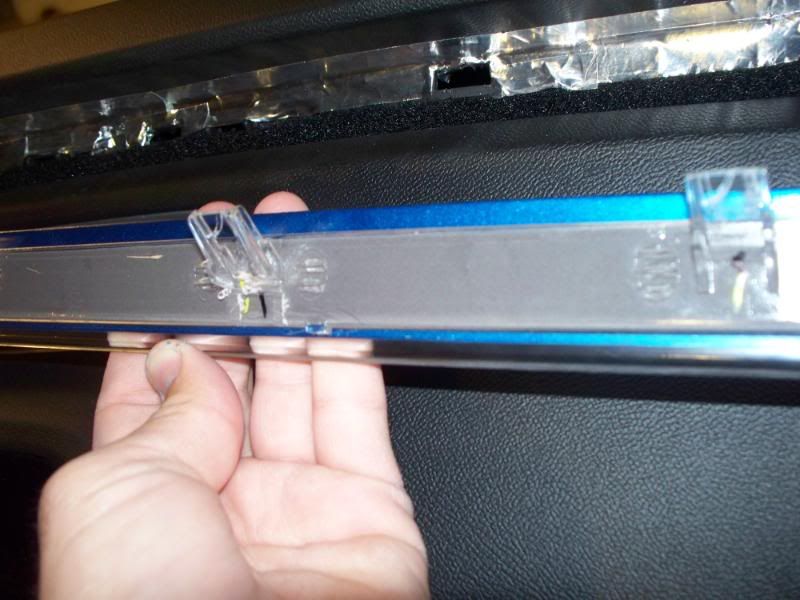 Quote:
  Quote:
Mirrored finish tape. YOu can get it just about aywhere. I go mine at an autoparts store 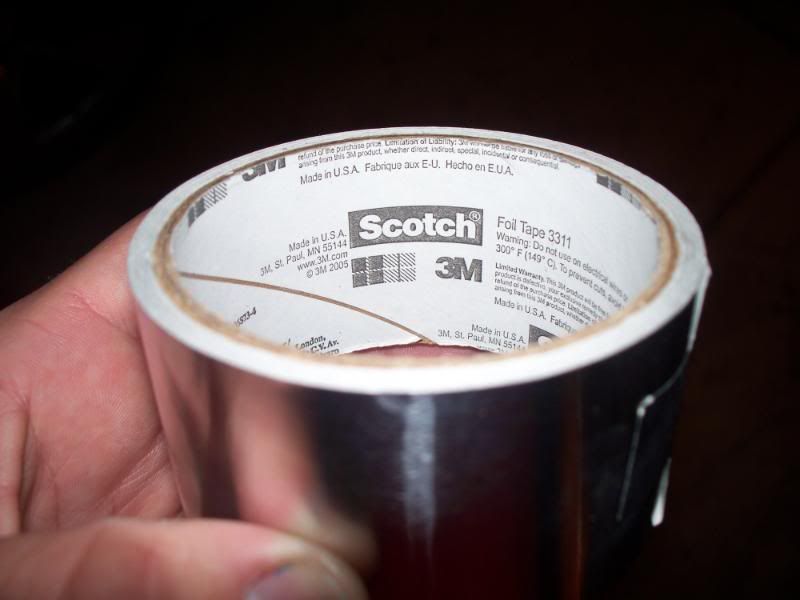 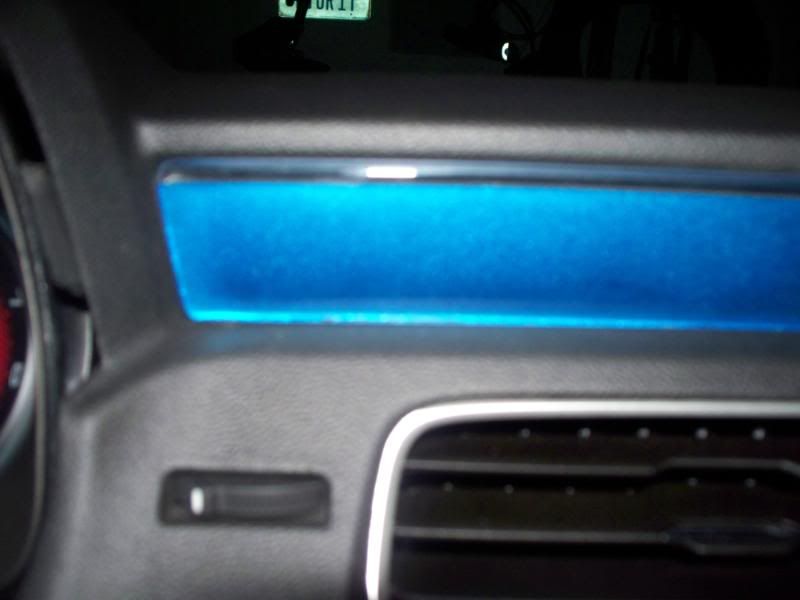
|
|||||||
|
|
|
|
01-29-2010, 03:30 AM
|
#221 |
|
www.Camaro5store.com
|
You can fix those scratches easily. In fact, go to the hardware store and get the 3M headlight buffing stuff. Use the headlight buffer on fixing thte applique....SO Much faster....
|
|
|
|
|
01-29-2010, 03:35 AM
|
#222 |
|
E.B.A.H.

Drives: you wild... Join Date: Mar 2007
Location: In the happy padded room wearing a jacket that makes me hug myself...
Posts: 18,420
|
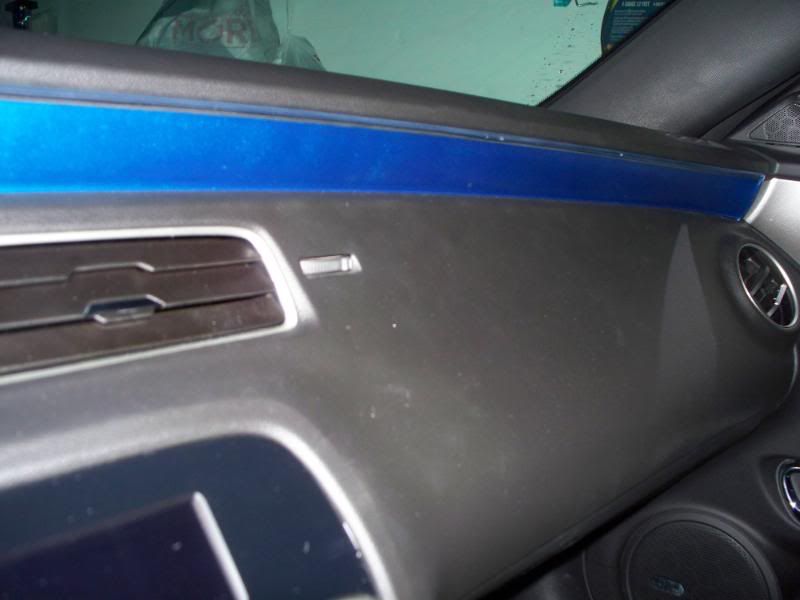
Wow Tag,
Can we get a picture of the whole dash? That color looks awesome! |
|
|
|
|
01-29-2010, 12:45 PM
|
#223 |
|
Derrick
|
tag, you are awesome!
 thanks for all the info and pics, its gonna help out a lot! thanks for all the info and pics, its gonna help out a lot!
__________________
2010 ABM 2SS/RS, A6, home Dec 10th, wifes birthday present! 2007 GMC Yukon XL, 2000 S10 Xtreme, 1969 Chevelle |
|
|
|
|
01-29-2010, 01:58 PM
|
#224 |
|
www.Camaro5store.com
|
Pix of the entre dash will come soon. I want to show everything at once.
chevelle, you are welcome! LOVE doing this stuff. Remember to take your time if you give it a go. Also, study the pix because there's other stuff I forgot to say....like using the soft side of velcro tape along the bottom of where the dash insert goes in. It's like using flock tape...which I can't find anywhere. But, the reason for using the soft velcro side (cutting it into VERY thin strips as you see above) is to keep the light from seeping out below the insert. Also, you must be VERY careful at how high you put the foil (mirrored) tape. If you put it too high, you can see the shiny tape through the sanded, clear topped insert. Once you put it on, hold your insert up to the dash and see if you can see the tape (this is w/out the backer on it). If you can see the tape, it peels up easily and you can just fold it over and push it back down to a lower position. Thumbnails work just fine on it. You'll see. ALSO....>Rick.... I think you mentioned not wanting to take out the speedo cluster for fear of something happening. It's so easy to do...and you get the other ABL connector too. The telescoping steering wheel pulls right out and gives you so much room....you won't hit anything. Just pull the lever down below the steering wheel and pull the wheel down and then to you. You have TONS of room to remove the gauge cluster. Hope that helps. If ANYONE wants to remove the gauge cluster, use that telescoping steering wheel feature. |
|
|
|
|
|
|
|
 |
|
|


