You are browsing camaro5 

|
 02-02-2012, 11:49 PM
|
#239 | ||
|
Drives: G5.R Join Date: Sep 2010
Location: SoCal
Posts: 2,377
|
Quote:
Quote:
|
||

|

|
|
02-03-2012, 12:37 AM
|
#240 | |
|
Drives: G5.R Join Date: Sep 2010
Location: SoCal
Posts: 2,377
|
Quote:
Parts: 82446 Description: Special Tee, Flare -4 Male w/ -6 Male Branch Quantity: 1 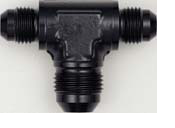 Parts: 109004SN Description: -4 90 Deg Hose End Super Nickel Quantity: 2  Parts: 100004SN Description: -4 Straight Hose End - Super Nickel Quantity: 2 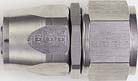 Parts: 100006SN Description: -6 Straight Hose End - Super Nickel Quantity: 1 Parts: 3106-00 Description: - 6 XR-31 Nylon Braided Race hose Quantity: 2 FT 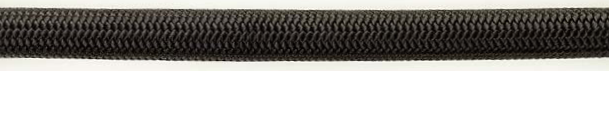 Parts: 3104-00 Description: -4 XR-31 Nylon Braided Race hose Quantity: 2 FT The blocks are from http://www.krcpower.com/catalog_i112...l?catId=366482 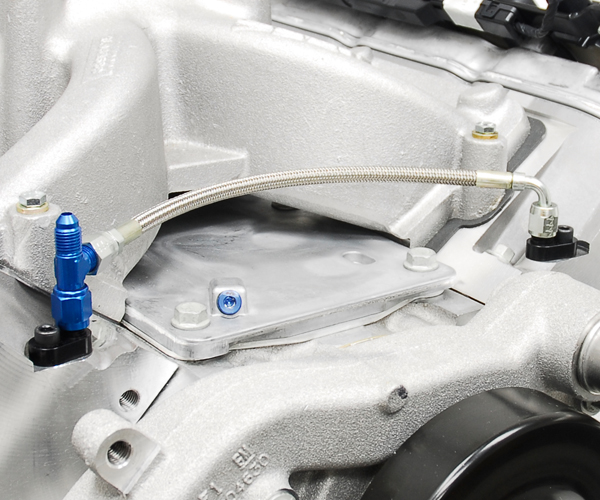 I used ARP bolts: (I'll post the size tomorrow) My first go around, I got a TEE with size -4 on all ends but the -4 hose is to small to go into the radiator tube. So I changed the TEE to were it has a -4 on two ends and -6 on the end that goes to the radiator and it worked like a sham. Hope that helps. Let me know if you need anything else. I will say that once I got the kinks worked out, I thinks it's a nicer piece than anything else I've seen in the market. |
|
|
|
|
|
02-03-2012, 10:47 AM
|
#241 |
|
Drives: G5.R Join Date: Sep 2010
Location: SoCal
Posts: 2,377
|
Here an update on the injector connector I will be using on harness 2.0.
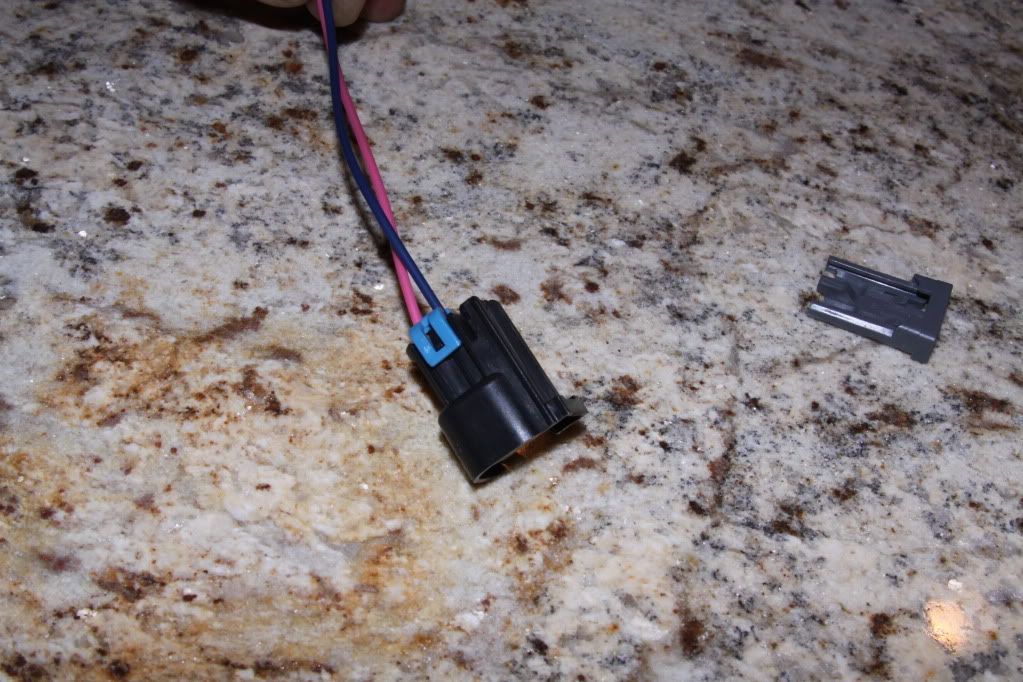 I took the trustee Dremel and trimmed down the fat. I have 90 degree heat shrink boots that will cover them. I already test fitted them to the injectors and they grad really good.  This will get rid of the (Gray, Green and Blue Factory units) |
|
|
|
|
02-03-2012, 03:49 PM
|
#242 |
 
Drives: 2011 Camaro Convertible 2SS/RS Join Date: May 2009
Location: Port Charlotte,Florida
Posts: 263
|
Nathan, Just wanted to say your doing a great job with that engine bay.I am just getting started with the engine in my 2SS.I have gathered together some of the parts I have read about you using in your thread.1 more question I have,do you have a part number for the ARP bolts you used for the KATECH tensioner? I want to use the same 12pt.bolts so they match.Thanks,and once again Great JOB! Tt--
|
|
|
|
|
02-04-2012, 08:34 PM
|
#243 | |
|
Drives: G5.R Join Date: Sep 2010
Location: SoCal
Posts: 2,377
|
Quote:
|
|
|
|
|
|
02-04-2012, 09:08 PM
|
#244 |
|
Drives: G5.R Join Date: Sep 2010
Location: SoCal
Posts: 2,377
|
Well, here's a project I enjoyed a lot. Removing the battery terminal bracket and relocating the cables to the driver side wheel well. I think it's a huge step in cleaning up the engine bay. I do have to give a BIG shot out to EZspeed for helping me with the process.
This gives you an idea of the visual obstruction the positive battery cable and bracket bring to the driver side. 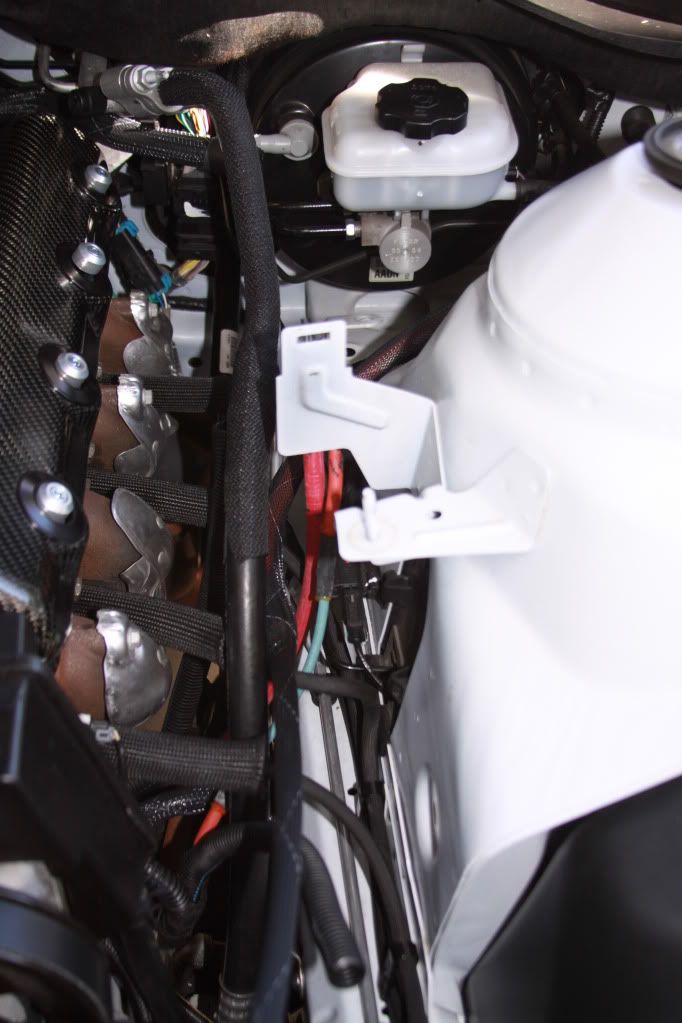 To drill out the bracket, I took a tip from http://www.camaro5.com/forums/showthread.php?t=192389 Thanks Ray for posting your DIY, the advice made drilling the spot welds a lot simpler. Coming along..... 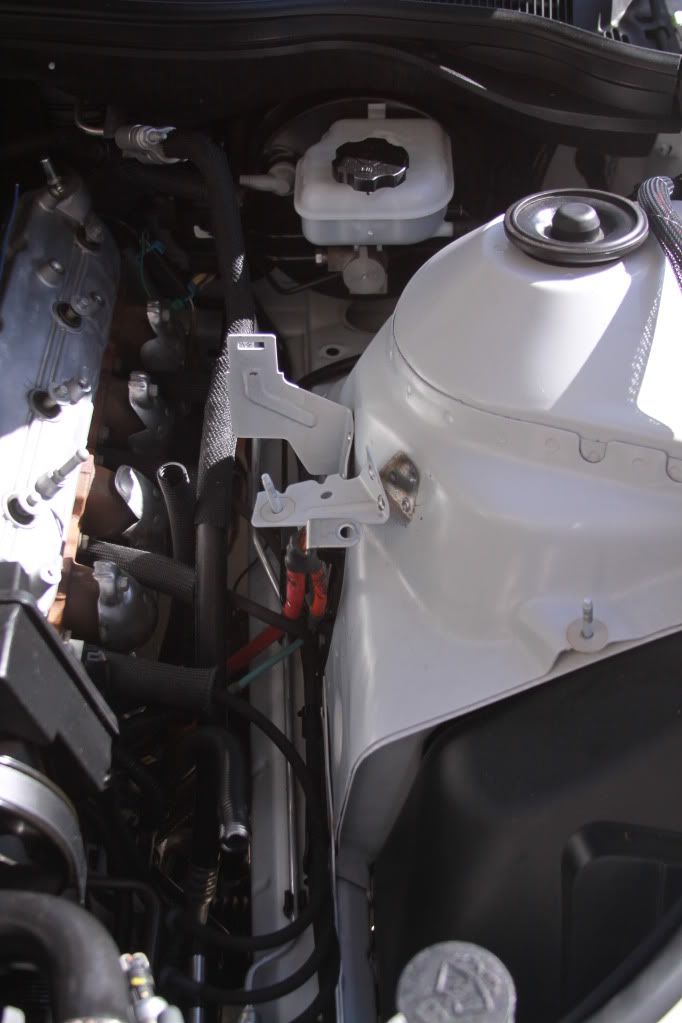 I also relocated the harness for the ABS and ground cable. 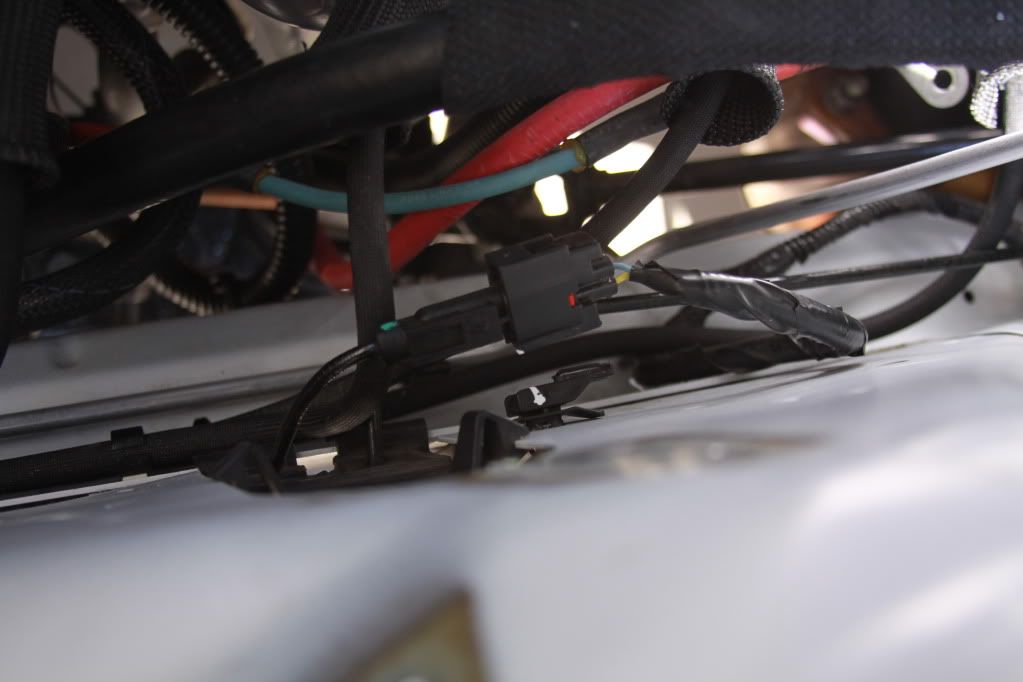 The ABS is runs into a group of other harness by the firewall. I proceeded to clean the pill up. 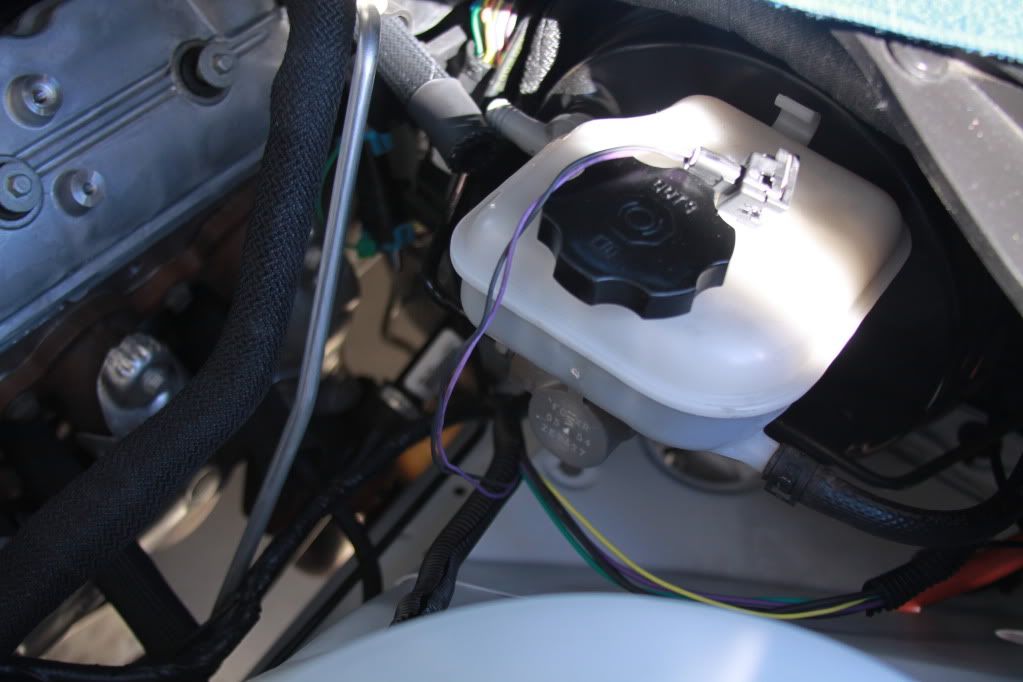 I cover the positive cable with braided nylon sleeting. Notice how the red is coming through. 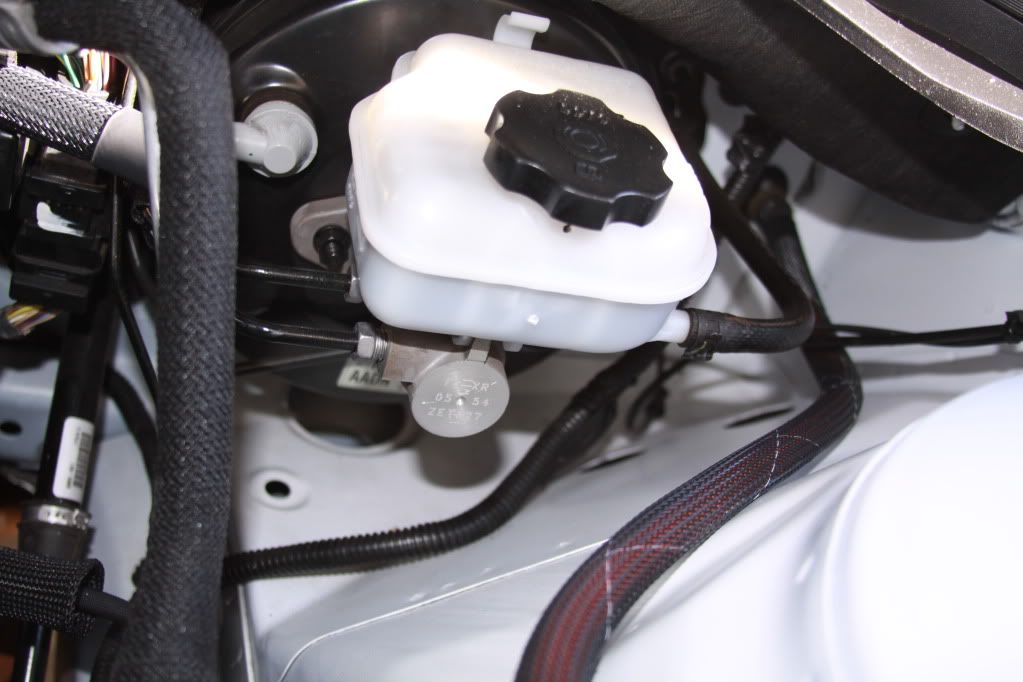 To remedy it from happening, I wrapped the cable with black harness tape 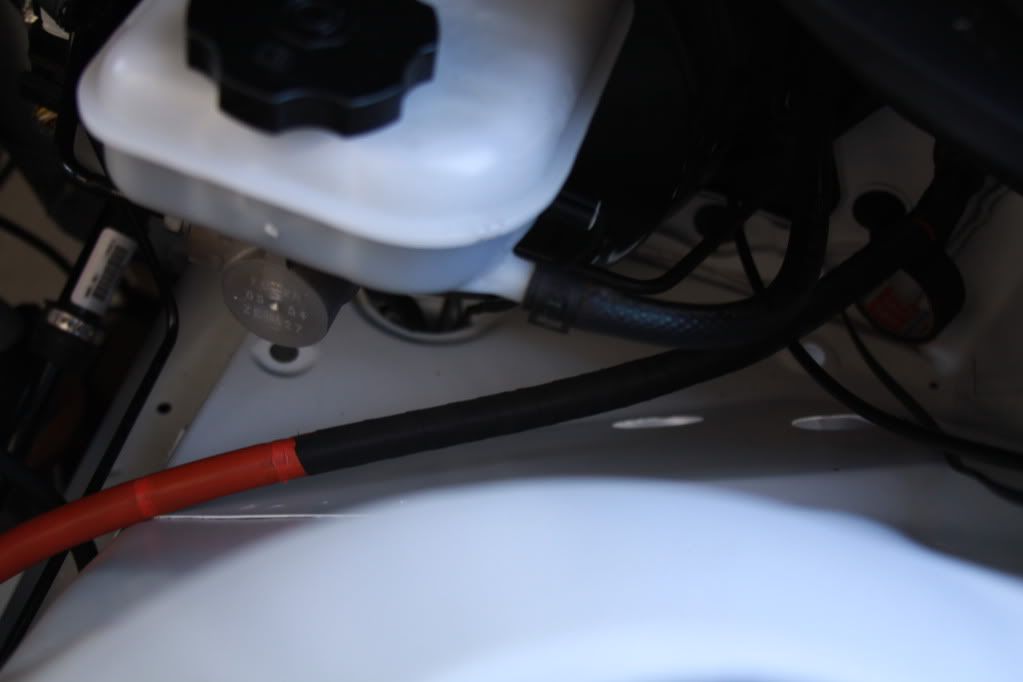 Much better......After slipping the sleeve, I shrink rap on the end by the firewall. This allows me to pull on the sleeve so that the more stretch it is, the tighter the fit. 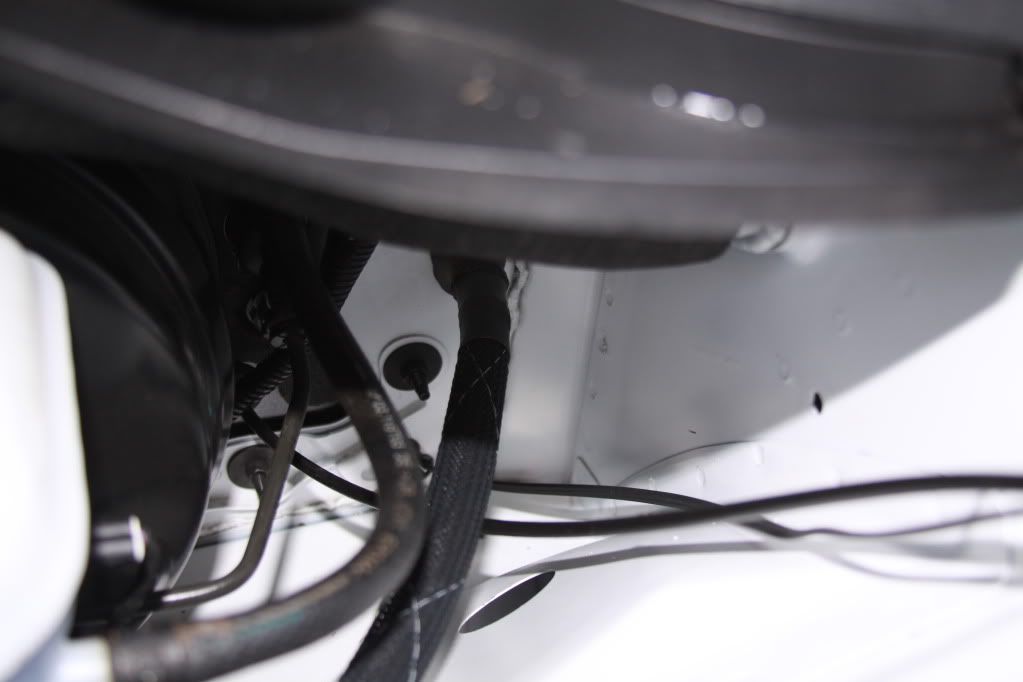 The ABS harness now runs inside the wheel well. I was able to use the existing bolts for the brake line bracket for the ground wire. The ground was previously on mounted in the engine bays frame rail. 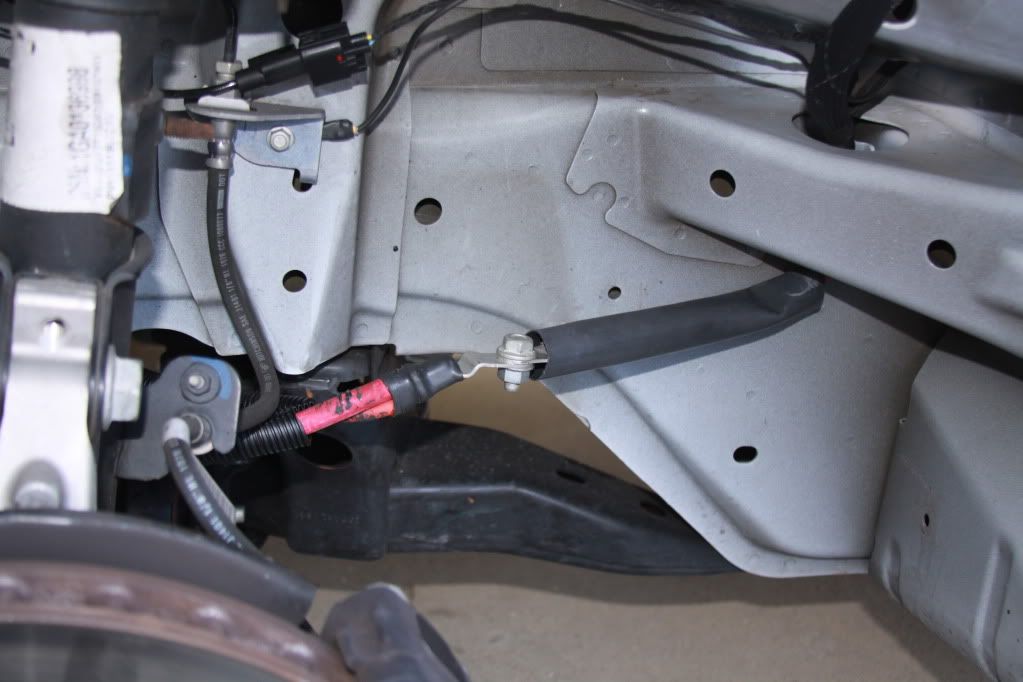 Here is the finish product nicely shrink wrapped. 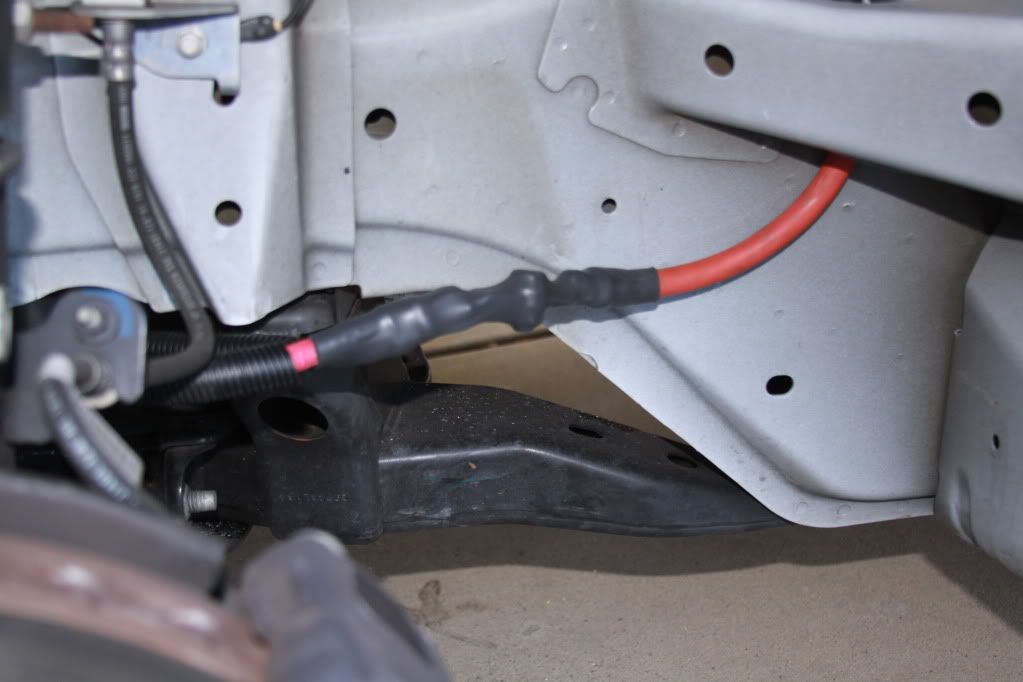 Random shot but looks kinda cool lifted. My trustee "Eli" keeping a watch, LOL. 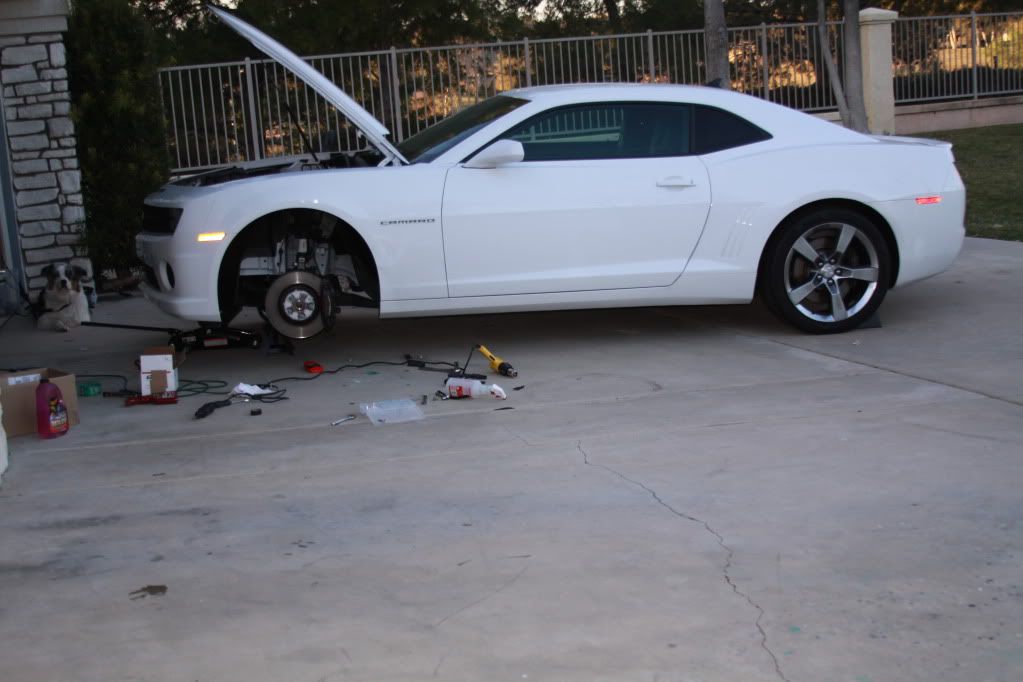 The end result.....much cleaner and great satisfaction.  And finally, the left over carnage. Make me wounder how much "total" weight I've remove with all the garbage I've taken off.  Little comparison preview......harness 1.0  VS harness 2.0 in the making....... you could barly see it.....  Till next time....over and out 
Last edited by Moreno1; 02-04-2012 at 10:28 PM. |
|
|
|
|
02-05-2012, 08:39 AM
|
#245 |
   Drives: 2010 M6 2SS Join Date: Mar 2011
Location: South Windsor, CT
Posts: 1,202
|
You're not concerned with the injectors staying plugged in with the way you modified the connectors?
__________________
 2010 Camaro SS M6. Heads/Cam/Intake/Headers/Exhaust/Suspension |
|
|
|
|
02-05-2012, 09:49 AM
|
#246 | |
|
Drives: G5.R Join Date: Sep 2010
Location: SoCal
Posts: 2,377
|
Quote:
But I do understand your question and if they did get lose for any reason, I have another solution that. By the way, the shrink wrap in the picture is not what I will be using. The ones I'm using shrink with a 90 bend. So the wire will be going back instead of "up" like in the picture. That was just a muck up shot to get a idea of how the final version will look. |
|
|
|
|
|
02-05-2012, 09:58 AM
|
#247 |
       
Drives: 2010 camaro Join Date: Aug 2009
Location: port st lucie ,florida
Posts: 4,273
|
i cheated here, i bought this and painted it iom..
__________________
 |
|
|
|
|
02-05-2012, 04:41 PM
|
#248 |
 
Drives: 2011 2SS L99, 2010 LT RS Join Date: Mar 2010
Location: NY (USA) ZH (Switzerland)
Posts: 437
|
Vararam Coupler
Hey Nathan
I also have a vararam and aside of the red coupler I am pretty happy with it. So I realy want to get rid of it and replace it with a black coupler. Is your coupler from K&N? My only concern is that the new coupler might is to stiff/not soft enough. I dont want to put to much stress on the Vararams neck. Any advice would be highly appreciated. |
|
|
|
|
02-05-2012, 06:20 PM
|
#249 |

Drives: 2010 CAMARO. 10.04@133mph, 1.4 60' Join Date: Jul 2009
Location: Lafayette, Louisiana
Posts: 4,585
|
looking good man.im a fanatic of an clean engine bay. you're doing a great job.
here are a few pics of when i shaved my battery post before the centri sc install |
|
|
|
|
02-05-2012, 07:27 PM
|
#250 |
 
Drives: 2011 SS/RS gun metal gray ragtop Join Date: Nov 2011
Location: NorCal
Posts: 23
|
It's all about how You want to customize your ride
There is no wrong answer.... Do what you like, and what makes you happy to open the hood.
|
|
|
|
|
02-05-2012, 07:32 PM
|
#251 | ||
|
Drives: G5.R Join Date: Sep 2010
Location: SoCal
Posts: 2,377
|
Quote:
Quote:
|
||
|
|
|
|
02-05-2012, 07:39 PM
|
#252 | |
|
Drives: G5.R Join Date: Sep 2010
Location: SoCal
Posts: 2,377
|
Quote:
The Vararam couple is 2" in width. So I only needed half. If you PM your address, I will mail you the other half. Let me know if you would like me to pull out my trustee Dremel and make the hole for you. Nathan |
|
|
|
|
|
|
|
|
 |
|
|
 Similar Threads
|
||||
| Thread | Thread Starter | Forum | Replies | Last Post |
| Roto-Fab | Engine Covers - S/C | Fuse Relay Cover | Radiator Cover | Billet Oil Cap+ | AutoAgenda | Exterior Parts & Accessories | 14 | 02-06-2013 08:43 PM |
| New Texas Speed & Performance Engine Machining Center! | Trevor @ Texas Speed | Camaro V8 LS3 / L99 Engine, Exhaust, and Bolt-Ons | 18 | 01-16-2013 03:46 PM |
| Hawk Performance Brake Pads part HB247Z.575 $85.00 | Rogan | USA - Florida | 2 | 10-07-2011 12:10 PM |
| Acronyms? | KEEP RT | Camaro V8 LS3 / L99 Engine, Exhaust, and Bolt-Ons | 20 | 03-11-2011 08:57 PM |
| Great Read and Info on Oil Weight | Banshee | Mechanical Maintenance: Break-in / Oil & Fluids / Servicing | 1 | 11-23-2009 09:03 PM |


